
Related Manuals for Zennio Presentia C v2


Summary of Contents for Zennio Presentia C v2
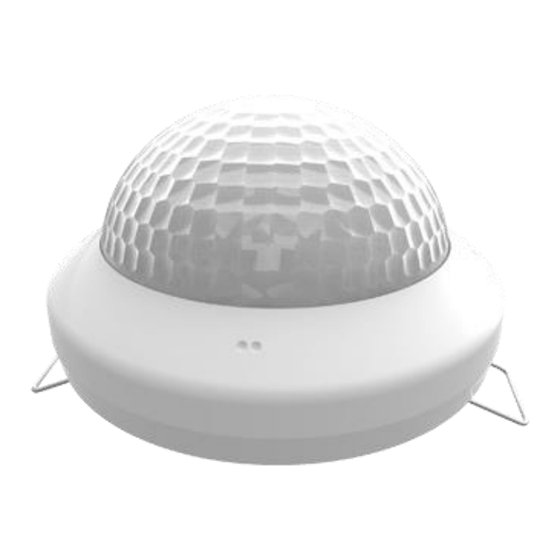
- Page 1 Presentia C v2 Presence Detector with Luminosity Sensor for Ceiling Mounting ZPDC30LV2 Application program version: [1.2] User manual edition: [1.2]_a www.zennio.com...
-
Page 2: Table Of Contents
Presentia C v2 CONTENTS Contents ............................2 Introduction .......................... 3 Presentia C v2 ........................ 3 Installation ........................4 Start-Up and Power Loss ....................5 Configuration......................... 6 General .......................... 6 Presence Detector ......................8 Logic Functions ......................9 ANNEX I. Communication Objects....................10 http://www.zennio.com... -
Page 3: Introduction
1 INTRODUCTION 1.1 PRESENTIA C V2 Presentia C v2 from Zennio is a device that aims at, among other functions, the detection of presence, the measurement and control of the room luminosity and the detection of occupancy within the room where it has been installed. It has been designed for ceiling or false ceiling mounting by means of the bundled accessories. -
Page 4: Installation
Presentia C v2 1.2 INSTALLATION Presentia C v2 connects to the KNX bus through the on-board KNX connector. Once the device is provided with power from the KNX bus, both the individual address and the associated application program may be downloaded. -
Page 5: Start-Up And Power Loss
Presentia C v2 To get detailed information about the technical features of this device, as well as on the installation process and on security procedures, please refer to the corresponding Datasheet, bundled with the original packaging of the device and also available at www.zennio.com. -
Page 6: Configuration
Presentia C v2 2 CONFIGURATION 2.1 GENERAL After importing the corresponding database in ETS and adding the device into the topology of the desired project, the configuration process begins by entering the parameters window of the device. ETS PARAMETERISATION From General screen it is possible to activate/deactivate all the required functionality. - Page 7 Presentia C v2 Note: the first sending after download or bus failure takes place with a delay of up to 255 seconds, to prevent bus overload. The following sendings match the period set. http://www.zennio.com Technical Support: http://support.zennio.com...
-
Page 8: Presence Detector
(i.e., no matter if the device is detecting presence in the room or not). Please refer to the specific manual “Presence Detector” available in Presentia C v2 product section at the Zennio website (www.zennio.com) for detailed information about the functionality and the configuration of the related parameters. -
Page 9: Logic Functions
KNX bus, and to send the results through other communication objects specifically enabled for this purpose. Presentia C v2 can implement up to 10 different and independent functions, each of them entirely customisable and consisting of up to 4 consecutive operations. -
Page 10: Annex I. Communication Objects
Presentia C v2 ANNEX I. COMMUNICATION OBJECTS “Functional range” shows the values that, with independence of any other values permitted by the bus according to the object size, may be of any use or have a particular meaning because of the specifications or restrictions from both the KNX standard or the application program itself. - Page 11 Presentia C v2 1=Comfort 2=Standby Auto, Comfort, Standby, Economy, 27, 37, 47, 57, 67, 77 1 Byte C T R - - DPT_HVACMode [Cx] Output (HVAC) 3=Economy Building Protection 4=Building Protection 28, 38, 48, 58, 68, 78 1 Bit C T R - -...
- Page 12 Presentia C v2 0x8 (Stop) 0xD (Inc. by 100%) 0xF (Inc. by 1%) 99, 115 1 Bit C - - W - DPT_Enable [CLCx] Manual Control 0 = Disable; 1 = Enable 100, 116 1 Bit C T R - -...
- Page 13 Join and send us your inquiries about Zennio devices: http://support.zennio.com Zennio Avance y Tecnología S.L. C/ Río Jarama, 132. Nave P-8.11 45007 Toledo (Spain). Tel. +34 925 232 002. www.zennio.com info@zennio.com...
Need help?
Do you have a question about the Presentia C v2 and is the answer not in the manual?
Questions and answers