Table of Contents
Advertisement
Quick Links
Quick Start Guide
(8200-2007-01_E)
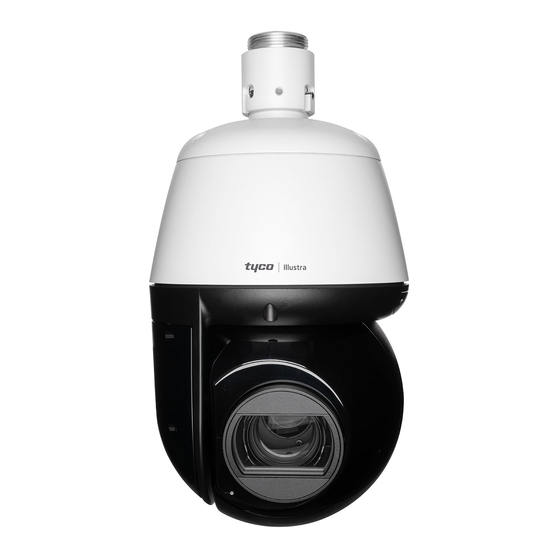
Illustra Pro Gen4 2MP & 8MP IR PTZ Outdoor camera
(P/N IPS02-P24-OI04 & IPS08-P25-OI04)
In the box
• 1 x Illustra IR PTZ Camera
• 1 x Printed Quick Start Guide
• 1 x Printed Regulatory Document
• 1 x NTSC/PAL output female BNC cable
• 1 x 2-pin European style terminal block
• 1 x Torx 20 security L-Key & 1 x Torx 10 security L-Key
• 1 x 12-pin terminal connector for I/O function
• 1 x Safety cable (Pre-attached to the camera)
• 1 x Mount adaptor
• 3 x ¼ 20 UNC security screws
• 1 x Rubber grommet
• 1 x RJ45 Insert tool
Installation tools
• 1 x Screw driver
• 1 x Torx 20 security L-Key & 1 x Torx 20 security L-Key
• 1 x Drill
• 1 x Wire cutters
Figure 1: PG4 IR PTZ camera parts
Figure 1
Table 1: Camera part descriptions
Security
Number
1
2
3
4
5
6
Quick reference
•
Default IP: 192.168.1.168 (DHCP enabled)
•
Default Username / Password: admin / admin
•
Power: PoE 802.3bt 90w or AC 24V
Note: Before you power up the camera; please ensure that all
packaging has been removed, including packaging located inside
the bubble assembly. As part of the start-up sequence the camera runs
motor calibration, this includes a 15 second 'shake' procedure.
Accessing the camera interior buttons / connections
1. Use the Torx security L-Key to remove the two screws on the
camera top cover (1) (Figure 2).
Description
NPT Pendant Cap
Screw (x2) to open and lock the top cover
Top cover
SD Card Cover
Camera lens
Camera head
Figure 2
Table 2: Camera interior buttons / connections descriptions
Buttons / Connectors
AC24V Power connector
PoE Ethernet port
Analog out port
Audio and Alarm pins
(See Figure 3 for descriptions)
Reset to factory default (Hold for 5
seconds and then release)
Power LED indicator
Reboots the camera
Figure 3: Audio and alarm pin descriptions
Figure 3
Mounting the camera
Refer to the Illustra mounting accessories webpage
https://www.illustracameras.com/products/accessories/mounts
assistance. The following mount accessory part numbers are
applicable with the Illustra Pro Gen4 2MP and 8MP IR PTZ camera:
RHOSW, RHOLW, RHOTR, ROTRF, RHOWCA, ROENDC.
Description
for
Advertisement
Table of Contents

Related Manuals for Johnson Controls Tyco Illustra Pro Gen4


Summary of Contents for Johnson Controls Tyco Illustra Pro Gen4
- Page 1 Table 1: Camera part descriptions Table 2: Camera interior buttons / connections descriptions Buttons / Connectors Description Security Number Description AC24V Power connector Quick Start Guide NPT Pendant Cap Screw (x2) to open and lock the top cover (8200-2007-01_E) Top cover PoE Ethernet port Illustra Pro Gen4 2MP &...
- Page 2 Mounting the camera to the RHOSW accessory Inserting or removing the micro SD card Installing the rubber cable seal in to the NPT pendant cap Hold the large loop on the safety lanyard (2) (Figure 4) up next to 1. Remove the two screws located on the micro SD card cover (4) 1.
- Page 3 7. Avoid operating or storing the unit in the following locations: a. Near fluorescent lamps or objects with reflections. b. Under unstable or flickering light sources. © 2022 Johnson Controls. All rights reserved. JOHNSON CONTROLS, TYCO and ILLUSTRA are trademarks and/or registered trademarks. Unauthorized use is strictly prohibited.
Need help?
Do you have a question about the Tyco Illustra Pro Gen4 and is the answer not in the manual?
Questions and answers