Table of Contents

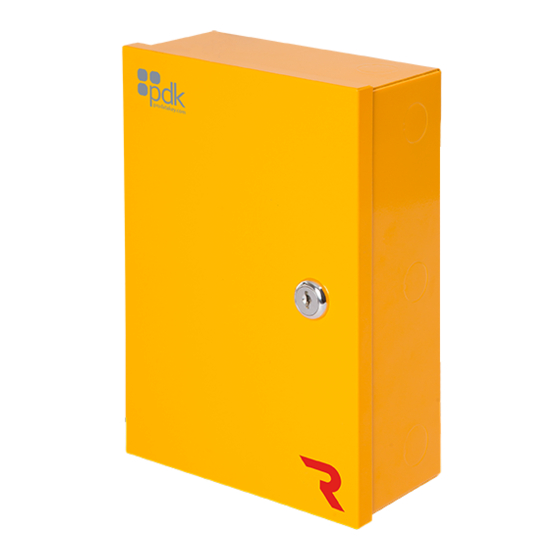
Summary of Contents for PDK Red 1
- Page 1 Quick Start Guide View the user manual here: prodatakey.zendesk.com PN : R1 www.prodatakey.com 801.317.8802 Copyright © 2022 ProdataKey Inc. All rights reserved. Pdk, Pdk io, and the Red logos are trademarks of ProdataKey Inc. REV 12022022...
-
Page 2: Package Contents
1. Package Contents Can Lock (1) Jumpers (2) Red One Door Controller (1) Battery Leads (1) Transformer (1) Enclosure Screws (2) Diode (1) 14 VDC, 2 Amp... -
Page 3: Mounting Controller
2. Mounting Controller POE OUT POE IN OSDP POWER HEART LINK RELAY ETHERNET ACTIVITY 0 1 L 12-24VDC Mounting Mount the enclosure securely to a wall. -
Page 4: Reader Connection
3. Reader Connection OSDP POWER Red 1 Controller HEART LINK OSDP RELAY POWER HEART LINK Reader RELAY OSDP ETHERNET 0 1 L 0 1 L 12-24VDC 12-24VDC ACTIVITY 0 1 L 12-24VDC 0 1 L OSDP Wiring Reader - The reader is mounted at the door with a 22/5 or 22/6 wire running to the door controller. - Page 5 4. Input A / DPS Connection DPS Contact Double DPS Contact DPS (Door Position Sensor) - The DPS is mounted on the door frame with a 22/2 wire running from the DPS to the controller. Wire the DPS to the controller as shown above.
- Page 6 5. Input B / REX Connection 0 1 L 12-24VDC If using a powered REX, run to any 12VDC output on controller. Maglock Maglock - When installing a Maglock, it is typical to install a REX (request to exit) at the door for free egress. Run an 18/2 wire from the maglock to the controller and REX as shown.
- Page 7 6. Locking Relay Diode - The provided diode must be installed when using a strike. Install at the strike with the gray stripe on positive and the black on negative. - Used for maglocks (or strikes in fail-safe configuration). Connect the negative (-) of the maglock or strike to NC on the controller.
-
Page 8: Communication Connections
Ethernet - All Red controllers come with a built-in RJ45 connection for network connectivity. Once connected, the Red controller is Self-Discoverable from pdk.io using IPV6. Alternatively, you may use IPV4 or assign a static IP using pdk.io if desired. POE OUT... -
Page 9: Power Connection
8. Power Connection t t e DC Input - Input 12-24 VDC power using an 18/2 wire. For high voltage applications, use the High Voltage Converter (PN: HVC). Backup Battery - The enclosure will fit most 12 VDC 8 Ah batteries. Connect the battery to the controller using the supplied battery leads. -
Page 10: Reference Guide
Controllers accept a Wiegand input, including biometric readers and keypads. OSDP readers are supported by using the included jumper (see OSDP reference guide). Contact pdk support if assistance is needed. UL 294 Compliance - All equipment must meet appropriate UL certifications. - Page 11 OSDP Reference Guide What is OSDP - Open Supervised Device Protocol (OSDP) is an access control communications standard developed by the Security Industry Association to improve interoperability among access control and security products. OSDP brings heightened security and improved functionality. It is more secure than Wiegand and supports AES-128 encryption.


Need help?
Do you have a question about the Red 1 and is the answer not in the manual?
Questions and answers