Advertisement
Quick Links
Advertisement

Related Manuals for KAM Derby 8


Summary of Contents for KAM Derby 8
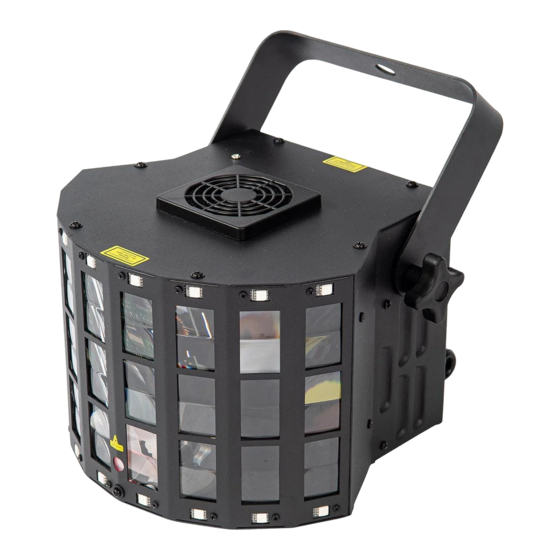
- Page 1 Derby 8 Laser Light KML403 Version 1.0...
-
Page 2: Unpacking Instructions
Unpacking Instructions •m1m@1,I @iiFml•Jj§l•J•IM€llt•J1# Before operating this device, please read this manual thoroughly, and retain it for future reference. Please note the warnings in bold which will ensure the safe and smooth operation. These warnings are important to a certain extent. Attention! Indicates a skill or other useful information for special situations. -
Page 3: Safety Instructions
Safety Instructions •1=1mnommu•1 •�• To protect the environment, please try to recycle the packing material as much as possible. The projector is for indoor use only, IP20. Use only in dry locations. Keep this device away from rain and moisture, excessive heat, humidity and dust. Do not allow contact with water or any other fluids, or metallic objects Don' t throw this product away just as general trash, please deal with the product follow the abandon electronic product regulation in your country. -
Page 4: Overhead Rigging
Overhead Rigging Attention! The installation must be carried out by qualified service personal only. Improper installation can result in serious injuries and /or damage to property. Overhead rigging required extensive experience! Working load limits should be respected, Certified installation materials should be used, the installed device should be inspected regularly for safety. - Page 5 Product Installation/Product Dimensions ♦ Connection between laser lights and OMX must use the shielded cable of a diameter more than 0.5mm. Please use the attached 3 pin XLR plug/socket to connect the OMX output/ liimjj:j1f◄H•Jlllt=tiffl•lli input interface. The connection between socket and cable as below (note the plug/ socket's 3 pin number and position).
- Page 6 Operation instructions /Product Parameter I 11 I 12 Name FUNCTION Insurance rings Connecting wire rope to prevent illegal operation and fall Receiving the audio signal through a microphone, and positive Microphones response to the intensity by the potentiometer Sound sensitivity Changing sound sensitivity by potentiometer AUTO indicator In Auto model, blue indicate light on.
- Page 7 Menu operating instruction Once after every power on laser, the VERSION and MANUFACTURE INFORMATION will be shown in LED monitor of rear panel. When laser is powered on, LED monitor on rear panel shows the current operating standalone mode or DMX address of DMX mode. With help of LCD control panel, is very easy to set and change the operating mode of laser.
-
Page 8: Function Instructions
Function instructions FUNC MENU1 MENU2 MENU3 MENU4 MENUS manual Aut 1 S.01-S.99 Auto Par&Strobe&Laser Aut2 S.01-S.99 Auto_Par&Strobe Aut3 S.01-S.99 Auto_Par&Laser Aul 4 S.01-S.99 Auto_ Strobe&Laser Aul 5 S.01-S.99 Auto_Par Aul 6 S.01-S.99 Auto_ Strobe Aul 7 S.01-S.99 Auto_Laser Sou 1 Sound_Par&Strobe&Laser Sou2 Sound_Par&Strobe... - Page 9 DMX operation instructions OMX Channels Chart This device adopts large storage and high speed chip, and has lots of effects based on laser light OMX application. There are many kinds of functions in channel one. 2 channel mode chanel value function 000-009 Blackout...
- Page 12 DMX operation instructions 9 channel mode 130-169 Red on & Green strobe 170-209 Green on & Red strobe 210-255 Red & Green(alternate strobe) 000-009 No function 010-254 strobe(slow-fast) 255-255 Sound strobe 000-004 Stop 005-127 Rotate Clockwise, slow to fast 128-133 stop 134-255 Rotate Anticlockwise, slow to fast...
- Page 13 UK DISTRIBUTOR John Hornby Skewes & Co. Ltd. Salem House, Parkinson Approach, Garforth, Leeds LS25 2HR, United Kingdom. www.jhs.co.uk c� Authorised EU Representative: Pieters Musical Agencies ✓ � Sparrelaar 19, 5467 JP Veghel, Netherlands t;.• ... � • ., RoHS ©2022 JHS.
Need help?
Do you have a question about the Derby 8 and is the answer not in the manual?
Questions and answers