
Related Manuals for Quick 959D+


Summary of Contents for Quick 959D+
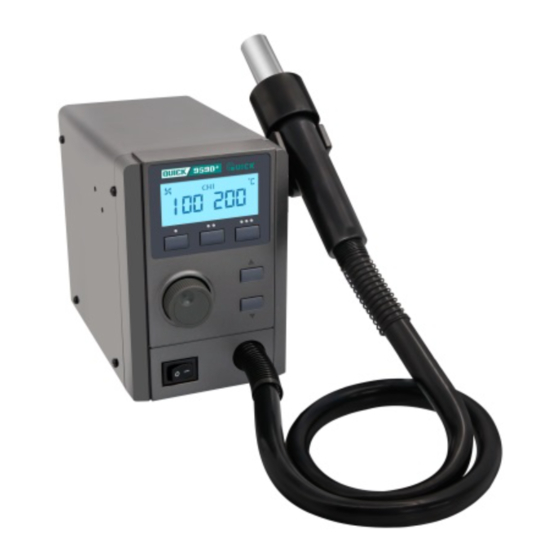
- Page 1 QUICK 959D+ SMD REWORK STATION Instruction Manual Thank you for purchasing our products. Please keep the instruction manual properly for future reference.
-
Page 2: Table Of Contents
Contents 1. Safety Instruction......................1 2. Product Introduction....................2 3. Product Features......................2 4. Product Specifications....................3 5. Function Descriptions....................3 5.1Dimensions....................... 3 5.2 Part Descriptions.................... 4 5.3 Button Descriptions..................5 5.4 Main Menu....................... 5 6. Installation and Connection..................6 6.1 Installation......................6 6.2 Connection.......................6 7. Operation........................7 8. -
Page 3: Safety Instruction
1. Safety Instruction CAUTION During the installation and use of the product, you need to observe the electrical safety regulation of location. Please power off the product during disassembly. If the product is not working properly, please contact the supplier or manufacture, do not disassemble or modify without notice. -
Page 4: Product Introduction
2. Product Introduction This product is suitable for de-soldering and soldering, such as SMD, SOP, SOG. Heat shrinkage, drying, paint removal, adhesive removal, thawing, preheating & disinfection are available. Adjustable air volume is suitable for small or large air volume heater. 3. -
Page 5: Product Specifications
4. Product Specifications Product type 959D+ Display 500W(Max) 580W(Max) Power Input voltage 110V AC 220V AC Temperature range 100~500℃ Air volume 1~100 Level (Adjustable) Airflow 40L/min(Max) Dimensions(L*W*H) 110*180*151mm Weight About 1.6 Kg 5. Function Descriptions 5.1Dimensions Unit: mm... -
Page 6: Part Descriptions
5.2 Part Descriptions... -
Page 7: Button Descriptions
5.3 Button Descriptions Button Function Descriptions 1.Click coordinate button to select Channel numbers. CH1~CH3 2.Press and hold the Channel button to store the airflow and temperature of the current Channel. 1.Temperature regulation ▲/▼ 2.Press and hold ▲&▼ buttons simultaneously to enter the temperature calibration menu. -
Page 8: Installation And Connection
6. Installation and Connection 6.1 Installation The handle holder must be installed when the product is used for the first time, as shown below. 1) Remove two screws on the left side of the holder. 2) Place the mounting hole of the handle holder on the two screw holes on the product and install two screws and tighten them. -
Page 9: Operation
7. Operation Air volume Adjust the knob clockwise to increase air volume, and otherwise to decrease; do reverse operations and the air volume will be decreased. Adjust the knob for a large scope and the air volume can be quickly increased or decreased. Temperature Click the "▲"... -
Page 10: Parameter Setup
3) Enter the right password to enter the parameter setting menu. Enter the initial password 1) The window displays “--” and the left hundred-digit flashes. At this time, the hundred-digit number can be adjusted (you can enter the initial password). 2) Input the initial password: Adjust the middle knob to change the hundred-digit number;... -
Page 11: New Password Setup
10. New Password Setup 1) After entering the new password setting, the window displays “---” and the hundreds’ digit blinks. 2) Then adjust the middle knob to change the hundreds’ digit, press the “▲” button to move the digit, and then the tens’ digit starts flashing to be set. When the digit is set, press and hold the “▲”... -
Page 12: Replacement Of The Heater
Note: If there is no QUICK196, it is recommended that the temperature measuring head of the external sensor of the thermometer be placed 3~5mm away from the nozzle for temperature test. 12. Replacement of the Heater 12.1 Steps of removing the Heater 1) Remove the spring. -
Page 13: Troubleshooting
3) Connect the ④Plug into ⑤Holder, then cover the ③Heater with the ②Steel pipe and lock it. 4) Connect grounding cable and tighten it. 5) Install the replaced ③Heater into the ⑥ Handle, lock the three ①Screws. 6) Turn the spring counterclockwise until the handle is installed. 7) After replacing the heater, test the following parameters: 8) Calibrate the temperature, refer to Soldering temperature calibration. -
Page 14: Nozzles
14. Nozzles... -
Page 15: Consumable List
15. Consumable List A1124 Nozzle A1130 A1300 Heater A1147-(220V) Steel pipe Mica paper 857/74x18mm ceramic packing Handle Holder 957D+ The handle sheath Fuse 3A/5x20mm/40003228 Pump components Fan module 959D+ Sucking pad...
Need help?
Do you have a question about the 959D+ and is the answer not in the manual?
Questions and answers