Advertisement
Quick Links
APP & Voice Control
Applicable to Google Assistant & Amazon Alexa:
Skill Name for Google Assistant
"MSmartHome"
Note
MSmartHome
For using Google Assistant and Amazon Alexa, please
make sure MSmartHome APP has been downloaded and
matched with your robot successfully.
Step1.
Download MSmartHome APP and link your robot successfully.
Step2.
Get your Amazon Alexa or Google Assistant device ready.
Step3.
By searching skill name above to link voice device and your robot.
(MSmartHome account need to be registered in the process)
Step4.
Voice-control your robot by using voice commands in the description.
start
start <robot name>
Google
turn on <robot name>
switch on <robot name>
iOS .0 or later
9
Android 6 0 . or later
Alexa
turn on <robot name>
Quick start guide
-
Do not bring the robot cleaner close to heat sources,
radiation or burning cigarette butts, It is strictly forbid-
den to vacuum the following objects:
1. All liquids such as water and solvents;
2. Lime, cement ash and other construction dust and
garbage;
3. Heating objects, such as carbon butts and cigarette
butts not extinguished;
4. Sharp fragments, such as glass, etc.;
5. Flammable and explosive materials, such as gasoline
Skill Name for Amazon Alexa
or alcohol products.
"MSmartHome"
-
Only authorized technicians can disassemble this prod-
uct, please do not disassemble this product by customer
themselves.
-
It is strictly forbidden for children, handicapped or
people who lack of common sense for using household
appliances to use the product.
-
This product is an indoor household product, please do
not use it outdoors.
-
Do not touch the power cord, socket or power adapter
when your hands are wet.
-
When the dust tank is full, please empty it before using
the product.
-
When repairing or temporarily not using the robot
stop
charge
stop <robot name>
dock <robot name>
-
please do not use mop function on carpet, you can set
turn o <robot name>
<robot name> go home
switch o <robot name>
<robot name> go charge
mop restricted mopping area on map to avoid robot
going on to the carpet or mopping on the carpet
turn o <robot name>
set charge mode on
-
Do not soak the robot vacuum cleaner in water, or close
to heating appliances or exposure to the sun to avoid
damage of robot.
Tips for safety use
-
This product can only use the power adapter originally
equipped with the package. If you use other adapters, it
may cause damage to the product.
-
When removing the battery, the product must be pow-
yourself.
-
For replacement, please contact after-sales mainte-
nance; when discarding the product, please dispose the
battery properly.
-
Before using this product, please remove all vulnerable
items on the ground (such as glasses, lamps, etc.) And
objects that may be entangled in side brushes, suction
ducts and drive wheels (such as wires, curtains, etc.)
-
Do not place this product in a place where it can fall
easily (such as on a table or chair).
-
Under strong light, the product may not work properly.
-
Do not bend the wires excessively, or place heavy and
sharp objects on the machine.
- Do not add any washing powder, laundry detergent,
cleaning agent, disinfectant, hand sanitizer, unknown
oily liquid, or alkaline substances in the water tank.
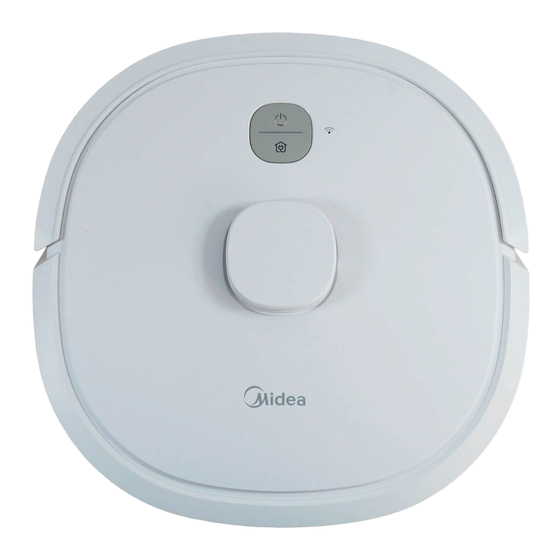
M6
Quick Start Guide
Advertisement

Related Manuals for Midea M6


Summary of Contents for Midea M6
- Page 1 APP & Voice Control Quick start guide Tips for safety use Do not bring the robot cleaner close to heat sources, This product can only use the power adapter originally equipped with the package. If you use other adapters, it radiation or burning cigarette butts, It is strictly forbid- may cause damage to the product.
- Page 2 Quick start guide First use Step 5 Step 6 Step 3 Step 4 Attach mop pad for mopping function. Short press or use APP to start cleaning. Recharging for next cleaning. Clean the electronic control interface to Step 1 Step 2 ensure it is dry.
Need help?
Do you have a question about the M6 and is the answer not in the manual?
Questions and answers