Advertisement
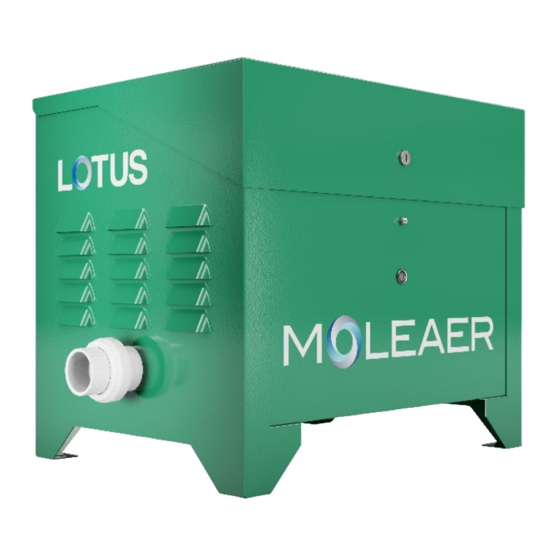
NANOBUBBLE GENERATOR
Quick Start Guide
Notes
A supplemental oxygen gas tank is required to operate
the Lotus nanobubble generator. Oxygen gas tank is not
included. For safety, follow local electrical codes.
1
Unpacking
1.1
1.2
2
Installation
Unit Position
& Location:
Scan to Download the Owner's Manual
and access warranty information for the
Lotus Nanobubble Generator.
Ensure all accessories were provided
with your Lotus. Contact Moleaer
for replacement parts. Inspect outer
surfaces for shipping damage.
Open lid and remove packaging and
accessories from the inside.
Inspect components inside of
unit for any loose tubing or damaged
components and tighten any
loose fittings or tubing.
I
nstall unit on a level surface.
2.1
Position unit within three feet of a standard
2.2
three-prong 120-volt outlet (15-amps).
Position unit as close to the water tank as
2.3
possible, while maintaining a minimum
distance to electrical outlet.
Ensure there is a minimum one-foot
2.4
clearance on all sides of unit to avoid risk
of damage.
Ensure the pump level is below the
2.5
minimum water level in the tank so the
pump is fed by gravity. Please see the
detailed operating manual for non-flooded
suction installations.
O
tank, water tank and pipes not included.
2
Gas Regulator,
A
B
1.3
Spare O-rings
C
D
Snap-Grip Clamps,
F
B
D
A
C
3
Attach Oxygen Tank
3.1
3.2
3.3
3.4
3.5
Piping Connections,
Barbed Fitting ,
Tube ,
E
CIP Kit,
Keys
G
H
G
F
H
E
Rent or buy a K or T style
oxygen gas tank.
A
Connect the regulator
to
the O
tank, set the dial to 0.
2
D
Connect the air fitting
to
the Lotus enclosure.
Connect the gas tube between
the regulator and the air fitting.
Use the snap-grip clamps for
securing the tube.
Turn the regulator knob to the
lowest settings and check for
leaks using soapy water. Turn
the regulator dial back to 0.
www.moleaer.com
+1.424.558.3567
Advertisement
Table of Contents

Related Manuals for MOLEAER LOTUS


Summary of Contents for MOLEAER LOTUS
- Page 1 NANOBUBBLE GENERATOR Quick Start Guide Notes A supplemental oxygen gas tank is required to operate the Lotus nanobubble generator. Oxygen gas tank is not included. For safety, follow local electrical codes. Unpacking Gas Regulator, Piping Connections, Ensure all accessories were provided with your Lotus.
- Page 2 60 min Please contact Moleaer with any Copyright © 2022 Moleaer. All trademarks stated herein are the property of their respective company. All rights reserved. This document is confidential and contains proprietary information of Moleaer Inc. Neither this document nor any of the questions or concerns: +1.424.558.3567...
Need help?
Do you have a question about the LOTUS and is the answer not in the manual?
Questions and answers