Solo 411 Original Instructions Manual
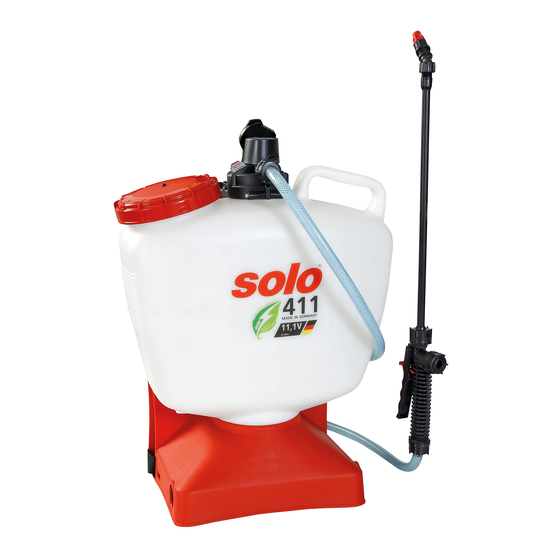
Battery backpack sprayer
Hide thumbs
Also See for 411:
- Original instructions manual (12 pages) ,
- Original instructions manual (31 pages)

Subscribe to Our Youtube Channel
Related Manuals for Solo 411


Summary of Contents for Solo 411
- Page 1 411 / 441 Original instructions Battery backpack Instruction manual sprayer Important! Read this instruction manual carefully before first operation and strictly observe the safety regulations! 70230 05/2022...
- Page 2 1 EC declaration of conformity warranty. All costs incurred for repair or replace, SOLO Kleinmotoren GmbH, Industriestraße 9, and additional claims can be discussed at this D-71069 Sindelfingen, GERMANY stage.
-
Page 3: Safety Provisions
Use the device only for application of liquid Replace damaged parts without delay. Only use herbicides, pesticides and weed killers as well SOLO genuine spare parts. as liquid fertilisers that are available in Use only the original battery. Accessories and authorised specialist trade and approved by attachments must be approved for this device. - Page 4 When changing the spray solution, clean the 6.6 Before and during work spray tank and all parts that come in contact with Before starting work, always check the entire the spray solution. Operate the sprayer with device for operational safety according to clear water first before filling the spray tank with chap.
- Page 5 7 Work preparation Type 441, (Illustration depends on the model) Fig. 1 a. Spray tank Fitting the hose to the pump b. Tank lid screwed to the filling Screw the hose with the union nut to the threaded connector of the socket (c) pump.
- Page 6 7.1 Assembly Assembly of the spraying wand (h): Fig. 2 Start the cap nut (p) evenly and screw the spray tube with the O ring (16x3 mm) onto the hand valve (g) hand-tight without tools. Screw the nozzle attachment (i) onto the spray tube hand-tight without tools. Assembly carrying belt 7.2 Length adjustment of the carrying straps Fig.
-
Page 7: Charging The Battery
7.3 Filling screen and intake screen Before inserting the battery, make sure that the contacts of the battery and the charger are clean, Fig. 7 dry and free of foreign objects. The basket in the Push the battery Fig. 10 filling neck (c) of into the charger in the liquid tank... - Page 8 8 Preparing the spray liquid and filling the Spraying: spray tank When the hand valve (g) is closed (hand valve not actuated), turn on the pump with the Prepare the spray liquid according to the on/off switch (f). instructions of the chemical manufacturer. Hold the spray wand with the hand valve.
-
Page 9: Maintenance, Cleaning And Storage
10 Maintenance, cleaning and storage Clean the spraying nozzle, filter and filling screen Fig. 14 10.1 Maintenance plan Before starting work: Check the entire sprayer is operationally safe by: o Visual inspection of the sprayer o Checking the tightness of all parts (at maximum admissible pressure with the hand valve opened and closed). -
Page 10: Technical Data
10.0 l [2.6 gal] 16.0 l [4.2 gal] Residual volume, (remaining liquid in tank that cannot be used) < 200 ml [6.8 oz] Pump system SOLO Diaphragm pump Operating pressure 2.5 bar [36 psi] Permissible operating temperature 0–40 °C [32–104 °F]... -
Page 12: Made In Germany
Made in Germany SOLO Kleinmotoren GmbH Industriestraße 9 D-71069 Sindelfingen Postfach / PO Box 60 01 52 D-71050 Sindelfingen DEUTSCHLAND / GERMANY Tel.: +49 (0)7031 301-0 Fax: +49 (0)7031 301-202 info@solo-germany.com http://solo.global...
Need help?
Do you have a question about the 411 and is the answer not in the manual?
Questions and answers
Can I put 50/50 chlorine to solo 411