Solo 425 Service Manual
Hide thumbs
Also See for 425:
- User manual ,
- Instruction manual (96 pages) ,
- Operator's manual (13 pages)
Advertisement
Advertisement

Related Manuals for Solo 425


Summary of Contents for Solo 425
- Page 1 Service Manual 425 / 435 / 475 /485 456 / 457 9 425 300...
-
Page 2: Table Of Contents
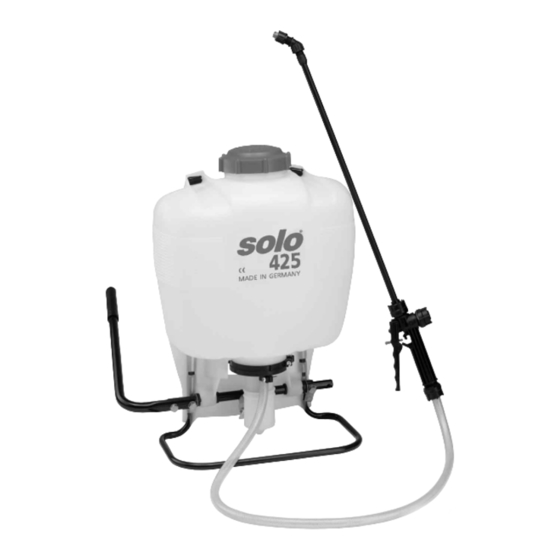
CONTENTS OPERATING DISCRIPTION Specifications Page Backpack Sprayers 425, 435, 475, 485 Technical Data During the upward stroke of the handle on either Operating Description the piston or diaphragm, liquid is drawn from the formula tank through the intake channel into the 425/435/475/485 space above the pump. -
Page 3: Backpack Sprayer Trouble Shooting Guide
Dirty bushing Remove pump lever, clean & grease bushings Dirty cylinder walls (425). Remove piston, clean/ replace piston & collar Collar swollen (425) from long Replace collar and maintain term exposure according to instructions Lack of lubrication (425). Lubricate viton collar... - Page 4 PISTON PUMP 1) Loosen the stop plate (A). Remove the bolt and nut in the Fig. 1 protective cap and pull protective cap off (C). Remove the two (2) allen head bolts (D) from the lever. The piston can then be pulled from the cylinder (E). (See figure 1). Also, loosen the clamp (F) and remove the hose.
- Page 5 6) To replace the Viton collar, push it off with the top of the Fig. 6 piston with your thumb. The new one is simply pushed over the piston crown into the form fitted sides. (See Figure 6). Fig. 7 7) To replace the valve plates and o-rings on the pump cylinder: remove the outer o-rings, the top valve plate and replace.
- Page 6 9) Apply a non-water soluble grease (petroleum jelly works GREASE Fig. 11 well) arround the outside edge of the Viton collar before HERE installing the piston into the pump cylinder. (See figure 12). Re-connect the lever to the pump rod. Fig.
- Page 7 5) To replace the diaphragm, remove the connecting rod (G) Fig. 16 from the backing plate by removing the retaining screw. Replace the diaphragm and reassemble. (See Figure 16) Fig. 17 6) The valve assembly (H) is removed using a locally produced special tool (See drawing for measurements).
- Page 8 THE PRESSURE CYLINDER Fig. 21 1) With the large clamp at the bottom of the tank removed, the pressure cylinder will push out through the bottom of the tank. (See Figure 21). 2) Once the pump cylinder is removed, the large o-ring (A) can be replaced.
-
Page 9: Handheld Sprayer Trouble Shooting Guide
HANDHELD SPRAYER TROUBLE SHOOTING GUIDE PROBLEM CAUSE SOLUTION Difficulty in moving pump Dirty cylinder wall Remove piston, clean and handle replace O-ring on piston swollen (Not cleaned properly) Replace o-ring No lube on piston/ cylinder Lubricate with heavy grease Check valve not sealing or Check &... - Page 10 HANDHELD SPRAYERS Fig. 27 1) If the sprayer will not hold pressure, fill the sprayer to the neck with water. Replace the cap and pump up sprayer. Note: USE CAUTION ! Filling the sprayer this full makes it very easy to pump up to the maximum pressure.
- Page 11 5) If the pump fails to offer resistance when pumping check Fig. 31 the valve cone (A) on the bottom of the cylinder to make sure that it is present and sealing. The valve cone is removed by pulling it out. The o-ring can then be replaced. The valve cone is replaced by pinching the two (2) ears together and inserting into the hole in the bottom of the cylinder.
- Page 12 (C) pushed out. Replace worn parts. Lubricate the o-rings and reassemble in reverse order. Note: The valve core has been painted white for clarity. (See Figure 40). SOLO Kleinmotoren GmbH P.O. Box 60 01 52 Telefon + 49 - 7031 / 301- 0...
Need help?
Do you have a question about the 425 and is the answer not in the manual?
Questions and answers