Table of Contents
Advertisement
Quick Links
quickstart guide
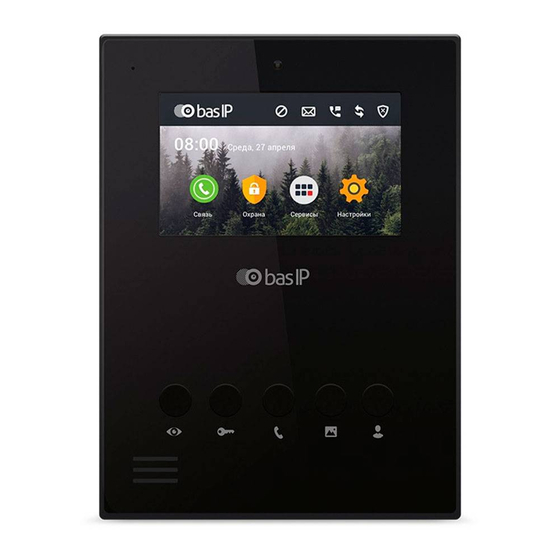
AU-04LA
IP INDOOR VIDEO ENTRY PHONE
One of the interesting features of the AU-04LA is the ability to connect
an additional SP-AU handset. This solution is ideal for those who want
privacy in their conversations.
Control of the intercom is possible with the help of mechanical keys and
a touch screen. Classic black and white body color suitable for any style
of interior.
1
Microphone
2
4.3" Display
3
Monitoring
4
Open
5
Call
6
Photo frame mode
7
Concierge
8
Loudspeaker
Full User Manual
wiki.bas-ip.com
Advertisement
Table of Contents

Subscribe to Our Youtube Channel
Related Manuals for basIP AU-04LA


Summary of Contents for basIP AU-04LA
- Page 1 AU-04LA IP INDOOR VIDEO ENTRY PHONE Full User Manual One of the interesting features of the AU-04LA is the ability to connect an additional SP-AU handset. This solution is ideal for those who want privacy in their conversations. Control of the intercom is possible with the help of mechanical keys and a touch screen.
-
Page 2: Main Screen
MAIN SCREEN AND SECURITY MENU Main screen Message status Missed calls DND status SIP status DND menu Security menu Time Weather News line Security Home Intercom Service Settings menu automation menu menu menu menu Security menu In this menu, you can turn on / off the alarm, make settings for loops, scripts and go to the IP Camera view menu. -
Page 3: Ip Camera Settings
Security ON/OFF IP camera settings Play button Stop button Main security display There is from 1 to 8 IP cameras available for display. Select a camera in the list by scrolling through the list and clicking on the camera name. Zone settings •... -
Page 4: Scene Settings
Scene settings After clicking this button, the following interface will be displayed like here. A total of 3 scenarios are available: Outside the house, Home and Sleep. Depending on each scenario, you can customize the logic of the triggering of various loops. Activation time: The time after which a particular scenario is activated. -
Page 5: Air Conditioning
Home automation menu Main screen Scenes The automation menu looks like this You can choose one of the scripts, previosly and includes five submenus. defined and written in automation modules through software in advance. Lights Air conditioning This menu allows different groups of lights This menu allows controlling air to be controlled in separate rooms conditioners in separate rooms. -
Page 6: Intercom Menu
Intercom menu Main screen CALL Calls between intercoms To call between internal monitors in different apartments, you need to enter from 1 to 4 digits of the house number and press the «Building» button, then enter 2 digits of the front room number and press the «Door»... - Page 7 Monitoring Lock release Switching between viewing of individual and multiapartment Starting viewing panels. button Switchnig between panel is going Pause viewing by pressing Left and Right arrow button buttons. In this menu you can monitor outdoor panels which are connected in the same LAN. In this mode, communication will take place in one-way mode, i.e.
-
Page 8: Services Menu
Services menu AND SETTINGS SERVICES MENU This menu dispalys messages which was sent from LINK software. Browser In this menu a pre-set web page apperas. You can set up a desired page through web interface. Password • Old password: Current password input field.
Need help?
Do you have a question about the AU-04LA and is the answer not in the manual?
Questions and answers
добрый день, номер квартиры 421, как завести номер, если имеется значения 1-99?
The AU-04LA supports apartment numbers in the range of 01-99. Since 421 is outside this range, it cannot be set directly. You must choose a number within 01-99.
This answer is automatically generated