Teeter EP-560 User Manual
Inversion table for gravity-assisted stretching and decompression
Hide thumbs
Also See for EP-560:
- Assembly instructions manual (28 pages) ,
- User manual (8 pages) ,
- Assembly instructions manual (18 pages)
Advertisement
USER GUIDE
Read or Watch
Follow along with
these instructions
or scan to watch
video instructions.
This product is Listed by
Underwriters Laboratories Inc.
Representative samples of this
product have been evaluated
by UL and meet applicable
safety standards.
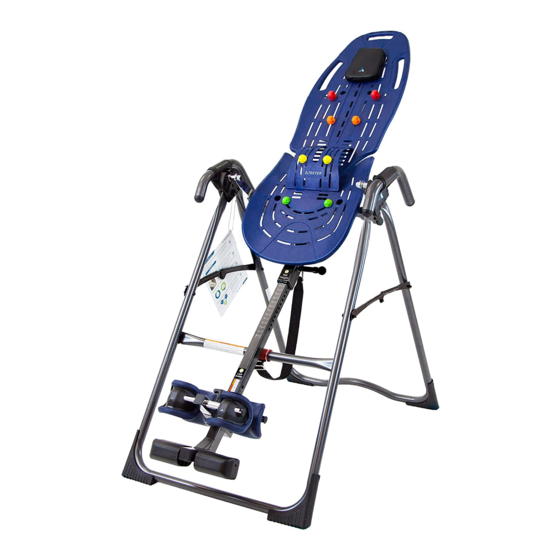
EP-560
Inversion Table
™
For gravity-assisted stretching and decompression
Advertisement
Table of Contents

Related Manuals for Teeter EP-560


Summary of Contents for Teeter EP-560
- Page 1 EP-560 Inversion Table ™ For gravity-assisted stretching and decompression USER GUIDE Read or Watch Follow along with these instructions or scan to watch video instructions. This product is Listed by Underwriters Laboratories Inc. Representative samples of this product have been evaluated by UL and meet applicable safety standards.
- Page 2 ALWAYS store outdoors. • DO NOT use aggressive movements, or use weights, elastic bands, any other exercise or stretching device or non-Teeter ® • DO NOT attachments while on the inversion table. Use the inversion table only for its intended use as described in this manual.
-
Page 3: Table Of Contents
Introduction: Starting Your Journey to Relief Welcome to your complete guide to inverting with the EP-560! Learn everything you need to achieve an effortless inversion practice and experience the real, natural benefits of spinal decompression. In this manual, you will learn how to: Set Your Height ............................... -
Page 4: Set Your Height
Failure to set these adjustments correctly may result in too rapid inversion or difficulty returning upright. Before you begin: Getting started with the EP-560 is as easy as 1-2-3! While you learn the settings and how to properly use your EP-560, ask someone to assist you as a spotter. - Page 5 Lock Ankles (continued) Press your ankles back firmly against the rear ankle cups. Pull the T-Pin Lock to close the Front Ankle Cups. Release the T-Pin and adjust the Front Ankle Bar until the T-Pin fully engages into a hole and the ankle cups fit snugly against the smallest part of your ankles (Figure 4).
-
Page 6: Invert
Invert Now that your EP-560 is set properly, you are ready for your f irst inversion session. Rotate into Inversion With your head resting against the backrest, slowly raise one arm over your head (Figure 8). Then, slowly raise your second arm until you have reached your preset inversion angle (Figure 9). - Page 7 This will only cause stress on your back and will not aid you in returning upright. If your EP-560 isn't responding as you desire, see Troubleshoot: Find Your Balance on the next page. Figure 13b...
-
Page 8: Troubleshoot: Find Your Balance
· Adjust your height setting (Figure 15; see 'Set Height' on page 4); · Adjust the Roller Hinges, which are the 3-hole hinges that connect the backrest of your EP-560 to the A-frame (Figure 16). The Roller Hinge hole closest to the pivot pin is "A," the most responsive (quickens rotation). -
Page 9: Fold For Storage
Angle Tether around the Main Shaft and Crossbar then attaching it to itself with the clip (Figure 19) or securing with a Key Lock (available at teeter.com). Test to ensure the inversion table cannot rotate. - Page 10 Access our online support portal for live chat, video tutorials, virtual troubleshooting, warranty parts requests, and more. 800-847-0143 support@teeter.com teeter.com/support Specifications subject to change without notice. Teeter and Teeter logo are registered trademarks of Teeter. © 2022 Teeter. International law prohibits any copying. E61710FPB 0822-0...
Need help?
Do you have a question about the EP-560 and is the answer not in the manual?
Questions and answers
Where can I get a hinge roller for my inversion table?
You can find a roller hinge for the Teeter EP-560 inversion table from online marketplaces that sell Teeter parts, such as eBay. Look for listings under "Teeter Hang Ups EP-560" or similar search terms.
This answer is automatically generated
I need to replace the 3 hole hinge roller assembly on my EP 560
To replace the 3-hole hinge roller assembly on a Teeter EP-560:
1. Locate the Roller Hinges – These connect the backrest to the A-frame.
2. Remove the Existing Hinges – Detach them carefully from their mounting points.
3. Select the Desired Hole Setting – The hole closest to the pivot pin ("A") is the most responsive, while the farthest ("C") is the least responsive.
4. Attach the New Roller Hinges – Secure them in place according to the chosen setting.
5. Ensure Proper Installation – Confirm that the hinges are firmly attached and allow smooth movement.
If adjusting for balance, avoid using setting "A" for users over 220 lb (100 kg).
This answer is automatically generated