Advertisement
Available languages
Available languages
Table of Contents
H-5168, H-5169
H-5170, H-6101
POLE/WALL MOUNT
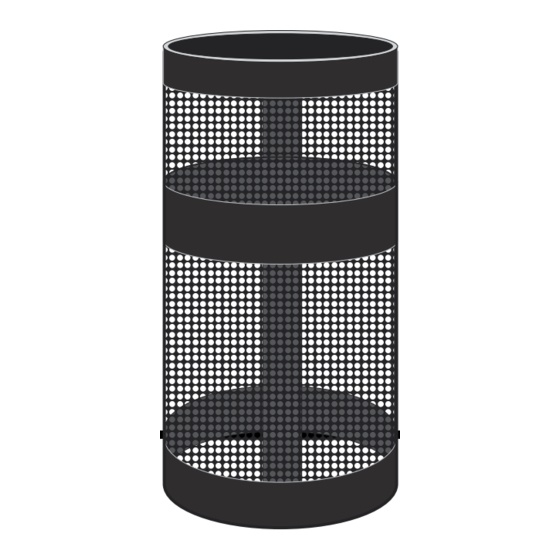
RECEPTACLE
TOOLS NEEDED
1/2" Wrench
Drill
(optional)
Included with H-5168 and H-5169:
Metal Strap x 2
Included with H-5170:
Pole x 1
Included with H-6101:
Pole Bracket x 1
Spline x 1
PAGE 1 OF 9
1-800-295-5510
uline.com
Flat Head Screwdriver
Masonry Drill Bit
(optional)
Body Bracket x 1
Tin Snips (optional)
PARTS
Buckle x 4
Anchor Bolt x 4
Key x 1
Para Español, vea páginas 4-6.
Pour le français, consulter les pages 7-9.
Bolt x 2
Washer x 4
Washer x 2
Lock Washer x 2
5/16" Bolt x 2
Nut x 2
Nut x 4
Nut x 2
0321 IH-5168
Advertisement
Table of Contents

Related Manuals for U-Line H-5168


Summary of Contents for U-Line H-5168
- Page 1 Flat Head Screwdriver Tin Snips (optional) Drill Masonry Drill Bit (optional) (optional) PARTS Included with H-5168 and H-5169: Metal Strap x 2 Buckle x 4 Bolt x 2 Nut x 2 Included with H-5170: Pole x 1 Anchor Bolt x 4...
- Page 2 MOUNTING EXISTING POLE MOUNTING H-5170 SURFACE POLE MOUNTING Use this method to mount the receptacle to an existing Use this method to mount the receptacles to the H-5170 pole up to 12" in diameter using the provided parts. Surface Mount Pole. Using tin snips, cut metal straps 4"...
- Page 3 MOUNTING CONTINUED H-6101 WALL MOUNTING Pole Bracket Use this method to mount the receptacles to a wall/pole Body Bracket using the H-6101 Wall Mount Bracket. Receptacle Key Hole Spline Remove pole bracket from spline by inserting key in hole on top of bracket. Press key down and rotate clockwise.
-
Page 4: Herramientas Necesarias
Llave de 1/2" Desarmador de Cabeza Plana Pinzas para Estaño (opcional) Taladro Broca de Mampostería (opcional) (opcional) PARTES H-5168 y H-5169 incluyen: 2 Tiras de Metal 4 Hebillas 2 Pernos 2 Tuercas H-5170 incluye: 1 Poste 4 Pernos de Anclaje 4 Rondanas... -
Page 5: Instalación
INSTALACIÓN INSTALACIÓN EN POSTE YA EXISTENTE INSTALACIÓN EN POSTE H-5170 Use este método para instalar el bote de basura en un Use este método para instalar el bote de basura al poste existente con un diámetro de hasta 30.5 cm (12") Poste para Instalación en Superficie H-5170. - Page 6 CONTINUACIÓN DE INSTALACIÓN INSTALACIÓN EN PARED H-6101 Soporte para el Poste Utilice este método para instalar el bote a la pared o Soporte para al poste usando el Soporte para Instalación en Pared el Bote Orificio para Bote de Basura H-6101.
-
Page 7: Outils Requis
Cisaille de ferblantier (optionnel) Perceuse Mèche à maçonnerie (optionnel) (optionnel) PIÈCES Inclus avec les modèles H-5168 et H-5169 : Sangle en métal x 2 Boucle x 4 Boulon x 2 Écrou x 2 Inclus avec le modèle H-5170 : Poteau x 1... -
Page 8: Montage
MONTAGE MONTAGE SUR UN POTEAU EXISTANT MONTAGE SUR UN POTEAU FIXÉ À UNE SURFACE (H-5170) Utilisez cette méthode pour fixer le récipient sur un poteau existant d'un diamètre atteignant jusqu'à 30,5 cm (12 po) Utilisez cette méthode pour fixer le récipient sur le à... - Page 9 MONTAGE SUITE FIXATION MURALE (H-6101) Utilisez cette méthode pour fixer le récipient sur un mur Support de poteau ou sur un poteau à l'aide du support de fixation murale Support principal (H-6101). Récipient Trou pour la clé Clavette Retirez le support de poteau de la clavette en insérant la clé...
Need help?
Do you have a question about the H-5168 and is the answer not in the manual?
Questions and answers