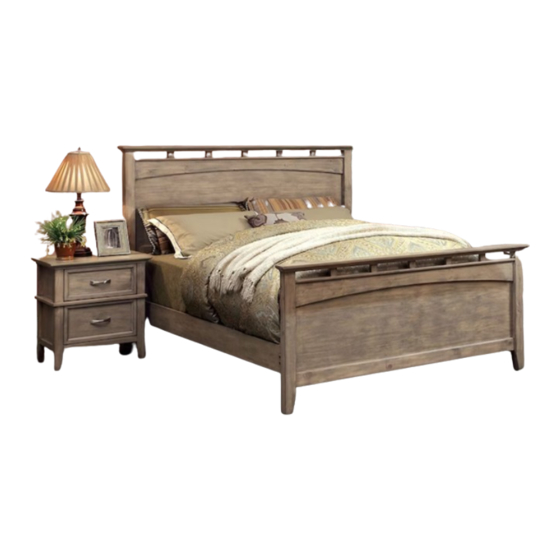
Summary of Contents for Furniture of America CM7351Q
- Page 4 Insert the rail's (#3) latch into the little gap on the headboard (#1) and footboard (#2) until it's sturdy and locked. Make sure the rails (#3) are facing and positioned correctly as seen on the picture. Attach support leg (#5) to each slat (#4) by twisting the leg until it's tight.
- Page 5 Place the slats (#4) horizontally as shown on the picture. Make sure the holes from the slat (#4) align with the side rails (#3). Use screwdriver to screw in the screws (#A) tight.
- Page 9 Insert the rail's (#3) latch into the little gap on the headboard (#1) and footboard (#2) until it's sturdy and locked. Make sure the rails (#3) are facing and positioned correctly as seen on the picture. Attach support leg (#5) to each slat (#4) by twisting the leg until it's tight.
- Page 10 Place the slats (#4) horizontally as shown on the picture. Make sure the holes from the slat (#4) align with the side rails (#3). Use screwdriver to screw in the screws (#A) tight.
- Page 14 Insert the rail's (#3) latch into the little gap on the headboard (#1) and footboard (#2) until it's sturdy and locked. Make sure the rails (#3) are facing and positioned correctly as seen on the picture. Attach two support legs (#5) to each slat (#4) by twisting the leg until it's tight. Adjust the leg according to ground level.
- Page 15 Place the slats (#4) horizontally as shown on the picture. Make sure the holes from the slat (#4) align with the side rails (#3). Use screwdriver to screw in the screws (#A) tight.
- Page 19 Insert the rail's (#3) latch into the little gap on the headboard (#1) and footboard (#2) until it's sturdy and locked. Make sure the rails (#3) are facing and positioned correctly as seen on the picture. Attach two support legs (#5) to each slat (#4) by twisting the leg until it's tight.
- Page 20 Place the slats (#4) horizontally as shown on the picture. Make sure the holes from the slat (#4) align with the side rails (#3). Use screwdriver to screw in the screws (#A) tight.


Need help?
Do you have a question about the CM7351Q and is the answer not in the manual?
Questions and answers