
Related Manuals for Poly Rove B2


Summary of Contents for Poly Rove B2
-
Page 1: Table Of Contents
Home PBXware SERVERware TELCOware SIPmon SIPProt Desktop & Mobile UADs Appliances From Bicom Systems Wiki Contents 1 Introduction 2 Requirements 2.1 Identifying Device Model 2.2 DECT IP Base Station Firmware 2.3 DHCP Server 2.4 PBXware Version 3 Installation 3.1 Power Adapter 3.2 Power over Ethernet (PoE) 3.3 Find the Device's IP Address 3.4 Reset to Factory Settings... -
Page 2: Requirements
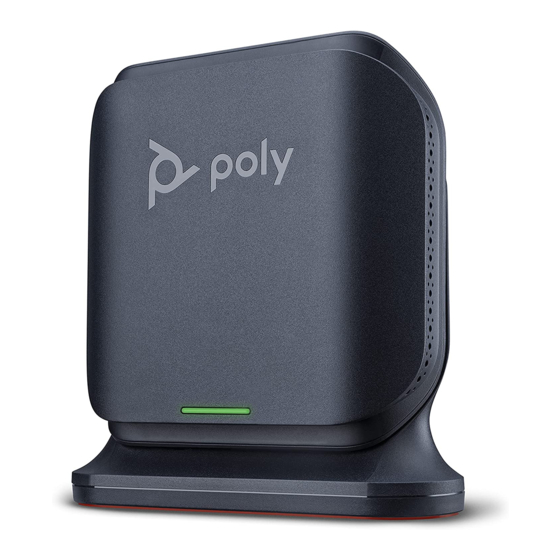
Requirements Identifying Device Model To start and successfully complete the registration of the Poly Rove B2 device, you need to know which device model to set up. On the back of each Poly Rove device, there is model information that you should check. -
Page 3: Dhcp Server
DHCP Server Fully configured and operational DHCP server. PBXware Version PBXware version 6.6.1 In order to find out the PBXware version: Log in to PBXware Navigate to Settings: About. On the top of About page, you may see a code similar to this one PBXware Edition: Multi- Tenant Release: 6.6.1 (41a4f0e6) Running: 16.16.1-gc-c0d40968, Proxy v6.6.1... -
Page 4: Find The Device's Ip Address
Do not unplug or remove power from the device while it is updating firmware and configuration.. Registering a Device This section describes how to identify the Poly Rove B2 device model, requirements that must be met, and how to register a device using Manual configuration or Auto provisioning. The following topics are covered:... - Page 5 UAD Settings Navigate to Settings: UAD. Make sure that the Poly Rove B2 UAD is enabled. To check the UAD status, click the Edit icon corresponding to your Poly Rove B2 device. Make sure that Status is set to Active, Auto provisioning is set to No, and DHCP is set to Yes.
- Page 6 Define the Department to which the Extension belongs. Example: Sales. Click the Save button. Registering a Device This section describes how to register a Poly Rove B2 device using Hostname or IP Address. The following topics are covered: Hostname or IP Address Hostname or IP Address Log in to the phone's web administration interface.
- Page 7 Dial *123 to verify the registration. Registering a Handset This section describes how to register the Poly Rove 30 handset or Poly Rove 40 handset with Poly Rove B2 device. NOTE: Before the registration, please make sure that the base station is in the registration mode, and the phone displays "Unregistered!".
-
Page 8: Auto Provisioning
Log in to the phone's web administration interface with the username and password. Please note that the factory default login details are as follows: username is admin and password is admin. Go to DECT Wireless. Click on Handset Summary in the left navigation menu. In IPEI filed enter IPEI number of handset you would like to register to the base station. - Page 9 UAD Settings Navigate to Settings: UAD. Make sure that the Poly Rove B2 UAD is enabled. To check the UAD status, click the Edit icon corresponding to the Poly Rove B2 device. Make sure that Status is set to Active, Auto provisioning is set to Yes, and DHCP is set to Yes.
- Page 10 Click the Save button. Registering a Device This section describes how to register a Poly Rove B2 device using DHCP, TFTP, HTTP & HTTPS. The following topics are covered: DHCP TFTP or HTTP &...
- Page 11 Choose what server type you intend to use: HTTP, HTTPS, and Trivial FTP. NOTE: recommendation is to use HTTP. If you choose to use HTTP or HTTPS server type, enter http:// or https:// followed by Hostname or IP Address, and then followed by /prov/phone$mac in ConfigURL.
-
Page 12: Using Tls
If you choose to use TFTP server type, enter tftp:// followed by Hostname or IP Address Example of a Hostname: tftp://abc.bicomsystems.com/prov/phone$mac.cfg Example of an IP Address: tftp://192.168.1.10/prov/phone$mac.cfg Click the Autoprovision Now button. A pop-up window will show up. Click the OK button to confirm the action. NOTE: You will have to wait for a couple of seconds for the configuration to be updated. -
Page 13: Configure Blf
Click Save. Additional Configuration Template If you want to include some additional UAD configuration for Poly Rove B2, just add fields to User Agent General Auto Provisioning Template in Settings -> UAD -> Poly Rove B2 menu, or add them directly to the Extension in UAD Auto Provisioning Template section. - Page 14 Disclaimers - About Bicom Systems Wiki...
Need help?
Do you have a question about the Rove B2 and is the answer not in the manual?
Questions and answers