Advertisement
Available languages
Available languages
Para Español, vea páginas 3-4.
Pour le français, consulter les pages 5-6.
H-8863
1-800-295-5510
uline.com
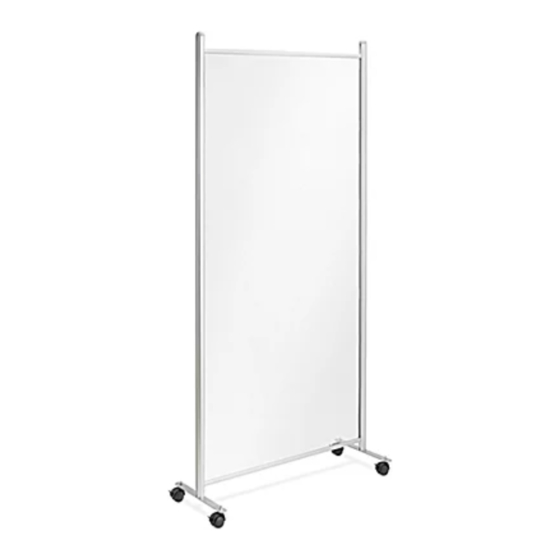
FLOOR STANDING
SAFETY PARTITION
TOOLS NEEDED
Wrench
Allen Wrench
Phillips
(included)
(included)
Screwdriver
PARTS
Partition x 1
Leg x 2
Rubber Foot x 4
Short Bolt x 8
Caster with Bolt
Dome Cap Nut x 4
(Shipped Attached to Legs)
and Washer x 4
ASSEMBLY
ASSEMBLING SHIELD
Figure 1
1. Attach legs to frame using eight short bolts and Allen
wrench. (See Figure 1)
PAGE 1 OF 6
0820 IH-8863
Advertisement
Table of Contents

Summary of Contents for U-Line H-8863
- Page 1 Para Español, vea páginas 3-4. Pour le français, consulter les pages 5-6. H-8863 1-800-295-5510 uline.com FLOOR STANDING SAFETY PARTITION TOOLS NEEDED Wrench Allen Wrench Phillips (included) (included) Screwdriver PARTS Partition x 1 Leg x 2 Rubber Foot x 4 Short Bolt x 8...
- Page 2 ASSEMBLY CONTINUED ATTACHING CASTERS (OPTIONAL) 3. Place caster stem through feet. Lightly secure with dome cap nut. (See Figures 5-6) Remove rubber feet with Phillips screwdriver. (See Figures 2-3) Figure 1 Figure 5 Figure 6 Figure 2 Figure 1 Figure 2 Figure 3 4.
- Page 3 H-8863 800-295-5510 uline.mx SEPARADOR DE PROTECCIÓN DE PISO HERRAMIENTAS NECESARIAS Llave Allen Llave Desarmador (incluida) (incluida) de Cruz PARTES 1 Separador 2 Patas 4 Bases de Caucho 8 Pernos Cortos 4 Ruedas con 4 Tuercas de (Anexas a las Patas)
- Page 4 CONTINUACIÓN DEL ENSAMBLE FIJAR LAS RUEDAS (OPCIONAL) 3. Coloque el vástago de la rueda a través de las patas. Asegure ligeramente con la tuerca de domo. Retire las bases de caucho con un desarmador de (Vea Diagramas 5-6) cruz. (Vea Diagramas 2-3) Diagrama 5 Diagrama 6 Diagrama 2...
- Page 5 H-8863 1 800 295-5510 uline.ca CLOISON DE SÉCURITÉ DE PLANCHER OUTILS REQUIS Clé hexagonale Clé Tournevis (inclus) (inclus) cruciforme PIÈCES Cloison x 1 Pied x 2 Patte en caoutchouc x 4 Boulon court x 8 Roulette avec boulon Écrou borgne x 4 (expédiés déjà...
- Page 6 MONTAGE SUITE FIXATION DES ROULETTES (OPTIONEL) 3. Insérez la tige de la roulette à travers le pied. Sécurisez légèrement avec l'écrou borgne. Enlevez la patte en caoutchouc à l'aide du (Voir Figures 5 et 6) tournevis cruciforme. (Voir Figures 2 et 3) Figure 1 Figure 5 Figure 6...


Need help?
Do you have a question about the H-8863 and is the answer not in the manual?
Questions and answers