Advertisement
Available languages
Available languages
Quick Links
H-8512
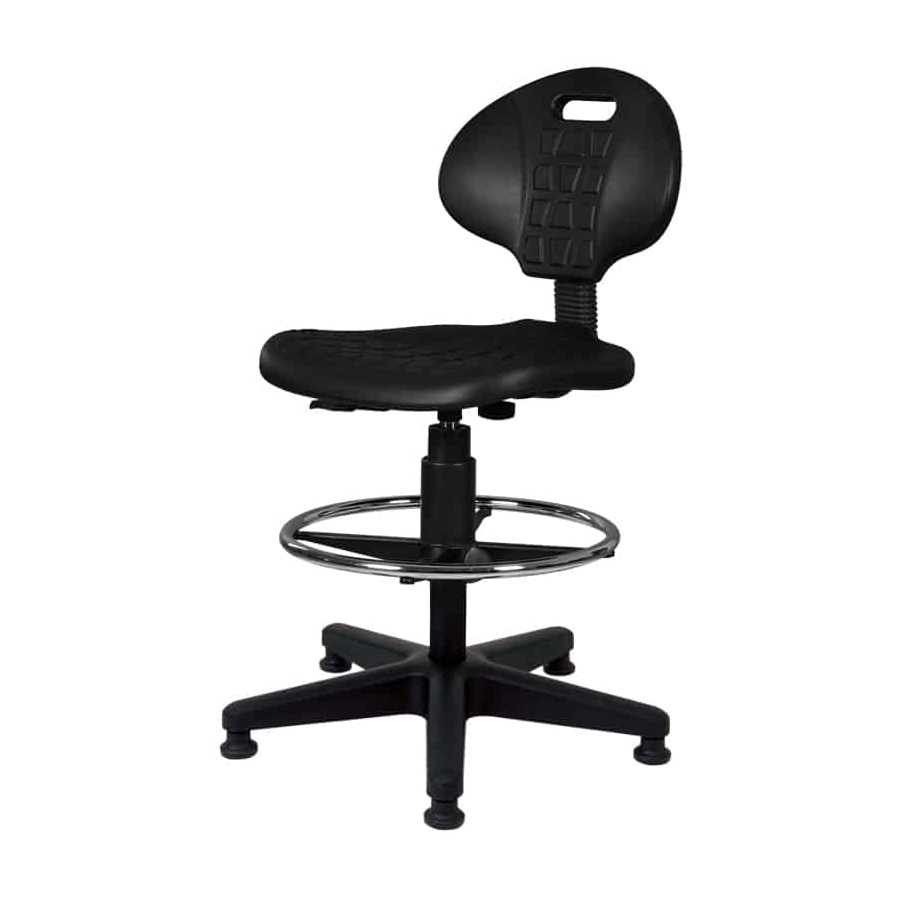
WORK STOOL
TOOLS NEEDED
Phillips Screwdriver
Backrest x 1
Seat x 1
Footring x 1
Dust Cover x 1
Optional Plastic
Plastic
Cover x 1
Stopper x 1
1.
Insert glides into legs of five-star base. Turn base
upright. Insert gas lift into center of base. Slide
footring onto gas lift and tighten knob to secure.
Slide dust cover onto gas lift over footring.
(See Figure 1)
PAGE 1 OF 9
1-800-295-5510
uline.com
Allen Wrench
(included)
5-Star Base x 1
Glide x 5
Mechanism x 1
Seat Screw x 6
ASSEMBLY
PARTS
Gas Lift x 1
Knob x 1
Figure 1
Para Español, vea páginas 4-6.
Pour le français, consulter les pages 7-9.
Backrest Mounting Kit
Plastic
Steel Plate x 1
Holder x 1
Post and
Optional
Cover x 1
Screw x 2
Plastic Cover x 1
0621 IH-8512
Advertisement

Related Manuals for U-Line H-8512


Summary of Contents for U-Line H-8512
- Page 1 Para Español, vea páginas 4-6. Pour le français, consulter les pages 7-9. H-8512 1-800-295-5510 uline.com WORK STOOL TOOLS NEEDED Phillips Screwdriver Allen Wrench (included) PARTS Backrest Mounting Kit Backrest x 1 Seat x 1 5-Star Base x 1 Glide x 5...
- Page 2 ASSEMBLY CONTINUED 2. Use backrest and backrest mounting kit to assemble. 4. Place plastic cover over socket on mechanism and Align plastic holder, post and steel plate to backrest. slide assembled backrest post through plastic cover Use Allen wrench to tighten with supplied screws. and into socket.
- Page 3 ADJUSTMENTS Seat/Back Tilt – To tilt the seat and back, lift the lever. The seat and back tilt simultaneously at the same rate. 2. Seat Height Adjustment – To raise seat height, lift lever up with little to no weight on the seat. To lower seat height, lift lever up while sitting.
-
Page 4: Herramientas Necesarias
H-8512 800-295-5510 uline.mx SILLA DE TRABAJO HERRAMIENTAS NECESARIAS Desarmador de Cruz Llave Allen (incluida) PARTES Kit de Instalación para Respaldo 1 Respaldo 1 Asiento 1 Base Estrella 5 Niveladores 1 Pistón de Gas 1 Soporte 1 Placa de de Plástico... - Page 5 CONTINUACIÓN DE ENSAMBLE 2. Instale el respaldo y el kit de instalación del 4. Coloque la cubierta de plástico sobre la entrada respaldo. Alinee el soporte de plástico, el poste y del mecanismo y deslice el poste del respaldo la placa de acero al respaldo. Utilice la llave Allen ensamblado a través de la cubierta de plástico para apretar los tornillos proporcionados.
- Page 6 AJUSTES Inclinación del Asiento/Respaldo – Para inclinar el asiento y el respaldo, levante la palanca. El asiento y el respaldo se inclinan simultáneamente en la misma proporción. 2. Ajuste de la Altura del Asiento – Para subir la altura del asiento, levante la palanca sin o con poco peso en el asiento.
-
Page 7: Outils Requis
H-8512 1-800-295-5510 uline.ca TABOURET DE TRAVAIL OUTILS REQUIS Tournevis cruciforme Clé Allen (inclus) PIÈCES Ensemble du matériel de fixation pour dossier Dossier x 1 Siège x 1 Base à 5 branches x 1 Patin x 5 Vérin pneumatique x 1... - Page 8 MONTAGE SUITE 2. Assemblez le dossier avec le matériel de fixation. 4. Placez le cache en plastique sur l'emboîture du Alignez le support en plastique, le montant et la mécanisme et faites glisser le montant du dossier plaque en acier sur le dossier. Utilisez la clé Allen assemblé...
- Page 9 RÉGLAGES Inclinaison du siège/dossier – Pour incliner le siège et le dossier, soulevez le levier. Le siège et le dossier s'inclinent simultanément au même degré. 2. Réglage de la hauteur du siège – Pour élever le siège, soulevez le levier avec peu ou sans poids sur le siège.
Need help?
Do you have a question about the H-8512 and is the answer not in the manual?
Questions and answers