Advertisement
Quick Links
Installation Note
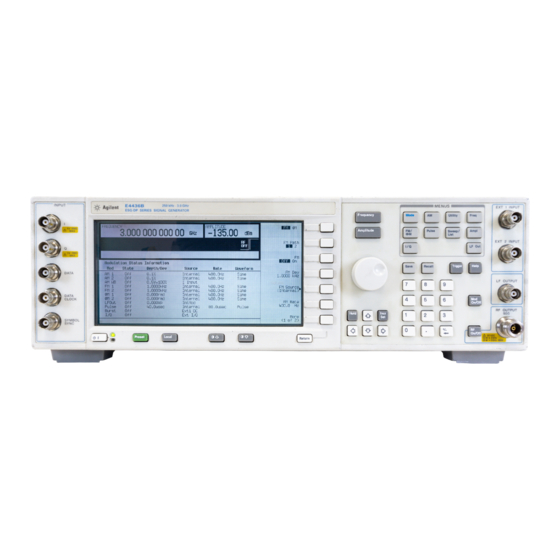
Agilent Technologies ESG Vector Signal Generator
E4423B, E4424B, E4425B, E4426B,
E4434B, E4435B, E4436B, and E4437B
Semi-Rigid Cable Replacement Kits
Kit Part Numbers:
E4400-60750,
E4400-60751,
and E4400-60752
Part Number E4400-90660
Printed in USA August 2007
Advertisement

Related Manuals for Agilent Technologies E4423B


Summary of Contents for Agilent Technologies E4423B
- Page 1 Installation Note Agilent Technologies ESG Vector Signal Generator E4423B, E4424B, E4425B, E4426B, E4434B, E4435B, E4436B, and E4437B Semi-Rigid Cable Replacement Kits Kit Part Numbers: E4400-60750, E4400-60751, and E4400-60752 Part Number E4400-90660 Printed in USA August 2007...
- Page 2 The information contained in this document is subject to change without notice. Agilent Technologies makes no warranty of any kind with regard to this material, including but not limited to, the implied warranties of merchantability and fitness for a particular purpose. Agilent Technologies shall not be liable for errors contained herein or for incidental or consequential damages in connection with the furnishing, performance, or use of this material.
- Page 3 To Be Performed By: ..... . (X) Agilent Technologies Service Center ( ) Personnel Qualified by Agilent Technologies ( ) Customer Estimated Installation Time: .
- Page 4 Installation Kit Parts List Table 1 Replacement Cable Kit for W42 E4400-60750 Item Quantity Description Part Number Retainer Ring 0510-1643 Retainer Cable E4400-40002 Cable AY Jumper E4423-20025 Installation Note E4400-90660 Table 2 Replacement Cable Kit for W43 E4400-60751 Item Quantity Description Part Number Retainer Ring...
-
Page 5: Safety Considerations
Tools Required • TORX T-10 driver • TORX T-15 driver • TORX T-20 driver • Long Nose pliers • 5/16 open-ended wrench Safety Considerations Before you disassemble the instrument, turn the power switch off and unplug the signal WARNING generator. Failure to unplug the signal generator can result in personal injury. Electrostatic discharge (ESD) can damage or destroy electronic components. - Page 6 Checking Signal Generator Functionality Use the following procedure to confirm that the signal generator powers on and that the internal check does not identify errors. The internal check evaluates the operation of the signal generator and returns an error message if it detects a problem.
- Page 7 Removing Outer and Inner Covers Tools Required • TORX T-10 driver • TORX T-15 driver • TORX T-20 driver Removing the Outer Cover Figure Refer to 1. Disconnect the power cord. 2. Using a T-20 driver, remove the two strap handles (1) by loosening the screws. 3.
- Page 8 Figure 1 Outer and Inner Cover Removal...
- Page 9 Removing A9, A11, A23, and A24 Daughter Card Cage Boards Refer to Figure Use this procedure to remove any one of the following assemblies: • A9 Ouput Board • A11 Reference Board • A23 Sampler Board • A24 Frac-N Board 1.
- Page 10 Replacing W42, W43, or W44 Remove Old Semi-Rigid Cables For ESG-AP and ESG-DP Series Signal Generators, refer to Figure Figure For ESG-AP and ESG-DP Series Signal Generator with Option UNB, refer to or 1. Refer to Figure 5. Remove the snap ring (1) from the cable retainer (2) of the cable you want to remove. The cable is now disconnected from the instrument chassis (3).
- Page 11 Figure 4 W42, W43, and W44 Semi-Rigid Cable Locations for ESG-AP and ESG- DP Series Signal Generators with Option UNB...
- Page 12 Figure 5 Cable Retainer Connect New Semi-Rigid Cables Figure Refer to 1. When installing a new cable, a new cable retainer (2) must be attached to one end of the cable (4). Verify the cable retainer is correctly attached by listening for a click, as you slide the cable retainer over the end of the cable. 2.
- Page 13 Replace Daughterboard Card Cage Boards Figure 1. Replace the board(s) into the card cage slot. Refer to 2. Press down on the retention levers until the board connects with the A19 Daughterboard. Replace the Inside Top and Side Covers Refer to Figure “Removing the Inner Top 1.
- Page 14 Perform the Functionality Check of the Signal Generator 1. Reboot the signal generator, allowing it to warm up for five minutes. 2. Press the front panel PRESET button to reset the signal generator. 3. Check for error messages. “Checking Signal Generator Functionality” on page 6 •If error messages occur, refer to to clear the error messages.