Advertisement
- 1 DISCLAIMER - READ BEFORE SAFE SETUP
- 2 REGISTRATION
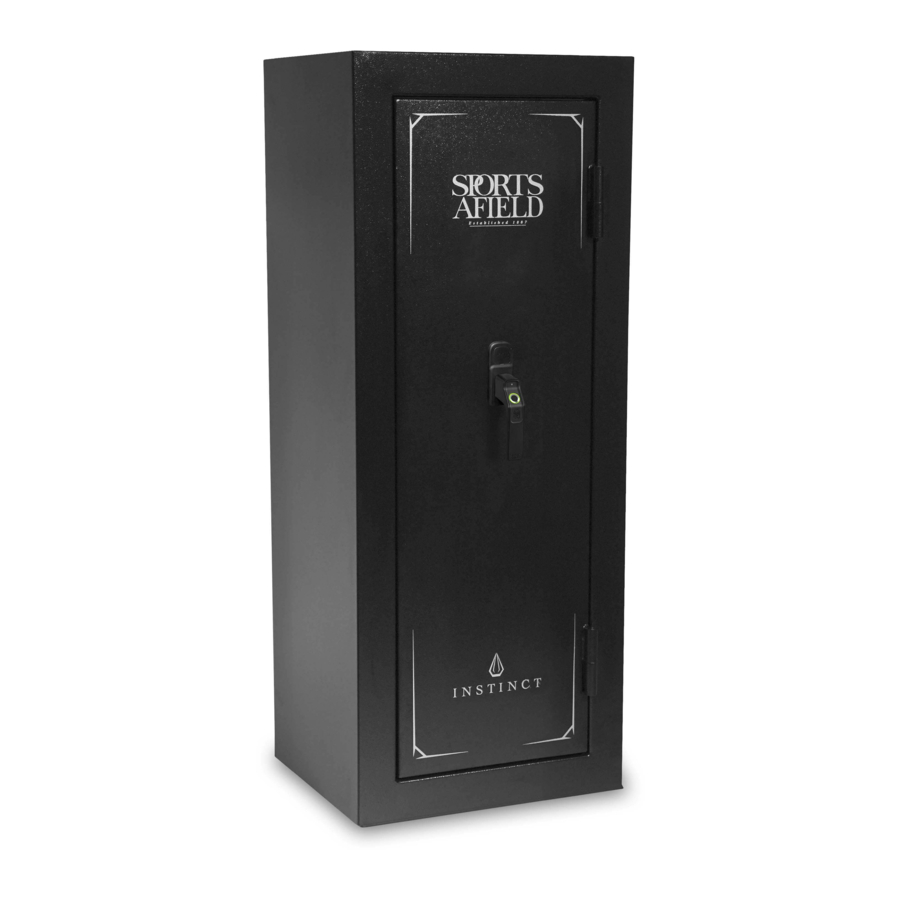
- 3 UNDERSTANDING YOUR SAFE
- 4 UNBOXING
- 5 INSPECTION
- 6 OPENING YOUR SAFE
- 7 PROPER PLACEMENT AND MOVING OF SAFE
- 8 KEEPING YOUR SAFE DRY
- 9 SECURING YOUR SAFE
- 10 E-LOCK INSTALLATION
- 11 SECURITY CODE SETUP FOR NON ILLUMINATED E-LOCKS
- 12 LOW BATTERY WARNING
- 13 E-LOCK QUIET MODE
- 14 LOCKED OUT OF YOUR SAFE
- 15 LOADING YOUR SAFE
- 16 MAINTAINING HINGES AND INTERNAL MECHANISMS
- 17 LIFETIME WARRANTY
- 18 Documents / Resources

Please read this information and follow all safety rules carefully before operating your gun safe. Failure to do so will void your warranty.


Tip Over Hazard
A child or adult can tip the safe and be killed or seriously injured.
Failure to secure the safe as shown in these instructions can result in death or serious injury to children and adults.
Children should not play with or around the safe at any time.
DISCLAIMER - READ BEFORE SAFE SETUP
PLEASE READ THIS INFORMATION CAREFULLY BEFORE OPERATING YOUR SPORTS AFIELD SAFE.
DO NOT LOCK THIS MANUAL OR THE OVERRIDE ACCESS KEYS IN YOUR SAFE.
- Your safe is built to last a lifetime. However, please understand that the locking mechanism has precision parts. If you experience ANY difficulty opening or closing your safe, DO NOT FORCE THE SAFE OPEN. Doing so may jam the components in the lock, which will require a safe technician to unlock your safe. This causes an inconvenience for you, and may lead to a claim denial.
- If you experience problems or challenges with your safe, please contact us. Many issues can be quickly resolved without the product being returned.
Contact Customer Service at (888) 792-4264 or cs@sportsafieldsafes.com
SAFETY
- Safe bodies and doors are extremely heavy thus SA Products Requires a minimum of two people to insure stability of the safe during installation. Always ensure proper installation, as laid out in this manual, and do not open the door with the safe on an uneven or unstable floor. Ignoring this could result in serious injury or death.
- Keep a record of your combination number in a secure place, away from children, and separate from your safe. You will need this information along with your proof of purchase to obtain technical assistance and replacement keys.
WEAPON STORAGE
- If you choose to utilize this safe to store a weapon always follow proper weapon and local laws when storing a weapon.
- SA Consumer Products strongly recommends that you do not store loaded guns.
- Always follow the firearm safety rules set out by the firearm's manufacturer.
- A Sports Afield Safe or any other firearm storage device cannot take the place of other safety procedures including advising children of the dangers of firearms.
- SA Consumer Products and its distributors of the Sports Afield Safes do not recommend, suggest, advise, promote, or otherwise condone the ownership or use of firearms. We believe the decision to own or use a firearm is a serious decision that should only be made by an adult who has carefully considered the risks and benefits of such a decision.
THIS MANUAL SERVICES THE FOLLOWING STYLE NUMBERS
SA5518-AW
SA5518-AWF
REGISTRATION
Please ensure you register your safe by visiting our website. Locate the "contact" button on the top header on the home page. Select registration from the drop down menu.
By registering your SA Consumer Products we will be able to expedite and address any problems or challenges you may have which would otherwise require a notary letter and proof of payment.
REGISTRATION INFORMATION
The information you record onto this page will be required in the event you cannot access the contents of your Sports Afield safe. Please fill out all the required information below and retain for your records and safe keeping.
PLEASE HAVE THIS INFORMATION READY PRIOR TO CALLING FOR TECHNICAL ASSISTANCE AT:
PURCHASE DATE
PURCHASE PRICE (BEFORE TAX)
MODEL NUMBER
SERIAL NUMBER
RETAILER PURCHASED AT
KEY NUMBER (IF APPLICABLE)
UNDERSTANDING YOUR SAFE


UNBOXING
SAFES ARE HEAVY AND CAN BE UNSTABLE ON UNEVEN GROUND. PLEASE ENSURE EXTRA CAUTION WHEN DEALING WITH OR MOVING UNSECURED SAFES. WHILE UNBOXING BE SURE TO HAVE A SECOND PERSON HOLD AND STABILIZE THE SAFE TO KEEP IT FROM TIPPING, CAUSING INJURY, AND/OR DAMAGE TO THE SAFE AND SURROUNDING STRUCTURES.
- Remove the packaging. If your safe is still on shipping feet you can simply lift the box up and off the safe once the strapping has been removed. If your safe does not have shipping feet you will need to carefully remove the box, ensuring not to damage the safe and/or injure yourself. You will want to have someone stabilize the safe when removing the cardboard and other packing material from underneath the safe.
INSPECTION
- Make sure to inspect your safe for shipping damage before accepting delivery. If you find any damage, please contact the delivery company (or carrier) immediately.
- Any damage not noted upon delivery must be reported within fifteen (15) days or there will be no recourse. Any noted damage at the time of delivery must be resolved with the delivery company and/or retailer. Shipping damage is not warrantable by SA Consumer Products.
OPENING YOUR SAFE
- Locate the override keys and single handle spoke inside the plastic bag hanging on the front of the safe.

- Locate the keyhole in the backer plate. Insert and turn the override key clockwise from 9 to the 1 o'clock position to unlock.

- Turn the handle counterclockwise until the safe door opens. Once open, turn the handle back to its starting position so the bolts are open and extended. Remove key.


PROPER PLACEMENT AND MOVING OF SAFE
SAFES ARE VERY HEAVY AND AWKWARD TO HANDLE. PLEASE USE THE UTMOST CARE IN MOVING THE SAFE. UTILIZING A TRAINED PROFESSIONAL WITH PROPER MOVING EQUIPMENT IS HIGHLY RECOMMENDED.
The location of the gun safe is very important and the utmost care should be taken during this consideration.
- To maximize the fire protection of your safe, we recommend you place the safe in lower levels in your home where fire temperatures are lower and away from highly combustible materials.
- To maximize burglary protection and stability, securing the safe to the floor is recommended.
- SA Consumer Products recommends that you store your safe in a closet, office, basement, bedroom or any other location that is convenient for you but out of direct line of sight from prying eyes. The location of the gun safe is very important.
Using a dolly capable of supporting the size and weight of your safe, move the safe to your desired location. Please take all necessary precautions to protect and prevent any damage to your flooring.
HELPFUL: TO DETERMINE WHETHER YOUR SAFE WILL MAKE IT THROUGH DOORWAYS, STAIRS, OR CORNERS, TAKE THE EMPTY SAFE BOX AND SEE IF IT WILL FIT ALL THE WAY THROUGH TO ITS FINAL LOCATION.
- The safe should be installed adjacent to a side wall with minimal space on either side of the safe. Wherever possible, the safe should be flat against the wall and floor. Remove the baseboard and/or wall trim if necessary.
- Always ensure the safe is in an isolated and dry area. Never place the safe in direct contact with a wet floor. When installing your safe on a concrete floor, use of a moisture/protective barrier is highly recommended. Failure to do so, or exposing the safe to chemicals or other adverse environments, may void the warranty.
- If your safe seems unlevel, you may need to shim the bottom of the safe to prevent the door from swinging open too quickly, or closing on itself.
KEEPING YOUR SAFE DRY
We recommend placing a moisture/protective barrier between your safe and concrete floor to prevent any moisture, mildew and rust damage the safe. Installing your safe in a place with climate control (heat in the winter and cooling in the summer) is highly recommended. In areas of high humidity or frequent temperature fluctuations (garages) it is recommend to take appropriate precautions to ward against moisture damage. We strongly encourage the use of an internal dehumidifier and/or desiccants to protect your contents from rust or mildew. Internal dehumidifiers should not be in direct contact with the side or back walls.
SECURING YOUR SAFE
YOUR SAFE IS DESIGNED TO SUPPORT ITSELF WHEN THE DOOR IS OPENED. HOWEVER, CAUTION SHOULD BE USED TO AVOID TIPPING. WHILE SECURING YOUR SAFE BE SURE TO HAVE A SECOND PERSON HOLD AND STABILIZE THE SAFE TO KEEP IT FROM TIPPING, CAUSING INJURY, AND/OR DAMAGE TO THE SAFE AND SURROUNDING STRUCTURES. FAILURE TO DO SO WILL COMPROMISE THE SAFETY, SECURITY, AND WARRANTY OF THE SAFE.
TOOLS NEEDED TO BOLT SAFE TO A CONCRETE SURFACE
- DRILL / HAMMER DRILL
- DRILL BIT – 1/2" ( for installing into concrete with provided hardware)
- WRENCH / 11/16" (17MM) SOCKET
- HAMMER


- Use the hardware provided or consult your hardware retailer for fastening hardware for your particular mounting surface.
- Open your safe door and locate and remove the four black caps on the safe floor. This will provide access to the factory drilled bolt down holes.
- To secure your safe to the floor it will first be necessary to drill pilot holes in the floor surface.
- Drill the appropriate diameter and depth of pilot holes based on the type of hardware being used and the type of floor surface. For the hardware provided (concrete floor installation) we recommend using a hammer drill and 1/2" concrete drill bit to drill holes the four corresponding in the concrete floor.
- Insert and drive the plastic anchoring plugs into the pilot holes. You may need to use a hammer to fully insert the plugs into the pilot holes.
- Secure the safe, by threading all 4 anchor bolts through the factory drilled bolt down holes in the bottom of the safe and ratcheting down tight.
- Make sure the metal washer sits on top of the rubber washer. Tighten the bolt to compress the rubber washer between the safe and metal washer. Failure to do so will allow water to enter the safe in the event of a flood.
- Replace the four black caps onto the floor of the safe.
E-LOCK INSTALLATION
- Remove lock face from box located inside of safe.

- The e-lock requires 1x9V alkaline battery. Locate the battery compartment on the back of the lock face. Insert the battery in the proper orientation. Keypad will beep when batteries are successfully installed.

![]()
The batteries must be inserted with the correct polarity. Exhausted batteries must be removed from the product and discarded safely. Do not mix old and new batteries. Do not mix alkaline or standard (carbon – zinc) batteries. Do not use rechargeable (nickel – cadmium) batteries.
- Plug E-lock cable into the back of the E-lock. The cable connector will only fit one way into the connector in the lock face.

- Align the lock face to the backer plate, with the lock face slightly rotated to the left. Turn clockwise until the E-lock clicks into place.


SECURITY CODE SETUP FOR NON ILLUMINATED E-LOCKS
It is necessary to re-program your safe with a new security code you have personally selected to provide maximum household security. Be careful, in choosing your new security code, you'll want to be sure that you can operate the unit quickly without making an error.
- Key in the preset factory code [ 1 5 9 # ]. The right light will turn green. Turn the handle to ensure bolts are activated. Once confirmed return handle to starting position to lock bolts out.

- On the inside of the safe door, locate the small brass cap. Unscrew and remove the cap, you will now see the reset button. Press and release the reset button. You will hear a beep. The yellow (left) light on the E-lock will illuminate so that you can enter your new code.

- Enter your new 3 to 8 digit security code while the yellow (left LED) light is illuminated followed by the [ * ] symbol. Keypad will beep twice after pressing the [ * ] symbol.

- While the safe door is still open, confirm your newly entered security code. Confirm code by entering the 3-8 digit code followed by the [ # ]. If successful you will hear two beeps and the green light will illuminate, allowing you to retract the bolts.


Note: Do not shut the safe door until you have confirmed your new security code at least 3 times to ensure your code has been saved and you can open the door successfully If the code fails, the yellow (left) light will flash and beep. Repeat the steps above until successful.
If the incorrect security code is entered 3 times you will have an automatic lockout for 20 seconds before you can enter your code again. If 3 additional failed attempts are made, the keypad will lockout for 10 minutes. Leave batteries in to go through lockout cycle. If batteries are removed the timer will restart zero.
LOW BATTERY WARNING

- This E-Lock is equipped to alert you when the batteries are low by illuminating the red light (center) when any button is pressed on the keypad. Please replace batteries immediately when receiving this warning.
- Always test the batteries when installing or replacing. If the red light comes on when a button is pressed you know the batteries are not fully charged.
E-LOCK QUIET MODE

- By activating the E-lock quiet mode, the safe will no longer make audible sound when interacting with safe, allowing for silent access.
- To mute the E-Lock, enter the code [ * 6 3 3 ].
- To turn the sound back on, enter code [ * 6 6 ].
LOCKED OUT OF YOUR SAFE
In the event you have forgotten the security code your primary action will be to use your backup keys in order to gain access to your safe and follow the E-Lock Security Setup Code instructions, starting at step 2 of activating the brass reset button.
If you have lost your backup keys, you will need to contact customer service at the number below. Proof of purchase is required to obtain keys.
LOADING YOUR SAFE
- Store documents or heat sensitive items in the bottom of the safe for greatest protection against fire damage.
- Store ammunition separately from valuables.
- Do not put anything in your safe that will put pressure against the door when it is closed.
- Select safe models have reinforced shelving, but as a good safety precaution store heavier items either on the floor of the safe, or away from the middle of the shelves.
- When loading guns into your safe, make sure they rest securely against the cutouts provided in the gun racks to prevent accidental tipping when the door is closed.
MAINTAINING HINGES AND INTERNAL MECHANISMS
The hinges and internal locking mechanism are permanently lubricated, thus needing no maintenance. Opening the door panel of your safe may void your warranty. Always consult our customer service experts prior to doing so.
LIFETIME WARRANTY
SA Consumer Products, Inc. will repair or replace, at their sole discretion, any Sports Afield Gun Safe damaged by fire, forced entry, forced attack or natural flood for the lifetime of the original owner.
SA Consumer Products, Inc. will repair or replace, at their sole discretion, any Sports Afield Gun Safe with defective parts, paint or lock for the lifetime or the original owner.
If SA Consumer Products, Inc. deems a replacement safe is to be sent, they will pay the freight costs to ship the replacement safe to the original owner.
This lifetime warranty is limited to the safe and expressly excludes any loss associated with the contents of the safe.
SA Consumer Products, Inc. reserves the right to receive full evidence of your misfortune, such as a police report and/or homeowners statement of coverage. This warranty is not valid outside of the United States and Canada.
Proof of registration and copy of sales receipt must be on file at the time of claim. Visit our website at www.saproducts.com to register your safe.
Lifetime warranty only applies to the original owner of the safe.
SA Consumer Products, Inc. shall only be responsible and liable when the safe is used in compliance with the directions specified in your new Sports Afield Safe Owner's Manual.
SA Consumer Products, Inc. requires that specific guidelines be followed for repair. The safe will be repaired in-home if possible (to include parts and labor); however, if factory replacement is necessary (at SA Consumer Products, Inc.'s sole discretion), the replacement will be shipped freight prepaid, curbside delivery.
This warranty is inclusive and is in lieu of any and all other warranties, express or implied. Specifically excluded are the warranties of merchantability and fitness for a particular purpose. This warranty is limited to the safe itself and/or its value and does not include consequential damages of any kind including, but not limited to, the contents in and of the safe.

Documents / Resources
References
Download manual
Here you can download full pdf version of manual, it may contain additional safety instructions, warranty information, FCC rules, etc.
Advertisement


Need help?
Do you have a question about the 18 Gun Safe and is the answer not in the manual?
Questions and answers