Sign In
Upload
Download
Table of Contents
Contents
Add to my manuals
Delete from my manuals
Share
URL of this page:
HTML Link:
Bookmark this page
Add
Manual will be automatically added to "My Manuals"
Print this page
×
Bookmark added
×
Added to my manuals
Manuals
Brands
SPORTS AFIELD Manuals
Safes
INSTINCT Series
Instruction manual
SPORTS AFIELD INSTINCT Series Instruction Manual
Hide thumbs
1
Table Of Contents
2
3
4
5
6
7
8
9
10
11
12
13
14
15
16
17
18
19
page
of
19
Go
/
19
Contents
Table of Contents
Bookmarks
Table of Contents
Table of Contents
Registration
Safety and Storage
Understanding Your Safe
Unboxing
Inspection
Opening Your Safe
Proper Placement and Moving of Safe
Keeping Your Safe Dry
Skid Removal and Securing
Gun Rest Installation
E-Lock Installation
Low Battery Warning
Security Code Setup for Non Illuminated E-Locks
E-Lock Quiet Mode
Locked out of Your Safe
Advertisement
Quick Links
1
Opening Your Safe
2
Low Battery Warning
Download this manual
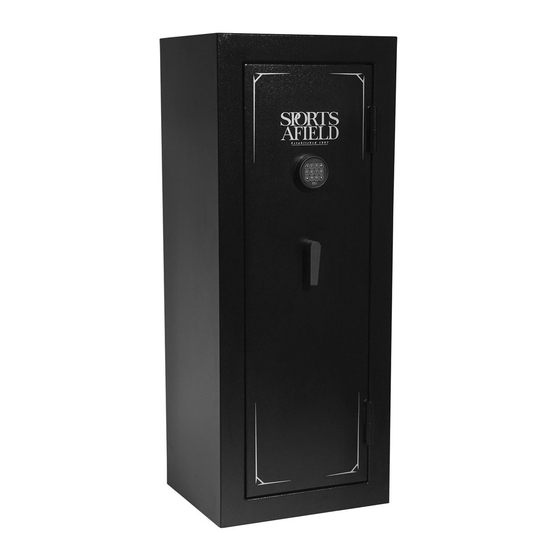
INSTINCT SERIES INSTRUCTION MANUAL
IMPORTANT:
Please read this information and follow all safety rules carefully before
operating your gun safe. Failure to do so will void your warranty.
120220
Table of
Contents
Previous
Page
Next
Page
1
2
3
4
5
Advertisement
Table of Contents
Need help?
Do you have a question about the INSTINCT Series and is the answer not in the manual?
Ask a question
Questions and answers
Related Manuals for SPORTS AFIELD INSTINCT Series
Safes SPORTS AFIELD INSTINCT BIOMETRIC Series Instruction Manual
(15 pages)
Safes SPORTS AFIELD INSTINCT SA5520LZ Instruction Manual
(14 pages)
Safes SPORTS AFIELD SA55-36V Instruction Manual
Sports afield fire safe (14 pages)
Safes SPORTS AFIELD SA55-48V Instruction Manual
Sports afield fire safe (14 pages)
Safes SPORTS AFIELD DENALI Series Instruction Manual
(16 pages)
Safes SPORTS AFIELD HAVEN Series Instruction Manual
(15 pages)
Safes SPORTS AFIELD PRESERVE Series Instruction Manual
(14 pages)
Safes SPORTS AFIELD PRESERVE BIOMETRIC Series Instruction Manual
(17 pages)
Safes SPORTS AFIELD SA5520INS-BIO Instruction Manual
(18 pages)
Safes SPORTS AFIELD SA-HD1X Instruction Manual
Quick access security vault (12 pages)
Safes SPORTS AFIELD HAVEN Series Instruction Manual
(16 pages)
Safes SPORTS AFIELD SA-HD4 Instruction Manual
(16 pages)
Safes SPORTS AFIELD SA-HD5-BIO Instruction Manual
Drop action biometric security vault (15 pages)
Safes SPORTS AFIELD YOSEMITE Series Instruction Manual
(16 pages)
Safes SPORTS AFIELD SA-HD1-BIO Instruction Manual
(14 pages)
Safes SPORTS AFIELD SA-HD6-BIO-DP Instruction Manual
Quick access biometric security vault (15 pages)
This manual is also suitable for:
Sa5532ins
Sa5529ins
Sa5525ins
Sa5520ins
Sa5516ins
Table of Contents
Print
Rename the bookmark
Delete bookmark?
Delete from my manuals?
Login
Sign In
OR
Sign in with Facebook
Sign in with Google
Upload manual
Upload from disk
Upload from URL


Need help?
Do you have a question about the INSTINCT Series and is the answer not in the manual?
Questions and answers