Advertisement
P
.# 715001121, R
ROC
EV
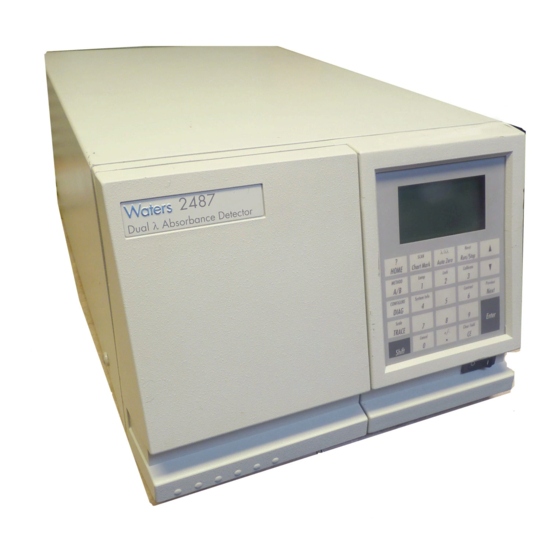
Rebuilding the 2487 Autopurification Flow Cell
This procedure outlines the steps necessary to rebuild the 2487 Autopurification Flow Cell.
NOTE: To be certain you have the latest version of this procedure, please visit the Waters
Support Center (http://www.waters.com).
Take the following precautions when disassembling and reassembling the flow cell:
• To prevent contamination, use powder-free finger cots or gloves when touching the
flow cell lenses or window.
• Take care to prevent scratching of the flow cell parts.
• Use a clean nonparticulating cloth or a similar clean surface in the work area where
you are removing, rebuilding, and replacing the flow cell.
NOTE: Always replace the flow cell gaskets when cleaning, rebuilding, or replacing other
flow cell components.
Parts Required
Part Number
700002770
Part Number
WAT081131
WAT081073
WAT081135
WAT081070
402000155
Tools/Materials Required
• 1/4-inch flat-blade screwdriver
• Torque wrench set to 11 and 14 in-lb with 1/4-inch flat blade screwdriver bit
• Plastic tweezers
• Powder-free gloves or finger cots
• Lint-free swab
• Methanol
The cuvette lens mount screw, lens holder, entrance lens washer and lens mount will be reused
when rebuilding the flow cell.
. A R
2487 A
EBUILDING THE
Table 1: Parts Required
2487 Autopurification Flow Cell Rebuild Kit
Table 2: Kit Components
Lens, Cell Entrance
Window, Stepped, Flow Cell
F
UTOPURIFICATION
LOW
Description
Description
Gasket, Flow Cell
Split Ring, Cuvette
Lens, Cuvette
C
1
ELL
Quantity
1
Quantity
2
1
1
1
1
6
OF
Advertisement
Table of Contents

Related Manuals for Waters 2487


Summary of Contents for Waters 2487
- Page 1 Rebuilding the 2487 Autopurification Flow Cell This procedure outlines the steps necessary to rebuild the 2487 Autopurification Flow Cell. NOTE: To be certain you have the latest version of this procedure, please visit the Waters Support Center (http://www.waters.com). Take the following precautions when disassembling and reassembling the flow cell: •...
- Page 2 7. Using a 1/4-inch flat-blade screwdriver, loosen the three captive screws on the flow cell assembly front plate (Figure 1). Figure 1 - Removing 2487 Autopurification Flow Cell Assembly 8. Gently pull the assembly toward you, and out of the 2487 Detector chassis.
- Page 3 .# 715001121, R . A R 2487 A EBUILDING THE UTOPURIFICATION 9. Remove the cuvette holder by sliding it out of the flow cell holder (Figure 2). 10. Place the flow cell assembly on a flat clean surface. Figure 2 - Cuvette and Flow Cell Holders...
- Page 4 EBUILDING THE UTOPURIFICATION Disassembling the Flow Cell Figure 3 - Exploded View of 2487 Autopurification Flow Cell NOTE: Flow cell components showing part numbers are the components that need to be replaced. All other parts are to be reused. Exit or Cuvette Side 1.
- Page 5 .# 715001121, R . A R 2487 A EBUILDING THE UTOPURIFICATION 2. Using the 1/4-inch flat-blade screwdriver, remove the lens mount screw. The tan-colored entrance lens washer will remain inside the lens mount screw. 3. Rotate the flow cell so that the entrance lens is facing downward, and give the flow cell body a light tap to remove the lens.
- Page 6 .# 715001121, R . A R 2487 A EBUILDING THE UTOPURIFICATION NOTE: Any contamination will require the cell to be taken apart and recleaned. Because the gasket has not been under any pressure, it is possible that it can be reused.
Need help?
Do you have a question about the 2487 and is the answer not in the manual?
Questions and answers
What side of battery I should slide into CPU board
The battery used in the Waters 2487 detector is a CR2032. The positive side (marked with a "+") should face up when inserted into the CPU board inside the detector.
This answer is automatically generated