Table of Contents
Advertisement
Quick Links
Making British gardens great
Thank you for purchasing your shed from Forest Garden. No matter what size garden, a shed is the most practical
of garden structures. Simply follow these step by step instructions and our top tips and you'll be enjoying your
shed for many years to come. If you have any questions or need advice, our friendly team is here to help.
SHED
SMALL SHED SINGLE DOOR
FIXING PACK CONTAINS:
FIXING PACK CODE: TPA64MFP
Tee Hinges
QTY: 3
Missing something or need more information?
Call our aftersales team on
0333 321 3142
Forest Garden, Oak Drive, Hartlebury Trading Estate, Hartlebury, Worcestershire, DY10 4JB
77 Camden Street Lower Dublin, D02 XE80, Ireland, Tel: +353 1903 6214
INSTRUCTIONS
Casement Stay & Pins
QTY: 1
(6x4)
Felt Tacks
QTY: 60
Turn Buttons
QTY: 2
Rim Lock
Lock Receiver
QTY: 1
QTY: 1
Visit our website for spare instructions and
more information
www.forestgarden.co.uk
ISSUE: 0122
Cranked Hinges
QTY: 2
Escutcheon
Lock Knob Set
QTY: 1
QTY: 1
Advertisement
Table of Contents

Related Manuals for Forest Timberdale 4 x 6 ft Tongue & Groove Shed


Summary of Contents for Forest Timberdale 4 x 6 ft Tongue & Groove Shed
- Page 1 Making British gardens great Thank you for purchasing your shed from Forest Garden. No matter what size garden, a shed is the most practical of garden structures. Simply follow these step by step instructions and our top tips and you’ll be enjoying your shed for many years to come.
-
Page 2: Tools Needed
BEFORE YOU START Please read through these instructions to familiarise yourself with your shed. We recommend that you check all the components using the lists found on the front and back pages before you start to build. All of our sheds are constructed in the same way. They simply come with different components depending on the type of shed you have. - Page 3 CARE & ATTENTION To help you get the most out of our products it’s useful to know a little more about the properties of timber, what’s normal and how your shed may behave as the seasons change. Wood is an extremely durable material for construction but as a natural product when used outdoors it is susceptible to changes in the environment.
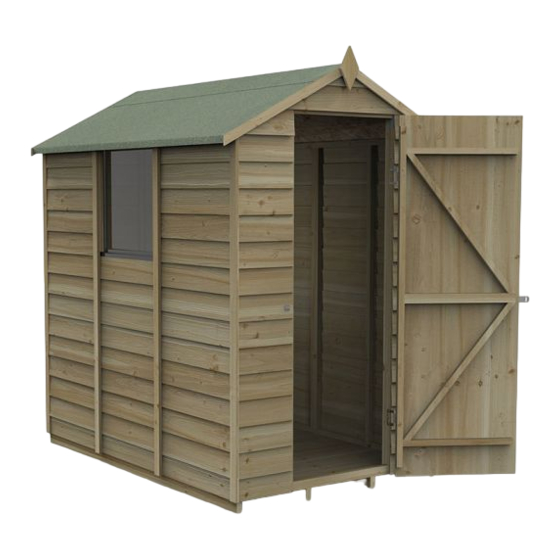
- Page 4 IDENTIFY YOUR SHED Use the floor plan below, to identify the side panel positions before assemblying your shed. Use the key and visuals below as a guide. Door Panel Plain Panel Plain & Window Panel (1114 x 1831mm) Plain Panel (323 x 1831mm) (These panels are interchangeable) (1180 x 1831mm)
-
Page 5: Side Panels
PRE-DRILL FLOOR & PANEL LAYOUT WITH 2MM BIT FOR ALL STEPS BELOW. Position your floor in your desired location. Layout the panels around your shed base. We recommend to start in a back corner then work from the back panels to the front panels for assembly. -
Page 6: Roof Assembly
PRE-DRILL COVER STRIPS & DOOR STRIPS WITH 2MM BIT FOR ALL STEPS BELOW. Attach the Cover Strips to the adjoining Attach the Cover Strips to the corners of the Secure the Door Weather Strips. Ensure they panels. Ensure they are flush to the bottom panels. -
Page 7: Window Assembly
PRE-DRILL WINDOW ASSEMBLY WITH 2MM BIT FOR ALL STEPS BELOW. Secure the Window to the Window Panel Secure the Casement Stay & Pins to Attach the Cranked Hinges to the Window. framework. Ensure the pin on the hinges the Window and interior sill. Secure the Use the measurement provided as a positioning hook onto the T&G board on the front of the Casement Stay with its supplied screws and... - Page 8 PRE-DRILL DOOR FIXINGS WITH 2MM BIT FOR ALL STEPS BELOW. Attach the Door Handle and Escutcheon Position and secure the Rim Lock Receiver to Attach a turn button at the top and bottom of to the external face of the Door using their the framework.
- Page 9 Use the labelled components to help identify the part code and description.
Need help?
Do you have a question about the Timberdale 4 x 6 ft Tongue & Groove Shed and is the answer not in the manual?
Questions and answers