Advertisement
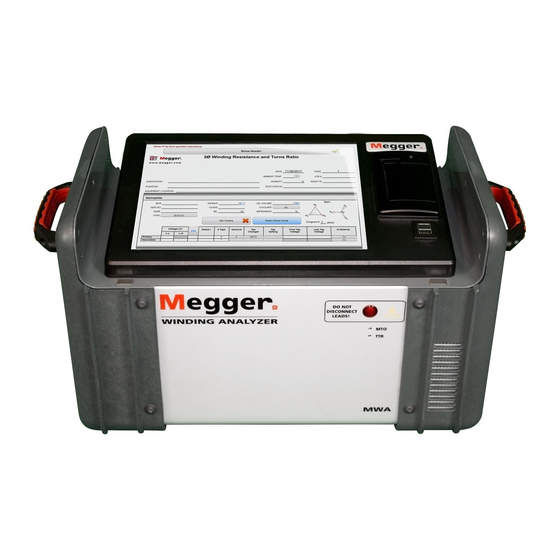
MWA300 Quick Start Guide
Read the MWA300 manual before operating equipment.
This guide is not meant to replace manual.
Safety is the responsibility of the user
Only qualified and trained personnel should operate the MWA300. Operator must read and understand this entire instruction manual prior
to operating the equipment. Operator must follow instruction manual and attend to the equipment while in use. In the event of equipment
malfunction, the unit should immediately be de-energized and returned to Megger for repair. The safety precautions herein are not intended to
replace your company's safety procedures.
Refer to IEEE 510 - 1983, "IEEE Recommended Practices for Safety in High-Voltage and High-Power Testing" for additional information.
Connect Leads / Power / Ground
1
Before
HIGH-VOLTAGE EQUIPMENT!
Red to High
Voltage
Primary Winding
After
Black to Low
Voltage Secondary
or Tertiary Winding
INT/EXT switch
set to EXT
(PC operation)
MWA300_QG_EN_V01
Advertisement
Table of Contents

Related Manuals for Megger MWA300


Summary of Contents for Megger MWA300
- Page 1 Operator must follow instruction manual and attend to the equipment while in use. In the event of equipment malfunction, the unit should immediately be de-energized and returned to Megger for repair. The safety precautions herein are not intended to replace your company’s safety procedures.
- Page 2 Page 2 Turn Instrument On, select MWA from instrument list on Fill out Nameplate information (minimum info listed below) PowerDB which brings up “Select a Form” box. Select 3Ø Turns Ratio & Winding Resistance form. Input Desired Test Settings This guide uses this form as an example. Allow 30-60 seconds for PC to communicate with Instrument.
- Page 3 Page 3 Select and start the Ratio (TTR) Test by depressing # below. Winding Resistance Test –depress # to test all 3Ø’s for tap or Testing will follow Nameplate input from 4) above: depress highlighted box to begin testing individual phase: Test dialog appears once test begins: For automated winding resistance testing, MTO Test Wizard can be used if all critical nameplate information is filled in from step...
- Page 4 Page 4 Once test begins to run for any resistance, following Controls are as follows: screen will appear: Test Setup: allows changes to test parameters, which can be seen in step 4 above (and described in section below). This button is ‘greyed out’ once testing begins or MTO instrument connection is not established.
Need help?
Do you have a question about the MWA300 and is the answer not in the manual?
Questions and answers