Advertisement
Quick Start Guide
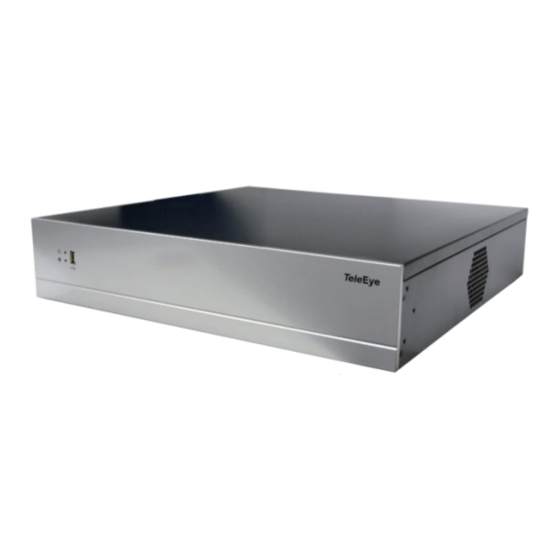
HD Digital Video Recorder GN6608 / GN6516 / GN6916
This quick start guide will guide you on how to install and configure TeleEye HD Digital
Video Recorder GN6608/GN6516/GN6916/GN8916/GN8932.
1.Hard Disk Installation
* For HDD recommendation list, please visit
http://www.teleeye.com/
[HDD Recommendation List]
GN6608 /GN6516
Step 1: Loosen the screws that hold the cover. (Should be removable by hand)
Step 2: Remove the cover and put the HDD into the bottom case. Ensure the screw holes
are aligned.
Step 3: Mount the HDD on the bottom case with screws given within the package.
Step 4: Connect the SATA and power cable to the HDD.
Step 2
Step 3
[Products]
[GN6000 Series] / [GN8000 Series]
step 4
/ GN8916 / GN 8932
1
Advertisement
Table of Contents

Related Manuals for TeleEye GN6608


Summary of Contents for TeleEye GN6608
- Page 1 Quick Start Guide HD Digital Video Recorder GN6608 / GN6516 / GN6916 / GN8916 / GN 8932 This quick start guide will guide you on how to install and configure TeleEye HD Digital Video Recorder GN6608/GN6516/GN6916/GN8916/GN8932. 1.Hard Disk Installation * For HDD recommendation list, please visit http://www.teleeye.com/...
- Page 2 Step 3: Mount the HDD on the hard disk holder with screws given within the package. A maximum of 8 HDD can be installed. Step 4: Mount the hard disk holder to Teleeye GN. Step 5: Connect the SATA and power cable to the HDD.
- Page 3 2.Setup for Local and Remote Monitoring Dedicated Video Network GN6608 GN6916 Shared IP Network GN6515 GN6916 / GN8932 / GN8916...
- Page 4 Step 1: Follow the diagram above to install cameras to the video ports of TeleEye GN. Step 2: Power on TeleEye GN. A startup screen will appear on the connected monitor. 3.Adding New Camera Dedicated Video Network Cameras will be searched automatically after installing cameras to the video ports of TeleEye GN.
- Page 5 (Whatever the type of cameras you have selected, you are requested to enter a username and password.) (For TeleEye MQ / MP, the default username is “admin” and the password is “123456”.) 4.Setup for LAN Connection GN6608 GN6516 GN6916 /...
- Page 6 Step 2: Connect TeleEye GN to a network switch. Step 3: Install TeleEye IP Setup Utility on your PC. Step 4: Find the TeleEye GN according to the serial number provided. Step 5: Double click the row representing your digital video recorder.
- Page 7 GN6916 / GN8932 / GN8916 Step 1: Configure the network settings of TeleEye GN through a PC with a LAN connection. Step 2: Run IP Setup Utility. Find the TeleEye GN according to the serial number provided. Alternative method: Open a web browser and type the IP address or sureLINK address in a web browser.
- Page 8 10. Customer shall be responsible for backing up the data contained in the disk products. 11. TeleEye shall have no responsibility arising out of any damage to, or loss of the data contained in the disk products. 12. All the above determinations are up to the sole discretion of TeleEye.
Need help?
Do you have a question about the GN6608 and is the answer not in the manual?
Questions and answers