Advertisement
Quick Links
---
platform: Mbed-OS
device: Embedded Planet Agora
language: English
---
# Table of Contents
- [Introduction]
- [Step 1: Prerequisites]
- [Step 2: Prepare your Device]
- [Step 3: Build SDK and Run Samples]
- [Step 4 : Integration with Azure IoT Explorer]
- [Step 5 : Additional Links]
- [Step 6 : Additional Information]
# Introduction
**About this document**
Our Agora platform is a production-ready solution that provides an excellent
starting point for any cloud-connected design. This page will go over the necessary
steps to get started using the Agora platform with Azure IoT Hub.
If you run into any issues while trying to follow this guide please
contact our support
team!
This document describes how to connect the Embedded Planet Agora device
running Mbed-OS with Azure IoT SDK. This multi-step process includes:
- Configuring Azure IoT Hub
- Registering your IoT device
- Provisioning your devices on Device Provisioning service
- Build and deploy Azure IoT SDK on device
The Embedded Planet Agora device includes the following features:
Feature
Ref-Des Description
Advertisement

Related Manuals for Telit Wireless Solutions ME910C1-WW


Summary of Contents for Telit Wireless Solutions ME910C1-WW
- Page 1 platform: Mbed-OS device: Embedded Planet Agora language: English # Table of Contents - [Introduction] - [Step 1: Prerequisites] - [Step 2: Prepare your Device] - [Step 3: Build SDK and Run Samples] - [Step 4 : Integration with Azure IoT Explorer] - [Step 5 : Additional Links] - [Step 6 : Additional Information] # Introduction...
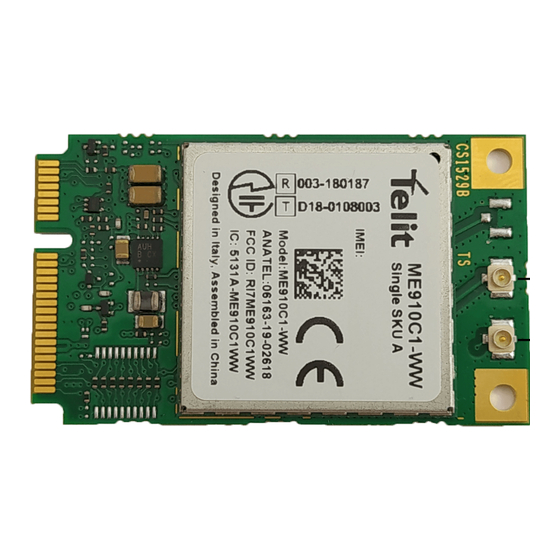
- Page 2 Fanstel BT840 (nRF52840): Cortex M4F 32-bit processor. This is the application processor and facilitates Bluetooth connectivity LoRa Module NiceRF SX1276 Cellular Module Telit ME910C1-WW [CAT-M1, NB-IoT] 6 axis IMU ICM20602, I²C 6-Axis Integrated Linear Accelerometer and Gyroscope 9 axis IMU LSM9DS1, I²C 9-Axis Integrated Linear...
-
Page 3: Required Hardware
You should have the following items ready before beginning the process: Required Hardware To follow along with this guide you just need an Agora product development kit. This kit includes an Agora module fully-loaded with all optional sensors and connectivity options, as well as a Flidor debug board, an AC adapter, and a compatible cellular antenna. -
Page 4: Hardware Setup
and many more. You can learn more about supported IDEs and toolchains, as well as how to export Mbed projects and set up debugging from Mbed's official documentation here. Other Software Additionally, you will need a serial terminal program to view debug output from your Agora board. - Page 5 Before running the demo, you must verify the following are properly set up on your Agora product development kit: the cellular antenna, the power supply, and the power supply selection jumper. For this project you must have the included cellular antenna plugged in to the appropriate U.FL connector, J7, on the Agora board.
- Page 6 Make sure the Agora board is being powered by the included DC power supply. The power supply included with the Flidor development kit can be plugged into the DC jack highlighted with an orange box. Attempting to power the Agora board for cellular applications using USB may cause cellular connectivity issues.
- Page 7 will need to connect later. On this page, copy the "Primary Connection String" and paste it in a temporary file for use later: Note: The Primary Connection String contains sensitive information that authenticates your new device to your IoT Hub instance. It should treated like a password! Now the IoT Hub is ready for use in this example! Setting Up the Mbed-OS Application...
- Page 8 Once these steps are complete, it's time to integrate your device's Primary Connection String. Integrating Credentials Integrating your device's Primary Connection String into this example application is very simple. Copy the "Primary Connection String" generated in the previous section and follow the "Building this example"...
- Page 9 In most cases, you will only need to modify the nsapi.default-cellular-apn parameter. Once these are configured you can build the example with the following command: mbed compile.
- Page 10 Running the Example Once the build finishes, simply program the Agora board with the compiled binary. You can accomplish this by dragging the mbed-os-example-for-azure.hex file from the BUILD/EP_AGORA/GCC_ARM folder to the DAPLINK removable drive that shows up when you plug in the Flidor development board. After programming, open your preferred serial terminal of choice to view the debug UART output.
- Page 11 the "IoT devices" tab in the left pane as before, navigate to the device you're running the example with and click into its details page. Once there, you can send a message to the device from the portal by clicking the "Message to Device" option as shown in the screenshot below: Once the next page loads, you can type your message in "Message Body"...
- Page 12 Info: Connection success, MAC: Info: Getting time from the NTP server Info: Time: Fri Dec 4 19:36:50 2020 Info: Starting the Demo Info: Initializing IoT Hub client Info: Sending: "10 messages left to send, or until we receive a reply" Info: Connected to IoT Hub Info: Sending: "9 messages left to send, or until we receive a reply"...
- Page 13 Then, click on the Telemetry tab:...
- Page 14 Click on the "Start" button at the top:...
- Page 15 Reset the Agora board and wait a minute for the connection to Azure IoT Hub to be reestablished. Once reconnected, Azure IoT Explorer will visualize the messages coming from the Agora board:...
- Page 16 You may also interact with the Agora device using IoT Explorer by going to the Cloud-to-device message tab, typing a Message body, and then clicking the "Send message to device" button:...
- Page 17 Once you send a message, you should see output in the debug terminal similar to the following (from the Agora device): Info: Message received from IoT Hub Info: Message body: Hello Agora! Info: The demo has ended Provisioning Client Demo The next demo shows how to perform provisioning using an Azure Device Provisioning Service.
- Page 18 To obtain the code for this demo, simply add Embedded Planet's fork of the ARM mbed-os-example-for-azure repositoy: git remote add ep https://github.com/EmbeddedPlanet/mbed-os-example-for-azure.git Then, checkout our provisioning-test branch: git fetch ep && git checkout --track ep/provisioning-test Also, make sure any dependencies have been downloaded by executing mbed deploy.
-
Page 19: Troubleshooting
Info: Getting time from the NTP server Info: Time: Mon Dec 7 19:27:12 2020 Info: Starting provisioning demo Provisioning API Version: 1.3.9 Iothub API Version: 1.3.9 Provisioning Status: PROV_DEVICE_REG_STATUS_CONNECTED Provisioning Status: PROV_DEVICE_REG_STATUS_ASSIGNING Provisioning Status: PROV_DEVICE_REG_STATUS_ASSIGNING Registration Information received from service: epiothub.azure-devices.net! Creating IoTHub Device handle Sending 1 messages to IoTHub every 2 seconds for 2 messages (Send any message to stop) - Page 20 • Make sure your Agora board has a SIM card in the on-board socket. • Make sure your cellular APN is configured as appropriate for your carrier. You can change this parameter by modifying the nsapi.default-cellular-apn value in the example application's mbed_app.json configuration file.
Need help?
Do you have a question about the ME910C1-WW and is the answer not in the manual?
Questions and answers