Table of Contents
Advertisement
Quick Links
Advertisement
Table of Contents

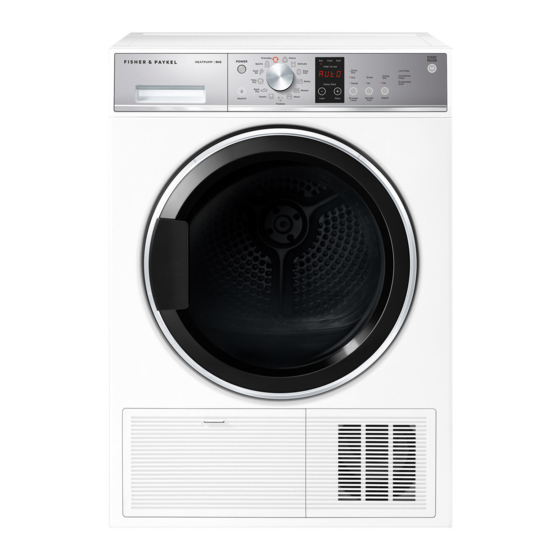
Summary of Contents for Fisher & Paykel DH9060P
- Page 1 HEAT PUMP CLOTHES DRYER DH9060P & DH9060PG models INSTALLATION GUIDE NZ AU BI...
-
Page 3: Safety And Warnings
• If you are using an extension cord or a portable electrical outlet device HEAT PUMP CLOTHES DRYER DH9060P & DH9060PG (eg multi-socket outlet box), ensure that it models is positioned so that it does not come into... -
Page 4: Product Dimensions
PRODUCT DIMENSIONS FRONT PROFILE PRODUCT DIMENSIONS min 840 A Overall height* max 855 B Overall width C Overall depth** D Depth with door open 1080 *Includes adjustable mounted feet and the range of movement **Includes dial and door when closed PLAN Actual product dimensions may vary by ±... - Page 5 CAVITY & CLEARANCE DIMENSIONS * Front panel of the product ISOMETRIC FRONT PROFILE CAVITY DIMENSIONS CLEARANCE DIMENSIONS A Minimum cavity height A Minimum door clearance to adjacent wall B Minimum cavity width B Minimum side clearance to adjacent product or cabinetry* C Minimum cavity depth *Applies to side, top and rear Flush with front panel of the product...
-
Page 6: Electrical Connection
ELECTRICAL CONNECTION UNPACKING CONNECTION LOCATIONS / LENGTHS Drain Hose Power Cord 1 Remove the outer packaging including the 1300mm 1500mm plastic wrapping. 2 Lift the dryer off the base. 3 Remove all packaging and accessories from inside the drum. 4 Dispose of all packaging sustainably, ensuring these materials are kept out of the reach of children. -
Page 7: Installation Options
INSTALLATION OPTIONS LEVELLING THE DRYER Installation location It is IMPORTANT to level the dryer to ensure the machine runs efficiently with minimal noise. The dryer should be levelled in as close to its final position as possible so it stands balanced evenly Do not install your dryer in such a way that the dryer door cannot be opened fully. - Page 8 DRAINING The dryer is equipped with a condenser unit which accumulates water during the drying cycle. The drain hose must be secured in a drain to prevent water draining onto the floor. Ensure This water is either collected in the removable water tank located at the top left of the dryer, the drain hose is securely fixed in place to an appropriate drain and is leak-free at the or you can setup your dryer to drain automatically using the drain hose provided.
-
Page 9: Complete Installation
COMPLETE INSTALLATION TO BE COMPLETED BY THE INSTALLER Turn on the water and check all hose connections for leaks. Make sure there are no kinks in the hose(s). Check the hose connections for leaks again after 24 hours. Uncoil power cord, remove and discard the plastic pin cover, and plug into wall socket. …... -
Page 10: Spare Parts
SPARE PARTS SPARE PARTS* PART NO. Drain hose extension (not suitable for attaching to a spigot) 425627P * Available from your Fisher & Paykel dealer or a Fisher & Paykel trained and supported service technician Complete and keep for safe reference: Model Serial No. Purchase Date Purchaser Dealer Address... - Page 12 FISHERPAYKEL.COM © Fisher & Paykel Appliances 2021. All rights reserved. The models shown in this guide may not be available in all markets and are subject to change at any time. The product specifications in this guide apply to the specific products and models described at the date of issue.


Need help?
Do you have a question about the DH9060P and is the answer not in the manual?
Questions and answers