Table of Contents
Advertisement
Quick Links
Installation Instructions
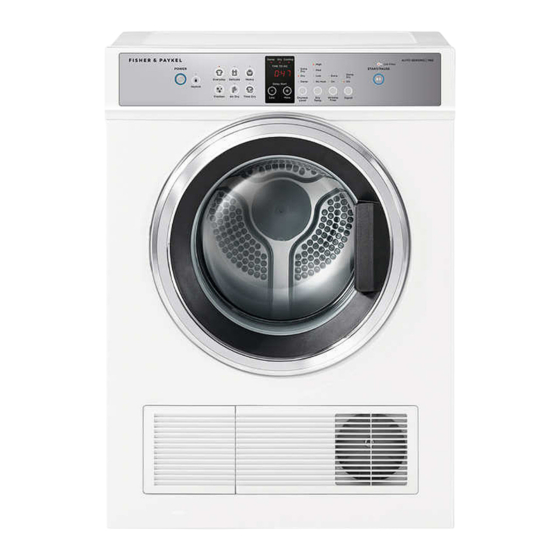
Accessories
Please check you received the following accessories with your Fisher & Paykel dryer. You will find them inside the drum:
• 1 x Drying rack
• 1 x Installation guide/User guide
• 1 x Wall mounting kit
• 1 x Duct adapter
Unpacking
To ensure the best performance from your new dryer please follow the instructions below.
Removing the Packaging
1. Remove the outer packaging (including the polystyrene packer and plastic wrapping). All packaging must be
removed prior to use.
2. Tilt the dryer backwards and 'walk' it off the base one foot at a time. Not doing so may cause damage to your
floor and dryer.
3. Remove all packaging and accessories from inside the drum and ensure you remove protective covers from
the door and console.
https://producthelp.fisherpaykel.com/nz/Dry/Dryers/Vented/DE7060G1/User_Guide_DE7060G1/03_Installation_Instructions
◦ Ensure packaging materials are kept out of reach of children.
◦ Help protect the environment and dispose of the packaging from around the dryer in
an environmentally friendly manner.
Updated: Mon, 05 Oct 2020 18:08:12 GMT
Powered by
1
Advertisement
Table of Contents

Related Manuals for Fisher & Paykel DE7060G1


Summary of Contents for Fisher & Paykel DE7060G1
- Page 1 2. Tilt the dryer backwards and ‘walk’ it off the base one foot at a time. Not doing so may cause damage to your floor and dryer. 3. Remove all packaging and accessories from inside the drum and ensure you remove protective covers from the door and console. https://producthelp.fisherpaykel.com/nz/Dry/Dryers/Vented/DE7060G1/User_Guide_DE7060G1/03_Installation_Instructions Updated: Mon, 05 Oct 2020 18:08:12 GMT Powered by...
- Page 2 There must be adequate ventilation to avoid the back flow of gases into the room from appliances burning fuels, including open fires, when operating the dryer. Exhaust air must not be discharged into a flue which is used for exhausting fumes from appliances burning gas or other fuels. https://producthelp.fisherpaykel.com/nz/Dry/Dryers/Vented/DE7060G1/User_Guide_DE7060G1/03_Installation_Instructions Updated: Mon, 05 Oct 2020 18:08:12 GMT Powered by...
-
Page 3: External Venting
Venting must comply with local by-laws and regulations. Installation options There are two different ways your dryer can be positioned. Freestanding or inverted and mounted on a wall. https://producthelp.fisherpaykel.com/nz/Dry/Dryers/Vented/DE7060G1/User_Guide_DE7060G1/03_Installation_Instructions Updated: Mon, 05 Oct 2020 18:08:12 GMT Powered by... -
Page 4: Free Standing
Remove the outlet grille from the front left-hand side and replace with the outlet cover from the rear left-hand side. These covers should be gently pried at the sides to prevent damage. External venting with kit part number PD-SVHCW4 https://producthelp.fisherpaykel.com/nz/Dry/Dryers/Vented/DE7060G1/User_Guide_DE7060G1/03_Installation_Instructions Updated: Mon, 05 Oct 2020 18:08:12 GMT Powered by... - Page 5 This requires the dryer to be a minimum distance of 140mm from the wall to ensure the ducting is not restricted with tight bends or can be crushed. External venting with kit part number PD-F0408 https://producthelp.fisherpaykel.com/nz/Dry/Dryers/Vented/DE7060G1/User_Guide_DE7060G1/03_Installation_Instructions Updated: Mon, 05 Oct 2020 18:08:12 GMT Powered by...
-
Page 6: Inverted Wall Mounting Installation
2. Invert the panel of the dryer by unscrewing the screws on the side of the console (A). 3. Remove the console from the dryer. 4 Unscrew six screws on the inside of the console (B). https://producthelp.fisherpaykel.com/nz/Dry/Dryers/Vented/DE7060G1/User_Guide_DE7060G1/03_Installation_Instructions Updated: Mon, 05 Oct 2020 18:08:12 GMT... - Page 7 6. Align the console by placing the hooks into the spaces on the dryer. 7. Ensure the wiring is firmly pressed into the clips (D). 8. Re-screw the console to the dryer. https://producthelp.fisherpaykel.com/nz/Dry/Dryers/Vented/DE7060G1/User_Guide_DE7060G1/03_Installation_Instructions Updated: Mon, 05 Oct 2020 18:08:12 GMT Powered by...
-
Page 8: Mounting Dryer On Wall
These covers should be gently pried at the sides to prevent damage. https://producthelp.fisherpaykel.com/nz/Dry/Dryers/Vented/DE7060G1/User_Guide_DE7060G1/03_Installation_Instructions Updated: Mon, 05 Oct 2020 18:08:12 GMT Powered by... -
Page 9: External Venting Options
• Check the power cord for damage and make sure it is not squashed Through-Wall Mounted Ducting or twisted when installing the dryer. • Always remove the power cord from the power socket by the plug, not by the cord. https://producthelp.fisherpaykel.com/nz/Dry/Dryers/Vented/DE7060G1/User_Guide_DE7060G1/03_Installation_Instructions Updated: Mon, 05 Oct 2020 18:08:12 GMT Powered by... -
Page 10: Completing The Installation
Call for Service' for more information. 4. At the completion of the cycle open the door and check that there is warmth inside the dryer. This indicates the dryer is operating normally https://producthelp.fisherpaykel.com/nz/Dry/Dryers/Vented/DE7060G1/User_Guide_DE7060G1/03_Installation_Instructions Updated: Mon, 05 Oct 2020 18:08:12 GMT Powered by... -
Page 11: Product Specifications
4. Have you performed the installation test cycle? Product Specifications Property DE7060G DE7060P Capacity (kg)* Dimensions (mm) Property DE7060G DE7060P Width Depth Height Electrical Property DE7060G DE7060P Volts 220 – 240 220 – 240 Amps (maximum) https://producthelp.fisherpaykel.com/nz/Dry/Dryers/Vented/DE7060G1/User_Guide_DE7060G1/03_Installation_Instructions Updated: Mon, 05 Oct 2020 18:08:12 GMT Powered by... - Page 12 * Capacity refers to the maximum dry weight of items the dryer can dry at any one time. Some cycles have a lower maximum capacity (see the ‘Drying cycles’ section). Maximum capacity according to AS/NZS 2442.1:1996. https://producthelp.fisherpaykel.com/nz/Dry/Dryers/Vented/DE7060G1/User_Guide_DE7060G1/03_Installation_Instructions Updated: Mon, 05 Oct 2020 18:08:12 GMT Powered by...
Need help?
Do you have a question about the DE7060G1 and is the answer not in the manual?
Questions and answers