Shure PSM900 Manual
Wireless personal monitor system
Hide thumbs
Also See for PSM900:
- User manual ,
- Instruction manual (60 pages) ,
- Quick start instructions (31 pages)

Related Manuals for Shure PSM900


Summary of Contents for Shure PSM900
- Page 1 PSM900 Wireless Personal Monitor System Online user guide for PSM900 wireless personal monitor system. Version: 10.0 (2021-F)
-
Page 2: Table Of Contents
Shure Incorporated Table of Contents CueMode PSM900 Wireless Personal Monitor System Adding Transmitters to the CueMode List Auditioning Mixes IMPORTANT SAFETY INSTRUCTIONS Exiting CueMode WARNING HEARING PRECAUTIONS Managing CueMode Mixes SAFETY PRECAUTIONS Frequency Scan WARNING CAUTION Sync Downloading settings from the bodypack... -
Page 3: Psm900 Wireless Personal Monitor System
Shure Incorporated PSM900 Wireless Personal Monitor System IMPORTANT SAFETY INSTRUCTIONS READ these instructions. KEEP these instructions. HEED all warnings. FOLLOW all instructions. DO NOT use this apparatus near water. CLEAN ONLY with dry cloth. DO NOT block any ventilation openings. Allow sufficient distances for adequate ventilation and install in accordance with the manufacturer’s instructions. -
Page 4: Warning
Shure Incorporated WARNING LISTENING TO AUDIO AT EXCESSIVE VOLUMES CAN CAUSE PERMANENT HEARING DAMAGE. USE AS LOW A VOL UME AS POSSIBLE. Over exposure to excessive sound levels can damage your ears resulting in permanent noise-induced hearing loss (NIHL). Please use the following guidelines established by the Occupational Safety Health Administration (OSHA) on maximum time exposure to sound pressure levels before hearing damage occurs. -
Page 5: General Description
Shure Incorporated General Description ® The Shure PSM 900 Wireless Personal Monitor System offers an unprecedented combination of superb audio quality, robust RF performance, and category-leading features for the most demanding professional applications. Patented Audio Reference Companding and advanced digital signal processing technology provide excellent stereo separation and audio clarity. Excep tional transmitter linearity vastly reduces frequency intermodulation, allowing more channels per frequency band. Patented CueMode technology enables the sound engineer to monitor different stage mixes with the touch of a button. -
Page 6: Components
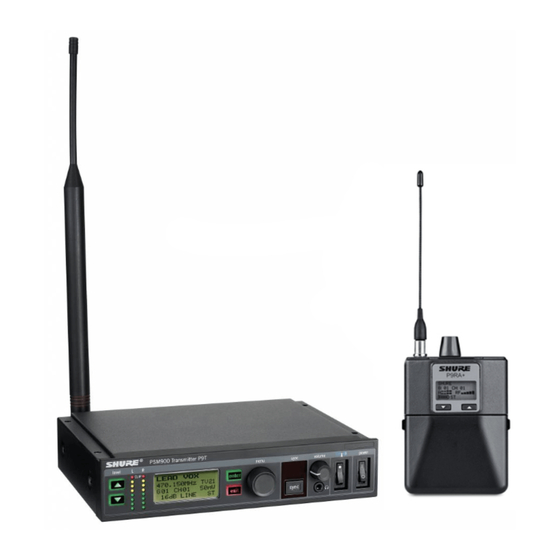
Shure Incorporated Components • P9T: Rack Unit Transmitter • P9RA+: Bodypack Receiver • PS43: Power supply • Protective bumpers with 8 screws Rackmount supplies ① Short rack ear ② Long rack ear ③ Link bar to mount to similar rack unit ④... - Page 7 Shure Incorporated Adjust the audio source level so that, for the average input signal level, the top two yellow LEDs flicker and the lower LEDs are solid. ◦ If the red clip LED illuminates, the inputs are overdriven. Decrease the level using the ▼▲ buttons or change the input sensitivity to +4 dBu. ◦ If the signal level is too low, change the input sensitivity to –10 dBV...
-
Page 8: Bodypack
Shure Incorporated Bodypack Insert batteries and attach antenna. Turn on using the volume knob. The battery light illuminates. Scan and Sync On the bodypack, press the scan button. The display flashes SYNC NOW..Align the IR windows on the bodypack and rack unit and press the sync button. The rack unit Level LEDs flash, and it displays SYNC SUCCESS. - Page 9 Shure Incorporated 9/31...
-
Page 10: Rack Unit Transmitter
Shure Incorporated Rack Unit Transmitter Front Panel Controls ① Input Level Control and Display 10/31... -
Page 11: Rear Panel Connectors
Sends a copy of the audio signal going into the transmitter to another device. See LOOP Applications. ⑨ Audio Inputs Connect to balanced or unbalanced outputs. Use either connector for mono input. Accepts both 1/4inch or male XLR con nectors. ⑩ Antenna (BNC) Attach supplied antenna. If you are rack mounting, use a front panel or remote mounting kit from Shure. Configuration Menu Note: Configuration menu items may vary with regional model variations. 11/31... - Page 12 Shure Incorporated RF Settings RADIO Sets the group number Sets the channel number 888.888MHz Manual frequency selection RF POWER Select from 10, 50, or 100 mW (varies by region) Audio Settings AUDIO > MODE Selects monitor mode STEREO/MX Transmits both channels...
- Page 13 Shure Incorporated Changes the display contrast CUSTOM GROUP For creating custom frequency groups UTILITIES > LOCK PANEL Locks front panel controls. To unlock, press exit, select OFF, and press enter. MENU+LEVEL Locks menu and level controls. MENU ONLY Locks only the configuration menu (menu controls).
-
Page 14: Bodypack Receiver
④ IR Window For transmitting settings between bodypack and rack unit. ⑤ Battery Compartment Requires 2 AA batteries or Shure rechargeable battery. Open by pressing the latches on both sides and pulling. ⑥ Menu buttons Use in conjunction with the ▼▲ buttons to access the configuration menus. ⑦ ▼▲ Buttons... -
Page 15: Battery Life
For detachable antennas. ⑫ Removable AA Adapter Remove to use with a Shure SB900B rechargeable battery. Note: To remove adapter, open door and slide out. To reinstall adapter, place over the clip and press, there will be an audible click when seated. -
Page 16: Configuration Menu
Shure Incorporated Total Battery Life 6:00 4:20 3:15 8:00 6:45 6:00 Power-save mode: When there are no earphones plugged in for 5 minutes, the receiver enters power-save mode to preserve battery life. The LED slowly fades on/off in this mode and continues to display the color that represents the remaining battery life. -
Page 17: Audio Settings
Shure Incorporated Group number. Each group contains channels selected to work well together in a single installation. Channel number. Sets the receiver to a channel in the selected group. 888.888 MHz Displays the frequency to which the receiver is set. Highlight and use the ▼▲ buttons to set to a specific frequency. SQUELCH Adjusts the squelch setting. RF PAD Attenuates antenna signals in 3 dB increments. -
Page 18: Utilities And Display Settings
Shure Incorporated Volume Limiter (V LIM) V LIM Set a value (OFF to 48 dB, adjustable in 3 dB increments) to attenuate the highest possible volume level. Turning the vol ume knob through its entire range of motion still affects volume; the limit simply narrows the range of dB adjustment. Note: The volume limit does not compress the audio signal. -
Page 19: Multiple System Setup
Important: Note the number of available channels. If you have more rack units than available channels, eliminate potential sources of interference and try again, or call Shure Applications for assistance. Sync the bodypack with the first rack unit by aligning the IR windows and pressing sync. -
Page 20: Adding Transmitters To The Cuemode List
Shure Incorporated CueMode lists are retained even if CueMode is exited, the bodypack is turned off, or batteries are removed. Note: Set the channel frequency and assign display names for each transmitter before creating your CueMode list. Adding Transmitters to the CueMode List Note: The transmitter must be from the same frequency band as the bodypack.
Need help?
Do you have a question about the PSM900 and is the answer not in the manual?
Questions and answers