
Related Manuals for Prism Healthcare harvesthealthcare HCSAEBUMP791


Summary of Contents for Prism Healthcare harvesthealthcare HCSAEBUMP791
- Page 1 General User/Safety Guide ANTI-ENTRAPMENT BUMPER & EXTENSION PIECE www.harvesthealthcare.co.uk...
- Page 2 T +44 (0)1709 377172 F +44 (0)1709 377173...
-
Page 3: Table Of Contents
CONTENTS WARNINGS & CAUTIONS WARNINGS & CAUTIONS PRODUCT OVERVIEW PRODUCT OVERVIEW GENERAL INFORMATION GENERAL INFORMATION INSTALLATION INSTALLATION BUMPER EXTENSION INSTALLATION BUMPER EXTENSION INSTALLATION 10-11 CLEANING AND CARE CLEANING AND CARE E sales@harvesthealthcare.co.uk www.harvesthealthcare.co.uk... -
Page 4: Warnings & Cautions
WARNINGS & CAUTIONS READ THIS INSTRUCTION MANUAL CAREFULLY. PLEASE NOTE IN PARTICULAR THAT THE SAFETY INSTRUCTIONS MUST BE OBSERVED. WARNING Please ensure that this booklet is read prior to first use. Please refer to the information in this booklet as a guideline only. Harvest Healthcare Ltd recommend that prior to using this product, a full risk assessment must be completed by a qualified professional, in order to determine that the correct product is suitable for each individual. -
Page 5: Product Overview
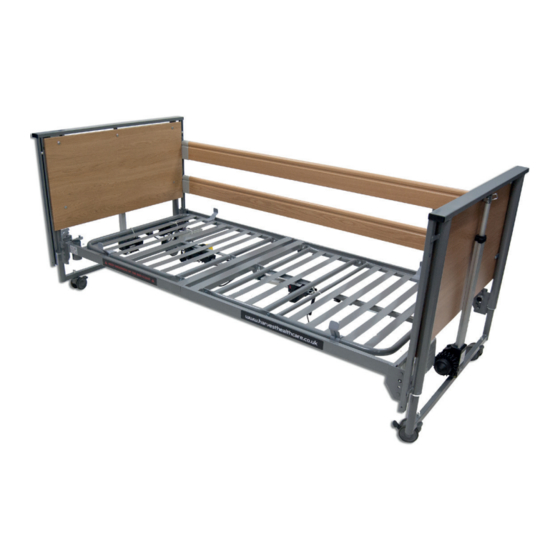
PRODUCT OVERVIEW PRODUCT DESCRIPTION Anti-Entrapment Bumper The Anti-Entrapment Bumper is a 2 bar bumper with net/mesh insert and anti-entrapment system with link sheet. Designed for users who move excessively in bed, to prevent limbs from becoming trapped. The Anti-Entrapment Bumper fits all standard width Woburn beds, whilst also being suitable for most other manufacturer’s beds with two full length wooden side rails at each side of the bed. -
Page 6: General Information
GENERAL INFORMATION INSTRUCTIONS FOR USE Check the product for damage, and if it is the correct type of product for the bed, before carrying out the installation. • If a bumper netting or any other part of the product looks damaged do not fit the bumper. - Page 7 GENERAL INFORMATION MOVING, HANDLING AND STORAGE Where possible, the bumper system should be stored flat to prevent damage to the product. It may require more than one person to aid in fitting the system. The bumper system is to be stored between -5 to +40 degrees, in a dry environment. Do not expose to high humidity or heat.
-
Page 8: Installation
2 BAR BUMPER INSTALLATION 1. Lay the bumper system on the mattress platform with the Head end this way up label facing upwards and at the head end of the bed. 2. Locate the top bumper pad by identifying the pad with the label (on the inside of the bumper pad saying top rail inside) 3. - Page 9 2 BAR BUMPER INSTALLATION 5. Once the top pad is connected the lower pad should fall in place and can be zipped up, once again ensure the padding passes over the top of the side rail. 6. Carry out the same procedure for the opposite side. 7.
- Page 10 3 BAR BUMPER INSTALLATION 1. Lay the system on the bed with the label on the base sheet (saying head end – this way up) at the head end of the bed facing upwards 2. Lay the padded sections across the top of the base sheet and locate the pad with the label saying top rail inside 3.
- Page 11 3 BAR BUMPER INSTALLATION 5. Bring the rest of the bumper pads from the inside of the bed over the top rail to the outside of the bed and pass them between the top and middle rails. 6. Zip the pad around the centre rail. 7.
-
Page 12: Bumper Extension Installation
BUMPER EXTENSION INSTALLATION 1. Install the full-length bumper as normal on the extended side rails leaving the gap towards the foot end of the bed. 2. Fit the extension to the side rails with the padded section to the outer edge of the rail. 3. - Page 13 BUMPER EXTENSION INSTALLATION 5. The edge of the extension should slightly cover the end on the full-length bumper (there should be no gap between the 2 parts) 6. View from inside. E sales@harvesthealthcare.co.uk www.harvesthealthcare.co.uk...
-
Page 14: Cleaning And Care
CLEANING & CARE WARNING Eye protection, gloves, and protective clothing should be worn when carrying out cleaning and disinfection procedures. When disinfecting the system, Harvest Healthcare recommends the following guidelines which have been developed to comply with recognised infection control procedures. These procedures are also to be used to prevent cross infection when transferring the system between patients. - Page 15 NOTES E sales@harvesthealthcare.co.uk www.harvesthealthcare.co.uk...
- Page 16 Sheaf House, Bradmarsh Business Park, Bradmarsh Way, Rotherham S60 1BW T +44 (0)1709 377172 F +44 (0)1709 377173 E sales@harvesthealthcare.co.uk www.harvesthealthcare.co.uk © Copyright Harvest Healthcare - Anti Entrapment Bumper - V1- March 2022 Harvest Healthcare Limited. Company No: 07210261 Our Full Terms & Conditions are available by request or can be found on our Website. Harvest Healthcare reserves the right to alter or amend this document without notice.
Need help?
Do you have a question about the harvesthealthcare HCSAEBUMP791 and is the answer not in the manual?
Questions and answers