Table of Contents
Advertisement
Quick Links
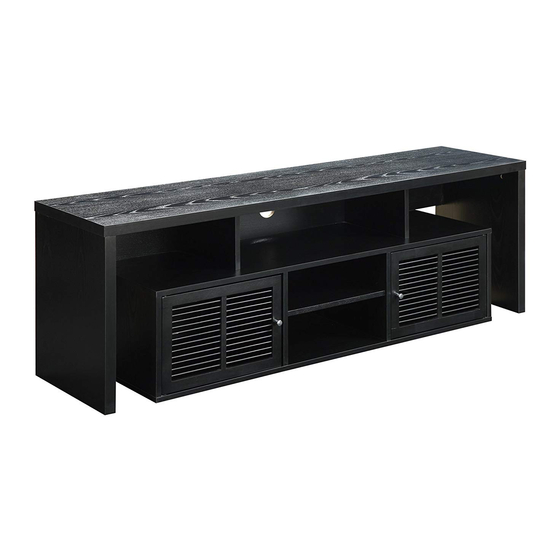
LEXINGTON TV STAND
ASSEMBLY INSTRUCTIONS
We have designed our furniture with you , the customer in mind . Our clear , easy to follow ,
step by step instructions will guide you through the project from start to finish .
Feel confident that this will be a fun and rewarding project . The final product will be a quality
piece of furniture that will go together smoothly and give years of enjoyment .
Please do not return to the store
STOP
. Broken or missing parts?
. Need help with assembly?
If you have any questions just call 1-800-468-6447 or email us at
parts@convenience-concepts.com
151394
Advertisement
Table of Contents

Related Manuals for convenience concepts 151394


Summary of Contents for convenience concepts 151394
- Page 1 LEXINGTON TV STAND 151394 ASSEMBLY INSTRUCTIONS We have designed our furniture with you , the customer in mind . Our clear , easy to follow , step by step instructions will guide you through the project from start to finish .
- Page 2 PAGE 2 OF 8 Please count and verify all parts before assembly Cambolt (23pcs) Metal Pin(4pcs) Nail (15pcs) Glue (1pc) Camlock (23pcs) Part List Wood dowel(36pcs) Bottom Panel Middle Panel (1pc) Small Side Panel (1pc) (2pcs) Knob&Knob Screw(2pcs) Support Panel (1pc) Large Divider Panel Long Screw(15pcs)...
- Page 3 PAGE 3 OF 8 Exploded Views...
- Page 4 PAGE 4 OF 8 step1 1.Insert wood dowels(B) into bottom panel (1) as shown. 2.Insert camlocks(K) into panels (2、5、4、2) as shown. 3.Insert metal pins(H) to panels (5 、4) as shown. step2 1.Attach small side panels (2) and large divider panel (4)&(5) to bottom panel (1) using long screws (D).
- Page 5 PAGE 5 OF 8 step4 1.Attach small divider panels (7) to middle panel (3) using long screws (D) as shown. step5 1.Insert wood dowels (B) into middle panel (3) as shown . 2.Attach support panel (6) to middle panel (3) using long screws (D). step6 1.Turn unit over carefully.
- Page 6 PAGE 6 OF 8 step7 Place top assembly onto cabinet assembly as shown and check all camlocks and dowels are in the correct position. Gently tighten camlocks. *REFER TO PAGE2 FOR CAM\DOWEL INSTRUCTION step8 Attach hardware to large side panels (8) and (9). step9 1.Insert camlocks (K) into support panel (6) .
- Page 7 PAGE 7 OF 8 step10 Attach hardware to top panel (11) as shown. step11 1.Attach top panel (11) to unit. Check all cambolts and dowels are in correct position and gently tighten camlocks. 2.Check metal pins (H) are in correct position of the large divider panels (4) and (5).
- Page 8 GE 8 OF 8 step13 Doors (10) assembly. 1.Attach knob (C) to door (10) using knob screw (C) & bracket (F) as shown. 2.Push spring pins (E) into top and bottom holes. step14 Attach door (10) to unit by placing one end of spring pin into hole,gently compress other end of spring pin so that it will slide...
Need help?
Do you have a question about the 151394 and is the answer not in the manual?
Questions and answers