enware IFO6861 Installation And Maintenance Instructions Manual
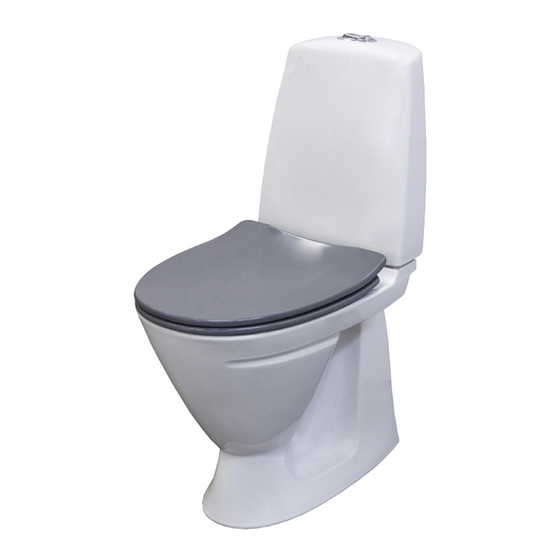
Ifo sign wc raised / standard height toilet
Hide thumbs
Also See for IFO6861:
- Assembly instructions manual (12 pages) ,
- Installation and maintenance instructions manual (20 pages)
Table of Contents
Advertisement
Quick Links
Advertisement
Table of Contents

Related Manuals for enware IFO6861


Summary of Contents for enware IFO6861
- Page 1 IFO SIGN WC RAISED / STANDARD HEIGHT TOILET Installation and Maintenance Instructions I00321_Version 2.0__01Aug22 Call 1300 369 273 www.enware.com.au Enware Australia Pty Limited 9 Endeavour Rd Caringbah NSW 2229 Australia Ph: 02 8536 4000 info enware.com.au...
-
Page 2: Table Of Contents
Page Product Description Contents Installation Floor Mounting Method Access to Cistern Internal Components Adjusting Flush Volume Installation - Accessories Maintenance Cleaning Troubleshooting Spare Parts Warranty Call 1300 369 273 www.enware.com.au... -
Page 3: Product Description
6861 Model (Raised Height S-Trap) IFO6861 CARE600 CARE601 6872 6861 6862 CARE6861 CARE101S, CARE102S, CARE301S, CARE302S, CARE303S, CARE501S, CARE502S, CARE503S CAREAMBS 30 min. clearance Bottom Inlet Connection FRONT VIEW SIDE VIEW 100 min. www.enware.com.au Call 1300 369 273... - Page 4 6872 Model (Raised Height P-Trap) IFO6872 CARE602 CARE603 6872 CARE6872 CARE101P, CARE102P, CARE301P, CARE302P, CARE303P, CARE501P, CARE502P, CARE503P Bottom inlet connection FRONT VIEW SIDE VIEW Call 1300 369 273 www.enware.com.au...
- Page 5 6860 Model (Standard Height S-Trap) 6860 6861 6862 IFO6860 30 min. clearance Bottom Inlet Connection FRONT VIEW SIDE VIEW 100 min. 6862 Model (Standard Height P-Trap) 6872 6862 IFO6862 Bottom inlet connection FRONT VIEW SIDE VIEW www.enware.com.au Call 1300 369 273...
-
Page 6: Contents
Installations not complying with AS/NZS 3500, the PCA or the manufacturer’s instructions may void the product and performance warranty provisions. Enware Australia advises:1. Due to ongoing Research and Development, specifications may change without notice; 2. Component specifications may change on some export models. -
Page 7: Installation
95° Bottom Inlet Connection FRONT VIEW SIDE VIEW Institutional / Health Set Out Set out typical for hospitals which allows for substantial air circulation and free coving 95° Bottom Inlet Connection FRONT VIEW SIDE VIEW www.enware.com.au Call 1300 369 273... - Page 8 30 min. clearance Bottom Inlet Connection FRONT VIEW SIDE VIEW 100 min. 45 ° Corner Set Up Min. 280 Min. Finished wall Finished wall surface surface With no arm support system With arm support system Call 1300 369 273 www.enware.com.au...
-
Page 9: Floor Mounting Method
Use white blind cover plugs supplied to plug the screw holes on the pan. www.enware.com.au Call 1300 369 273... - Page 10 Bracket is fixed onto floor, by first drilling into floor then fixing with appropriate screws. It must be ensured that the fixing screws can be fixed onto floor material with adequate structural integrity and strength. (Refer to IFO98015 Instructions for more details.) Call 1300 369 273 www.enware.com.au...
- Page 11 Apply silicone sealant to the entire bottom contact surface of pan and around the perimeter to achieve good adhesion and to create a strong bonding between the pan and the floor. Install pan into position. www.enware.com.au Call 1300 369 273...
- Page 12 Ensure no gap is left that can let any moisture to get through inside the base of the pan. Do not use the toilet until the silicone bed has cured. Call 1300 369 273 www.enware.com.au...
-
Page 13: Access To Cistern Internal Components
To access the internal components of the cistern, first lift the flush button (1), then unscrew the Cover Screw Rod (3). Next, unscrew the cistern fixing screws (5), and lift the ceramic cover (6). www.enware.com.au Call 1300 369 273... -
Page 14: Adjusting Flush Volume
Flushing volume can be adjusted to maximum 8 Litres for full flush, and maximum of 5 Litres for half flush. First shut off the water supply. Remove the bridge (STEPS 7 - 8). Lift the Outlet Valve Assembly. (STEPS 9 - 10) Call 1300 369 273 www.enware.com.au... - Page 15 Adjust the flushing volume by sliding the float upwards to reduce the flushing volume or down to increase. (13) Set the flush volume according to markings on the float rod. (Adjustable between 3 - 8 litres) 3 liter 8 liter www.enware.com.au Call 1300 369 273...
-
Page 16: Installation - Accessories
Ifo Fresh Sticks are available from Enware – Product Code IFO94568 installation - accessories Install Toilet Seat and Support Arms (Optional) Install toilet seat according to toilet seat instructions. -
Page 17: Maintenance
Feed the inlet tube over to the back right hand corner of cistern, then fit the inlet fitting into the housing on the bottom of cistern. Reinstall cistern cover, connect water supply and test operation. www.enware.com.au Call 1300 369 273... -
Page 18: Cleaning
Water leaks between Spreader has dislodged Take ceramic cistern cover off, cistern and pan from cistern during transit fit spreader back onto cistern, reinstall cistern onto pan For further assistance, call Enware on 1300 369 273. Call 1300 369 273 www.enware.com.au... -
Page 19: Spare Parts
Ifo S-Trap Pan Back Inspection Opening IFO733 Cover Plug -Soft Fresh Sticks Blue (Pack of 5) IFO94690 Ifo Cistern Key with Hex and T25 Torx IFO91960 Loosenut Extension 1/2” BSP for inlet con- IFOS-009 nection www.enware.com.au Call 1300 369 273... -
Page 20: Warranty
All notifications and accompanying forms must be sent to us marked for the attention of the Enware Except as provided or referred to in this document, Australia Pty Limited, 9 Endeavour Road, Caringbah we accept no other or further liability for any NSW 2229.
Need help?
Do you have a question about the IFO6861 and is the answer not in the manual?
Questions and answers