Advertisement
Quick Links
Polaris RANGER RZR
Winch Mount
Winch Mount
Kit Components:
Qty
Part Description
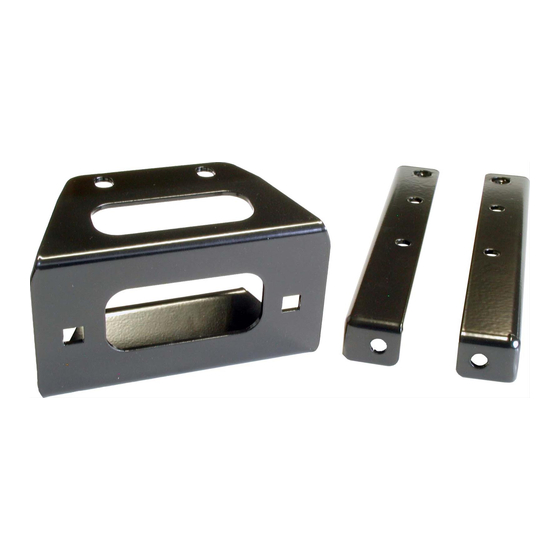
2................ LH and RH Winch Mounting Angle
1................ Winch Mount fairlead bracket
4................ 5/16 x 3/4" Hex Head Flange Bolts
4................ 5/16" SAE Flat Washers
4................ 5/16" Nylock Nuts
4................ 3/8" x 1" Hex Head Bolts
4................ 3/8" SAE Flat Washers
2................ 3/8" Lock Washers
2................ 3/8" x 3/4" Shortneck Carriage Bolt
4................ 3/8" Nylock Nut
2................ Piggyback Quick-Connect
1................ Hardware kit (Mini-Rocker Switch)
INSTALLATION INSTRUCTIONS:
1.
Begin by removing the plastic cover (A) and
discarding as shown in Figure 1.
2.
For ease of assembly remove 4 bolts as shown in
Figure 1.
3.
Place LH and RH mounting angles into position as
shown in Figure 2 and 3. Assemble using the 3/8"
hardware supplied as shown in the above exploded
view. (Note: Make sure you route the cables and
hoses as shown in Figure 2)
4.
Connect the shorter 2 electrical wires to your winch.
(Note: Your winch manual may state the opposite, but
you will need to connect the shorter wires to your
winch)
5.
Place your Winch into position as shown in the above
exploded view and assemble using the hardware that
was supplied with your winch. (Note: If you are
installing a 2-hole mounted winch you will need to
first install the optional not included Converter Mount
#100480 as shown in Figure 4)
Mount #100480 (not included)
Note: The cable must come off
of the bottom of the spool.
Some 2-Hole mounted winches
may have the motor on the
opposite side as shown.
Exploded View of a 2-Hole Mounted Winch
PART # 100660
Hardware Kit – HK-032, HK-031
"Figure 4"
Mounting Angles
"Figure 1" Remove Cover and bolts
3/8" Bolt and Lock Washer
Route Cables and Hoses as Shown
"Figure 2" Rear of Mounting Angles
3/8" Hardware
1
"Figure 3" Front of Mounting Angles
Remove Bolts
(A)
(A)
Advertisement

Related Manuals for KFI 100660


Summary of Contents for KFI 100660
- Page 1 Polaris RANGER RZR Winch Mount Mounting Angles Winch Mount PART # 100660 Hardware Kit – HK-032, HK-031 Kit Components: Part Description 2……………. LH and RH Winch Mounting Angle 1……………. Winch Mount fairlead bracket 4……………. 5/16 x 3/4” Hex Head Flange Bolts 4…………….
- Page 2 Assemble the Fairlead Bracket to the RZR Frame as Fairlead Bracket shown in Figure 5 and the exploded view above using the 5/16” hardware supplied. Assemble your Fairlead to the fairlead bracket while routing the cable thru. Attach your hook. Replace hardware removed from Step 2.
Need help?
Do you have a question about the 100660 and is the answer not in the manual?
Questions and answers