Advertisement
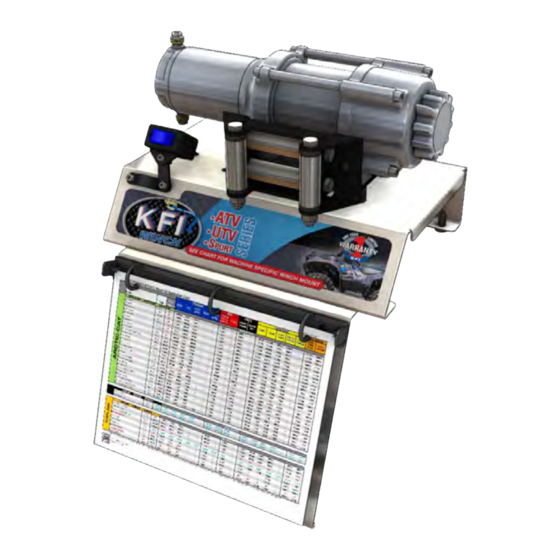
RETAIL WINCH DISPLAY
Display
Kit Components:
Qty.
Part Description
1................. Winch Display Plate
1................. Binder Display Bracket
2................. Zip Tie
4................. Spacer
4................. M8-1.25 x 45mm Bolt
2................. 1/4"-20 x 1/2" Slotted Screw
2................. 1/4" Nylock Nut
INSTALLATION INSTRUCTIONS:
1. Assemble the roller fairlead to the fairlead bracket using the
items included in your winch box. (See Figures 1&4)
2. Assemble winch to display using the supplied longer M8
bolts and spacers, see Figure 2, use washers and lock
washers supplied with winch if needed.
3. Install mini-rocker switch using hardware provided with
your winch. (See Figure 2) When installing the mini-rocker
place the other half of the handle bar bracket to the back
side.
4. Install binder display bracket using the 1/4" screws and nuts
provided in the kit. (See Figure 3)
"Figure 3" Binder Display Bracket Install
©2012 Copyright Kappers Fabricating, Inc. All rights reserved
PART # 110465
Hardware Kit: HK-073
"Figure 2" Winch Install
"Figure 1"
1.
Advertisement
Table of Contents

Summary of Contents for KFI 110465
- Page 1 RETAIL WINCH DISPLAY Display PART # 110465 Hardware Kit: HK-073 Kit Components: Qty. Part Description 1....Winch Display Plate 1....Binder Display Bracket 2....Zip Tie 4....Spacer 4....M8-1.25 x 45mm Bolt 2....1/4”-20 x 1/2” Slotted Screw 2....1/4” Nylock Nut INSTALLATION INSTRUCTIONS: “Figure 1”...
- Page 2 5. Do not cut the Rubber Band on the cable as this will allow the cable to unravel when customers want to try out the Free Spool Knob. Instead use one of the supplied Zip Ties to wrap around the spool and through the loop as shown in Figure 4. 6. Assemble the hook and KFI pull strap to the winch cable loop using the included Zip Ties as shown in Figure 4. Zip-Tie “Figure 4” Zip Tie Install ©2012 Copyright Kappers Fabricating, Inc. All rights reserved...


Need help?
Do you have a question about the 110465 and is the answer not in the manual?
Questions and answers