Table of Contents
Advertisement
Quick Links
Advertisement
Table of Contents

Related Manuals for CIAT CONDENCIAT CL2


Summary of Contents for CIAT CONDENCIAT CL2
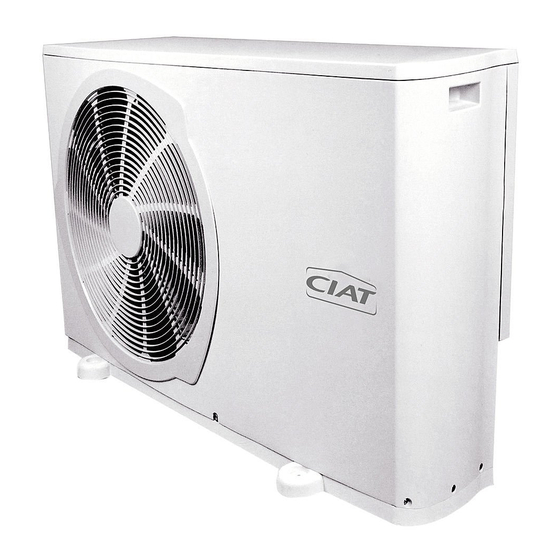
- Page 1 EN7579254-01 EN7579254-01 11 - 2021 11 - 2021 I n s t r u c t i o n m a n u a l...
-
Page 3: Table Of Contents
CONTENTS 1 - INTRODUCTION ....................................4 2 - RECEIPT OF GOODS ..................................4 3 - EQUIPMENT IDENTIFICATION ..............................4 4 - WARRANTY ..................................... 4 5 - SAFETY RECOMMENDATIONS ..............................4 6 - UNIT LOCATION ..................................... 4 7 - WEIGHT AND HANDLING ................................5 8 - OPERATING LIMITS .................................. -
Page 4: Introduction
It is effective for a period of 15 months from the unit invoice date in all other cases. NOTE: For further information, refer to the application of the CIAT warranty. 5 - SAFETY RECOMMENDATIONS... -
Page 5: Weight And Handling
7 - WEIGHT AND HANDLING Now that you have chosen a location for your unit, you may begin installing it. Take into account the weight and dimensions of the unit (see Technical characteristics table "Dimensions"). Caution: raise the unit carefully and keep it vertical. 8 - OPERATING LIMITS The CL2 must be used within the following operating ranges: Minimum... -
Page 6: Dimensions
11 - DIMENSIONS CONDENCIAT CL2 28 and 35 models ® Anti-vibration mount centre Anti-vibration mount distance centre distance = 602 = 410 1035 2 holes Ø8,2 for fixing the mounts to the floor Four fixing points HM8 x 55 screw Detail A Position of holes for fixing the anti-vibration mounts to the floor. - Page 7 11 - DIMENSIONS CONDENCIAT CL2 50, 65 and 75 models ® Anti-vibration Anti-vibration mount centre mount centre distance distance 1035 2 holes Ø8,2 for fixing the mounts to the floor 4 fixing points (HM8 x 55 screws) Detail A Position of holes for fixing the anti-vibration mounts to the floor.
-
Page 8: Installation
12 - INSTALLATION 1035 1000 Minimum Four fixing points M8 screw Min. Installation on soft ground Installation on concrete ground Concrete foundations Concrete foundation Nothing should obstruct the free flow of air over the air-cooled exchanger. Adhere to the minimum distances shown above. Protect from prevailing winds CONDENCIAT EN-8... -
Page 9: Electrical Connections
13 - ELECTRICAL CONNECTIONS CONDENCIAT CL2 units conform to the requirements of the European Low Voltage Directive and, more specifically, with those of ® international standards EN 60335-1, EN 60335-2-40, EN 61000-6-1, EN 61000-6-2, EN 61000-6-3 and EN 61000-6-4. Always disconnect the unit before attempting to wire connections. Open the roof as shown above, make the electrical connections as per the wiring diagram supplied with the unit and tighten the terminals. -
Page 10: Refrigerant Connections
15 - REFRIGERANT CONNECTIONS Once the outdoor and indoor units have been installed, the refrigerant connections must be made to link the units. When doing this, apply the installation standards and carefully study the pipe diagram, ensuring the shortest distance and the smallest number of elbows. -
Page 11: Pressure And Charge Test
For CL2 connected to CIAT air handling units: CL2 units are not pre-charged. To the charge indicated in the CIAT air handling unit manual, add the charge from the outdoor module plus the additional charge, depending on the length of your pipes below. -
Page 12: Commissioning
17 - COMMISSIONING You can now restart the equipment and check that it is operating correctly. Check the safety components. It is recommended to note the operating readings (table below) for the equipment, indicating the serial number and all other required data that appears on the identification plate. -
Page 13: Servicing And Maintenance
Users must have units containing over 3 kg of refrigerant periodically checked for leaks by qualified personnel (2 kg in France, decree and order of 7 May 2007). Regardless of the refrigerant charge in your system, CIAT requires that this check be carried out in order to keep your system in good working order. -
Page 14: Troubleshooting
19 - TROUBLESHOOTING Important: when carrying out repairs, always use original parts, paying particular attention to their installation, as all parts must remain in their original positions. Symptom Cause Solution a) Insufficient gas a) Look for leaks and top up the charge Condensation temperature too low b) Obstacle in the expansion component b) Check the expansion valve... -
Page 15: Declaration Of Conformity
20 - DECLARATION OF CONFORMITY Declaration of Conformity UE UK Declaration of Conformity This unit complies with the provisions of European Directives: This unit complies with the requirements of: 2014/35/UE (DBT) Electrical Equipement (Safety) Regulations 2016 2014/30/UE (EMC) Electromagnetic Compatibility Regulations 2016 2011/65/UE (RoHS) The Restriction of the Use of Certain Hazardous Substances REGULATION (EC) No 1907/2006 (REACH) - Page 16 Manufacturer: Carrier S.C.S, Rte de Thil - 01120 Montluel, France. Printed in the European Union. Manufacturer reserves the right to change any product specifications without notice.
Need help?
Do you have a question about the CONDENCIAT CL2 and is the answer not in the manual?
Questions and answers