Vega VEGAPULS 6X Operating Instructions Manual
Process module
Hide thumbs
Also See for VEGAPULS 6X:
- Operating instructions manual (164 pages) ,
- Quick setup manual (36 pages) ,
- Safety instruction (16 pages)
Table of Contents
Advertisement
Quick Links
Advertisement
Table of Contents

Subscribe to Our Youtube Channel
Related Manuals for Vega VEGAPULS 6X


Summary of Contents for Vega VEGAPULS 6X
- Page 1 Operating Instructions Process module VEGAPULS 6X Document ID: 1008531...
-
Page 2: Table Of Contents
Supplement ..........................12 Technical data ........................ 12 Safety instructions for Ex areas Please note the Ex-specific safety information for installation and op- eration in Ex areas. These safety instructions are part of the operating instructions and come with the Ex-approved instruments. Editing status: 2022-02-15 Process module • VEGAPULS 6X... -
Page 3: About This Document
Symbols used Document ID This symbol on the front page of this instruction refers to the Docu- ment ID. By entering the Document ID on www.vega.com you will reach the document download. Information, note, tip: This symbol indicates helpful additional infor- mation and tips for successful work. -
Page 4: For Your Safety
That is why we have introduced an environment management system with the goal of continuously improving company environmental pro- tection. The environment management system is certified according to DIN EN ISO 14001. Please help us fulfil this obligation by observing the environmental instructions in this manual: • Chapter " Packaging, transport and storage" • Chapter " Disposal" Process module • VEGAPULS 6X... -
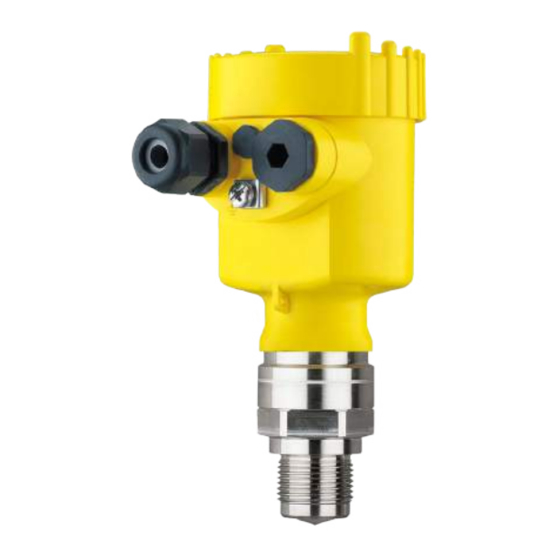
Page 5: Product Description
Technical data - Ambient conditions" • Relative humidity 20 … 85 % Lifting and carrying With instrument weights of more than 18 kg (39.68 lbs) suitable and approved equipment must be used for lifting and carrying. Process module • VEGAPULS 6X... -
Page 6: Mounting
3. Disconnect the connection cables according to the operating instructions manual of the respective sensor 4. Loosen the two holding screws with a screwdriver (Torx size T 10 or slot size 4) Process module • VEGAPULS 6X... - Page 7 Fig. 4: Position of the screws and locking ring in the example of the plastic housing Screw check angle Screw locking ring Retaining ring 3. Open the locking ring with the pliers and remove it 4. Depending on the housing, loosen locking screw on the base Process module • VEGAPULS 6X...
-
Page 8: Mounting Steps New Process Component
8. Screw the housing lid back on The process component is exchanged. As a rule, the exchange of the process component must be docu- mented internally when used in Ex applications. Process module • VEGAPULS 6X... -
Page 9: Setup
5 Setup Setup Setup Setup is carried out according to the operating instructions manual of the respective sensor. Process module • VEGAPULS 6X... -
Page 10: Maintenance
Clean the instrument and pack it damage-proof • Attach the completed form and, if need be, also a safety data sheet outside on the packaging • Ask the agency serving you to get the address for the return ship- ment. You can find the agency on our homepage. Process module • VEGAPULS 6X... -
Page 11: Dismount
If personal data is stored on the old device to be disposed of, delete it before disposal. If you have no way to dispose of the old instrument properly, please contact us concerning return and disposal. Process module • VEGAPULS 6X... -
Page 12: Supplement
8 Supplement Supplement Technical data Technical data are stated in the operating instructions manual of the respective sensor. Process module • VEGAPULS 6X... - Page 13 Notes Process module • VEGAPULS 6X...
- Page 14 Notes Process module • VEGAPULS 6X...
- Page 15 Notes Process module • VEGAPULS 6X...
- Page 16 Subject to change without prior notice © VEGA Grieshaber KG, Schiltach/Germany 2022 VEGA Grieshaber KG Am Hohenstein 113 Phone +49 7836 50-0 77761 Schiltach E-mail: info.de@vega.com...
Need help?
Do you have a question about the VEGAPULS 6X and is the answer not in the manual?
Questions and answers