MikroTik LHG 60G Quick Start Manual
Hide thumbs
Also See for LHG 60G:
- Quick manual (63 pages) ,
- Quick start manual (9 pages) ,
- User manual (3 pages)
Table of Contents
Advertisement
Quick Links
LHG 60G
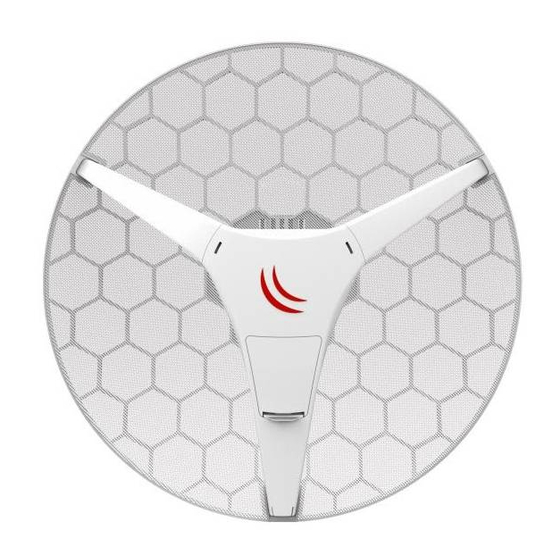
The LHG 60G device works in the 60 GHz wireless spectrum, the operating temperature of these devices is from -40
gigabit Ethernet port and can be powered with PoE.
Safety Warnings
Before you work on any equipment, be aware of the hazards involved with electrical circuitry, and be familiar with standard practices for preventing
accidents.
Ultimate disposal of this product should be handled according to all national laws and regulations.
All installation methods for mounting an access point on any wall surface is subject to the acceptance of local jurisdiction.
The Installation of the equipment must comply with local and national electrical codes.
This product is intended to be mounted outdoors on a pole. Please read the mounting instructions carefully before beginning installation. Failure to use the
correct hardware and configuration or to follow the correct procedures could result in a hazardous situation for people and damage to the system.
Use only the power supply and accessories approved by the manufacturer, and which can be found in the original packaging of this product.
Read the installation instructions before connecting the system to the power source.
We cannot guarantee that no accidents or damage will occur due to the improper use of the device. Please use this product with care and operate at your
own risk!
In the case of device failure, please disconnect it from power. The fastest way to do so is by unplugging the power plug from the power outlet.
It is the customer's responsibility to follow local country regulations, including operation within legal frequency channels, output power, cabling
requirements, and Dynamic Frequency Selection (DFS) requirements. All Mikrotik radio devices must be professionally installed.
This is a class A device. In a domestic environment, this product might cause radio interference in which case the user might be required to take adequate
measures.
Quickstart
Assemble unit. Please see the
Open the Ethernet door to connect an Ethernet cable to the Ethernet port, connect the other end of the Ethernet cable to the included PoE injector.
Plug the PoE injector into your network switch or ISP internet outlet.
Plug the included power supply into the PoE injector to start up the device.
Mount on the mast or pole. Please see the
Set LAN computer IP configuration to
Once connected to the wireless network, open
password by default.
We recommend clicking the "Check for updates" button and updating your RouterOS software to the latest version to ensure the best
performance and stability.
Choose your country, to apply country regulation settings and set up your password on the screen that loads.
Assembly
1.
Attach the two legs to the LHG case.
2.
Snap the assembled LHG unit to the grid in the appropriate locations.
3.
Fix the legs in place with two self thread screws (Use Phillips screwdriver PH2).
Assembly
section.
section.
automatic
(DHCP).
https://192.168.88.1
in your web browser to start configuration, user name: Admin and there is no
°C
up to +70
°C
. Each device has one
Advertisement
Table of Contents

Related Manuals for MikroTik LHG 60G


Summary of Contents for MikroTik LHG 60G
- Page 1 LHG 60G The LHG 60G device works in the 60 GHz wireless spectrum, the operating temperature of these devices is from -40 °C up to +70 °C . Each device has one gigabit Ethernet port and can be powered with PoE.
- Page 2 Mounting Attach the mounting assembly to the back of the device with four provided screws. For more details please visit https://i.mt.lv/cdn/rb_files /Ilustrated_mounting_guide_for_LHG-180704095554.pdf Mount assembled unit to the pole using provided U bolt clamp. Clamping diameter with the provided steel clamp is 35 – 70 mm.
- Page 3 ) can be used to connect to the MAC address of the device from the LAN side. Please get yourself familiar with additional information on this interface: https://wiki.mikrotik.com/wiki/Manual:Interface/W60G For recovery purposes, it is possible to boot the device for reinstallation, see section Buttons and jumpers Buttons and jumpers The routerBOOT reset button has the following functions.
- Page 4 Hose Clamp SUS304 (Philips type; clamping diameter range 35-70 mm). BRAC1_ LHG montage element. DynaDish U-Bolt M8 (A2 Stainless Steel). QuickMount AIM. Specifications For more information about LHG products, specifications and pictures please visit our web page: https://mikrotik.com/product/lhg_60g Operating system support...
- Page 5 Other operating systems have not been tested. MikroTik mobile app Use the MikroTik smartphone app to configure your router in the field, or to apply the most basic initial settings for your MikroTik home access point. Scan QR code and choose your preferred OS.
- Page 6 Информация о дате изготовления устройства указана в конце серийного номера на его наклейке через дробь. Первая цифра означает номер года (последняя цифра года), две последующие означают номер недели. Изготовитель: Mikrotikls SIA, Aizkraukles iela 23, Riga, LV-1006, Латвия, support@mikrotik.com. Сделано в Китае, Латвии или Литве. Cм. на упаковке.
- Page 7 País De Origen: Letonia; Lituania; China (Republica Popular); Estados Unidos De America; Mexico. Por favor contacte a su distribuidor local para preguntas regionales específicas. La lista de importadores se puede encontrar en nuestra página de inicio – https://mikrotik.com/buy/latinamerica/mexico. The National Commission for the State Regulation of Communications and Informatization by Ukraine Виробник: Mikrotikls SIA, Brivibas gatve 214i Рига, Латвія, LV1039.
Need help?
Do you have a question about the LHG 60G and is the answer not in the manual?
Questions and answers