Do you have a question about the DuoRacer Series and is the answer not in the manual?
Questions and answers
Norman
April 28, 2025
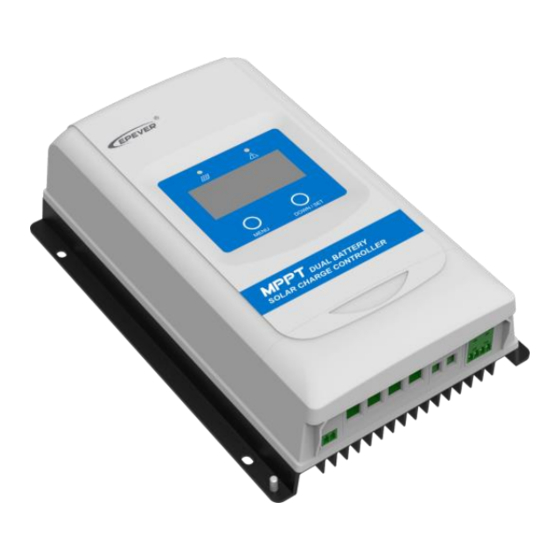
Have duoracer connected to 2 batteries does not seem to be charging batt2
1 comments:
Mr. Anderson
May 15, 2025
The Epever Duoracer is not charging battery 2 (the starter battery) because the controller only provides a 1A trickle charge to battery 2, and this may not be enough to show noticeable charging activity on the Bluetooth app. Additionally, it is necessary to ensure that the BATT2 safety switch is turned on and that the controller is properly connected to BATT2. If these conditions are not met, battery 2 will not receive a charge.


Need help?
Do you have a question about the DuoRacer Series and is the answer not in the manual?
Questions and answers
Have duoracer connected to 2 batteries does not seem to be charging batt2
The Epever Duoracer is not charging battery 2 (the starter battery) because the controller only provides a 1A trickle charge to battery 2, and this may not be enough to show noticeable charging activity on the Bluetooth app. Additionally, it is necessary to ensure that the BATT2 safety switch is turned on and that the controller is properly connected to BATT2. If these conditions are not met, battery 2 will not receive a charge.
This answer is automatically generated