Table of Contents
Advertisement
Quick Links
C
OMPLETE R
C
OMPLETE R
Quiet Electric Flight
Radio-Controlled Model
Requires 8 (AA) Alkaline
Batteries (not included)
Please read through this instruction booklet to THOROUGHLY familiarize yourself with the assembly and
flight characteristics of this airplane before beginning to assemble the kit.
Please inspect all parts carefully before starting assembly! If any parts are missing, broken or defective, or
if you have any questions about the assembly or flying of this airplane, please call us at (217) 398-8970 and
we'll be glad to help.
Hobbico
®
, Inc. guarantees this kit to be free from defects in both material and workmanship at the date of
purchase. This warranty does not cover any component parts damaged by use or modification. In no case shall
Hobbico's liability exceed the original cost of the purchased kit. Further, Hobbico reserves the right to change
or modify this warranty without notice.
In that Hobbico has no control over the final assembly, no liability shall be assumed nor accepted for any
damage resulting from the use by the user of the final user-assembled product. By the act of using the
user-assembled product, the user accepts all resulting liability.
If the buyers are not prepared to accept the liability associated with the use of this product, they are advised
to return this kit immediately in new and unused condition to the place of purchase.
Entire Contents © Copyright 2001
TF
AIRPLANE
TF
AIRPLANE
ASSEMBLE ONLY WITH ADULT SUPERVISION
WARRANTY
HCAZ3003 for HCAA2009 V1.0
™
™
Advertisement
Table of Contents

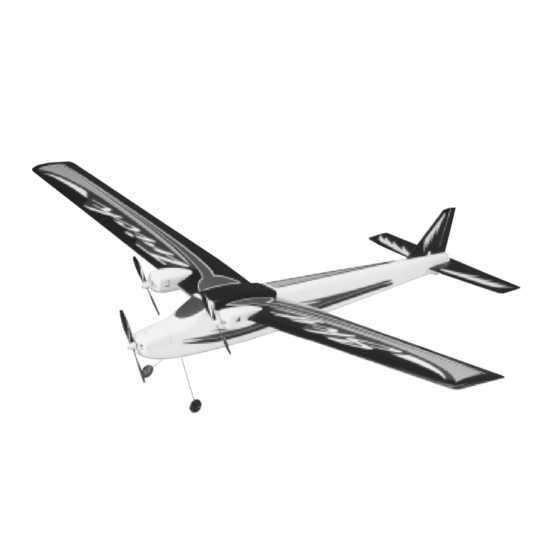
Summary of Contents for Hobbico FlyZone Sky Trick
- Page 1 In that Hobbico has no control over the final assembly, no liability shall be assumed nor accepted for any damage resulting from the use by the user of the final user-assembled product. By the act of using the user-assembled product, the user accepts all resulting liability.
- Page 2 3. Fly only on calm days (with wind speeds less than PROTECT YOUR MODEL, YOURSELF 10mph) and in large open areas free of trees, people, AND OTHERS. buildings or any other obstacles. FOLLOW THIS IMPORTANT SAFETY PRECAUTION Remember: Take your time and follow the instructions to end up with a well-built model that is straight, durable and easy to fly.
-
Page 3: Unpacking The Box
THE RADIO CONTROL SYSTEM Antenna Battery Level LEDs Directional Throttle Stick Stick Power Switch AIRFRAME PARTS AND HARDWARE UNPACKING THE BOX 7. Landing Gear........1 Check the parts against the list below. If any parts are 8. Landing Gear Cover ......1 damaged or missing, give us a call at: (217) 398-8970. -
Page 4: Install The Main Wing
INSTALL THE STABILIZER & FIN 4. Turn the plane right-side up. Remove the screw in the fin mount located on the top of the aft end of the 1. Turn the plane upside-down. Remove the stabilizer fuselage. Insert the fin in the mount, making sure it is cover by unscrewing the two medium screws in the fully seated. -
Page 5: Install The Landing Gear
INSTALL THE MOTOR COVERS INSTALL THE LANDING GEAR 1. Turn the fuselage upside-down and remove the screw from the landing gear plate. Remove the landing gear plate from the fuselage. 1. There is a left and right motor cover. On the inside of each cover there is an “L”... -
Page 6: Install The Transmitter Batteries
the wing. Press the large propeller onto the motor at the front of the fuselage. To prevent the prop from hitting, be sure to leave a space, approximately 1/16", between the propellers and the front of the motor covers and fuselage. -
Page 7: Battery Recycling
SAFETY PRECAUTIONS FOR CHARGING BATTERIES 1. Never leave a charging battery unattended. 2 Never let the battery charge until it feels hot. A hot battery is an overcharged battery. Only let the battery get warm to the touch. 3. If you ever use a different battery charger, charge this battery pack only at a maximum charge rate of 1/2 amp. - Page 8 2. Open the battery hatch on the bottom of the fuselage and plug the battery pack into the plug in the 5. Moving the right stick to the right, the center and fuselage. left motor will run. This will cause the plane to turn to the right in flight.
- Page 9 2. For your first few flights, fly only when the wind is and then quickly release the stick. Do this two or three calm. After you are comfortable with the airplane, you times and notice if the plane starts to climb steeply, can fly in winds that are no more than 10 miles per climbs shallow or flies level when the throttle stick is hour.
-
Page 10: After The Flight
4. As the Sky Trick slowly descends, use the right stick Hobbico FLYZONE Aero Cruiser Electric ™ to control the direction. The Sky Trick will just about The 37.5"... - Page 11 ™ “Replace it FREE” guarantee against breakage! Fully Hobbico FLYZONE A6 Intruder Electric Free Flight Jet assembled, it includes a painted and trimmed body and a Modelers as young as 10 years of age can experience the 2-channel radio with “AA”...
-
Page 12: Building Notes
BUILDING NOTES Kit Purchased Date: ______________________ Date Construction Finished: _______________ Where Purchased: _______________________ Finished Weight:_________________________ Date Construction Started: ________________ Date of First Flight: ______________________ FLIGHT LOG...


Need help?
Do you have a question about the FlyZone Sky Trick and is the answer not in the manual?
Questions and answers