Sign In
Upload
Download
Table of Contents
Contents
Add to my manuals
Delete from my manuals
Share
URL of this page:
HTML Link:
Bookmark this page
Add
Manual will be automatically added to "My Manuals"
Print this page
×
Bookmark added
×
Added to my manuals
Manuals
Brands
Abus Manuals
Digital Camera
PPIC42520B
Instruction manual
Abus PPIC42520B Instruction Manual
Hide thumbs
1
2
3
Table Of Contents
4
5
6
7
8
9
10
11
12
13
14
15
16
17
18
19
20
21
22
23
24
25
26
27
28
29
30
31
32
33
34
35
36
37
38
39
40
41
42
43
44
45
46
47
48
49
50
51
52
53
54
55
56
57
58
page
of
58
Go
/
58
Contents
Table of Contents
Troubleshooting
Bookmarks
Table of Contents
Table of Contents
Scope of Delivery
Ppic42520 / Ppic42520B
Ppic44520 / Ppic44520B
Hardware Description
Wi-Fi Pan Tilt Outdoor Camera
Wi-Fi Outdoor Camera
Assembly / Installation
Camera Mounting
Wi-Fi Pan Tilt Outdoor Camera (Flush-Mounted)
Wi-Fi Pan Tilt Outdoor Camera (Surface-Mounted)
WI-FI Outdoor Camera (Flush-Mounted)
Wi-Fi Outdoor Camera (Surface-Mounted)
Restore Factory Settings
Ppic42520 / Ppic42520B
Ppic44520 / Ppic44520B
Installation Instructions Wi-Fi Operation
Detection Range of the Camera
Installation Site
Intelligent Image Analysis (Object Recognition)
Notes on Object Recognition
App2Cam Plus: First Access
System Requirements
Download App
Setup Camera
Bluetooth Setup
WI-FI Setup
Setup Via Network Cable
Add Cameras that Have Already Been Set up
App2Cam Plus: Compatibility
App2Cam Plus: Overview
Menu Bar
Camera Bar
Info / App Settings
App2Cam Plus: Live View
PPIC42520 / PPIC42520B Live View Functions
PPIC44520 / PPIC44520B Live View Functions
Camera Indicators
Stream Indicators
App2Cam Plus: Event List / Playback
Event List
Event List Functions
Playback
Playback Functions
Download & Forwarding
Advanced Settings
Open Advanced Settings
Login Data
Automatic Login
Advanced Settings
Security Settings
Video Settings
Sound Settings
WI-FI Settings
Motion Detection Settings
Notification Settings
Memory Settings
Schedule Settings
Device Settings
Device Information
Update Firmware
Updating Via Server
Current Firmware Version
Troubleshooting Tips
Open Source License Notes
Advertisement
Quick Links
Download this manual
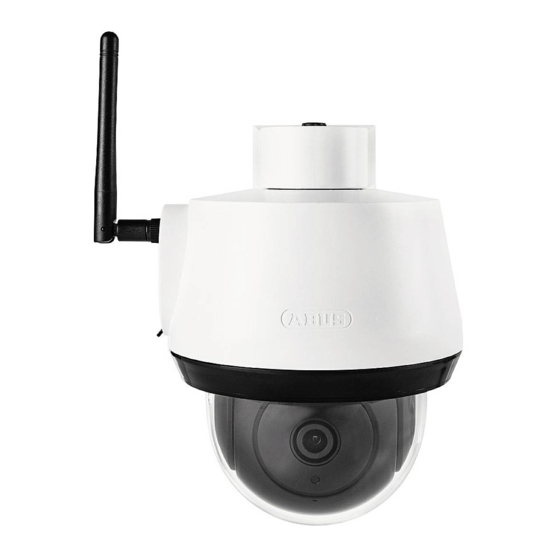
PPIC42520/ PPIC44520
PPIC42520B/ PPIC44520B
Instruction manual
Important information and FAQs about this product and other
products can be found on the website
http://www.abus.com/
Version 1.1
Original operating instructions in English language.
Keep for future use!
Table of
Contents
Previous
Page
Next
Page
1
2
3
4
5
Advertisement
Table of Contents
Need help?
Do you have a question about the PPIC42520B and is the answer not in the manual?
Ask a question
Questions and answers
Related Manuals for Abus PPIC42520B
Outdoor Camera Abus PPIC42520 Instruction Manual
(58 pages)
Outdoor Camera Abus PPIC44520 Quick Manual
Wi-fi outdoor camera (16 pages)
Security Camera Abus PPIC42520 Quick Manual
Wi-fi pan tilt outdoor camera (16 pages)
Digital Camera Abus PPIC90200 Quick Manual
(12 pages)
Digital Camera Abus PPIC90520 Quick Manual
(8 pages)
Digital Camera Abus PPIC44520B Instruction Manual
(58 pages)
Digital Camera Abus PPIC91000 Quick Manual
Battery cam pro with base station (21 pages)
Digital Camera Abus PPIC91000 Quick Manual
Battery cam pro with base station (21 pages)
Digital Camera Abus tvac16000a/b User Manual
(319 pages)
Digital Camera Abus Security-Center Ecoline TV 7075 Installation Manual
Vandal proof ir dome camera (41 pages)
Digital Camera Abus Eyseo TV7057 Manual
35x auto focus camera day / night (138 pages)
Digital Camera Abus HDCC65550 User Manual
(91 pages)
Digital Camera Abus Auto Focus Camera Installation Manual
(130 pages)
Digital Camera Abus IPCS62120 Installation Manual
(132 pages)
Digital Camera ABUS TVCC50021 User Manual
Wdr day/night 690 htvl-e standard camera (136 pages)
Digital Camera Abus IPCV10000 User Manual
(12 pages)
This manual is also suitable for:
Ppic44520
Ppic42520
Ppic44520b
Table of Contents
Print
Rename the bookmark
Delete bookmark?
Delete from my manuals?
Login
Sign In
OR
Sign in with Facebook
Sign in with Google
Upload manual
Upload from disk
Upload from URL


Need help?
Do you have a question about the PPIC42520B and is the answer not in the manual?
Questions and answers