Advertisement
Table of Contents
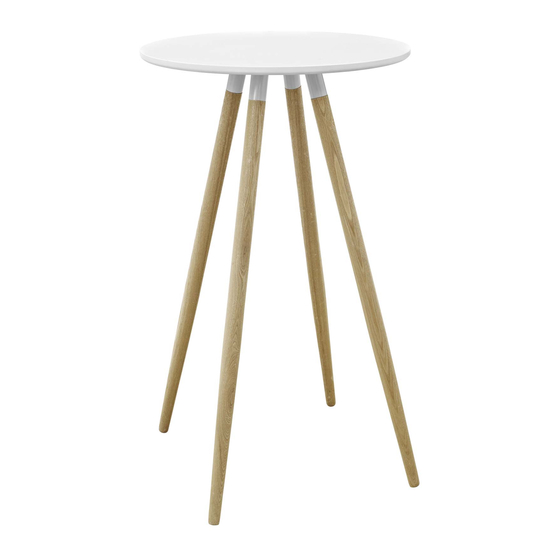
EEI-2675
TABLE
Thank you for purchasing the MODWAY TABLE!
Before you start, here is some helpful advice:
1.We suggest you spend a short time reading through this leaflet and then follow the simple step-by-step
instructions.
2.Owing to the size and weight of the table, we recommend that it is assembled by two adults, on a carpeted or
padded area, in the room that it is intended for. Approximate assembly time: 30 minutes.
3.Please do not use any tools other than those provided or recommended in these instructions.
4.Please do not throw away any of the packaging or the instruction until you have checked all the components and
hardware and the furniture is fully assembled. Please ensure that the packaging is disposed of in a safe and
environmentally friendly way.
5.Assemble all components loosely until advised to tighten. Depending on use, it may be necessary to tighten the
components from time to time, so please save the tools that have been provided.
6.Please keep all fitting out of reach of children.
Component:
1
Table Top
x1
Customer Service 908-368-1025︱www.modwayfurniture.com
Hardware:
A
B
C
D
1
2
2
2
2
Bolt M6x16mm
x12
Spring Washer M6
x12
Flat Washer M6
x12
Allen Wrench M4
x1
2
Table Leg
x4
Page 1 of 2
Advertisement
Table of Contents

Related Manuals for modway EEI-2675


Summary of Contents for modway EEI-2675
- Page 1 EEI-2675 TABLE Thank you for purchasing the MODWAY TABLE! Before you start, here is some helpful advice: 1.We suggest you spend a short time reading through this leaflet and then follow the simple step-by-step instructions. 2.Owing to the size and weight of the table, we recommend that it is assembled by two adults, on a carpeted or padded area, in the room that it is intended for.
- Page 2 EEI-2675 TABLE STEP 1: Please put the Table Top (1) upside down on a carpeted or padded area. Position 1 piece of Table Leg (2) to the bottom of Table Top (1) as shown. Insert 3 pieces of Bolt (A) with 3 pieces of Spring Washer (B) and 3 pieces of Flat Washer (C) into the holes on bottom of Table Top (1) through the holes on Table Leg (2).
Need help?
Do you have a question about the EEI-2675 and is the answer not in the manual?
Questions and answers