Table of Contents
Advertisement
Quick Links
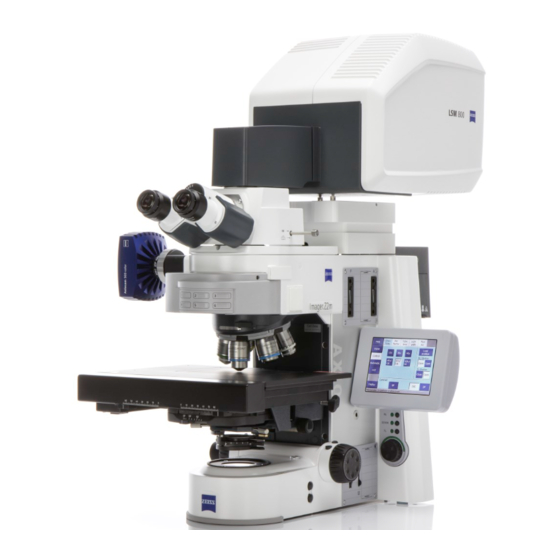
Zeiss LSM800-6 vertical-2 + Airyscan confocal microscope
I.
System description:
Inverted (vertical) confocal microscope with Airyscan module
Motorized stage for multiple position imaging
Objectives:
Objective Plan-Apochromat 10x / NA 0.45 Air (WD=2.1mm)
Objective Plan-Apochromat 20x / NA 0.8 Air
Objective W-Plan-Apochromat 40x / NA 1.0 water dipping DIC VIS-IR
Objective C-Apochromat 63x / NA 1.2 W Korr
Laser lines: 405, 488, 561, 640 nm
Detectors:
2 PMT detectors with free choice of the spectral range. (PMT 1: tunable short pass and various
bandpass filters in front of the PMT, PMT 2: tunable long pass and various bandpass filters in
front of detector)
1 GaASP PMT for the Airyscan detector that can function as a normal detector in confocal mode
(detection range adjustable by a tunable short pass and a tunable long pass filter, no bandpass
filters)
An ESID detector for transmitted light.
Simultaneous detection of only two dyes possible, more than two have to be acquired sequentially.
II.
Starting up:
1. Switch on the multiple socket (1). Provides power to microscope controllers
2. Switch on the system(2) and Components (3)
3. Switch on the computer (4)
4. Login: BIF-User (Useme!11)
5. Open
ZEN Blue
your images)
6. If Pop-up appears about stage calibration, press "calibrate now"
Software and press "Start System" ("Image Processing" is for offline analysis of
2019-03-15
1
Advertisement
Table of Contents

Related Manuals for Zeiss LSM800-6


Summary of Contents for Zeiss LSM800-6
- Page 1 Zeiss LSM800-6 vertical-2 + Airyscan confocal microscope 2019-03-15 System description: Inverted (vertical) confocal microscope with Airyscan module Motorized stage for multiple position imaging Objectives: Objective Plan-Apochromat 10x / NA 0.45 Air (WD=2.1mm) Objective Plan-Apochromat 20x / NA 0.8 Air ...
- Page 2 III. Visual examination of the sample 1. Press “Locate” in the main microscope menu and “Online” 2. You can change objectives automatically on the small touch screen attached on the right side of the microscope by selecting “microscope” menu and “objectives” 3.
- Page 3 • Make sure Köhler illumination is set properly if you intend to use the ESID detector (for bright field images)! • Press the “AF” (Autofocus) button to find your focus, alternatively go to “Live” acquisition modus and find it manually •...
- Page 4 1. Setting up Z-stack: Enable Z-Stack and the Z-Stack dialog will appear Press “Live” and set your first and last slice The software will suggest optimal slice number and interval which you can change manually Activate the ‘Optimize sectioning and step’ checkbox to see slice overlapping. Here you can again set an optimal interval to ensure ~50% overlap between sections.
- Page 5 Disable this option to keep the order of positions during imaging! 4. Data Saving: Save your data to D: data folder. Note that this computer is not backed up. Please move your data as soon as possible using portable storage devices. Since this is a Demo instrument it’s not being connected to our network.
- Page 6 Laser Safety Instructions During operation of class 3B and class 4 lasers red warning lights have to be switched on manually Red warning light at the door of the room, containing laser-based equipment, prohibits the entrance Optical path of the laser beam at all setups has to stay intact and should never be disassembled by a user.
Need help?
Do you have a question about the LSM800-6 and is the answer not in the manual?
Questions and answers