Sign In
Upload
Download
Table of Contents
Contents
Add to my manuals
Delete from my manuals
Share
URL of this page:
HTML Link:
Bookmark this page
Add
Manual will be automatically added to "My Manuals"
Print this page
×
Bookmark added
×
Added to my manuals
Manuals
Brands
Rohde & Schwarz Manuals
Measuring Instruments
R&S FPL1000
Getting started
Rohde & Schwarz R&S FPL1000 Getting Started
Spectrum analyzer
Hide thumbs
1
2
Table Of Contents
3
4
5
6
7
8
9
10
11
12
13
14
15
16
17
18
19
20
21
22
23
24
25
26
27
28
29
30
31
32
33
34
35
36
37
38
39
40
41
42
43
44
45
46
47
48
49
50
51
52
53
54
55
56
57
58
59
60
61
62
63
64
65
66
67
68
69
70
71
72
73
74
75
76
77
78
79
80
81
82
83
84
85
86
87
88
89
90
91
92
93
94
95
96
97
98
99
100
page
of
100
Go
/
100
Contents
Table of Contents
Bookmarks
Table of Contents
Table of Contents
Safety and Regulatory Information
Safety Instructions
Labels on R&S FPL1000
Korea Certification Class a
Documentation Overview
Getting Started Manual
User Manuals and Help
Service Manual
Instrument Security Procedures
Printed Safety Instructions
Data Sheets and Brochures
Release Notes and Open Source Acknowledgment (OSA)
Application Notes, Application Cards, White Papers, Etc
Calibration Certificate
Key Features
Preparing for Use
Lifting and Carrying
Unpacking and Checking
Here, You Can Find Basic Information about Setting up the Instrument for the First Time. Lifting and Carrying
Choosing the Operating Site
Setting up the R&S FPL1000
Setting up the R&SFPL1000
Connecting to Power
Switching on or off
Connecting to LAN
Connecting a Keyboard
Connecting an External Monitor
Windows Operating System
Logging on
Checking the Supplied Options
Performing a Self-Alignment
Considerations for Test Setup
Instrument Tour
Front Panel View
Rear Panel View
Trying out the Instrument
Measuring a Basic Signal
Displaying a Spectrogram
Activating Additional Measurement Channels
Performing Sequential Measurements
Setting and Moving a Marker
Displaying a Marker Peak List
Zooming into the Display
Saving Settings
Printing and Saving Results
Operating the Instrument
Understanding the Display Information - Spectrum Mode
Accessing the Functionality
Entering Data
Touchscreen Gestures
Getting Help
Customer Support
Advertisement
Quick Links
1
Table of Contents
2
User Manuals and Help
3
Getting Started Manual
4
Service Manual
5
Data Sheets and Brochures
6
Connecting to Lan
Download this manual
R&S
Spectrum Analyzer
Getting Started
(;Ý^Ç2)
1179465702
Version 10
Distributed by:
Sie haben Fragen oder wünschen eine Beratung? Angebotsanfrage unter 07121 / 51 50 50 oder über info@datatec.de
®
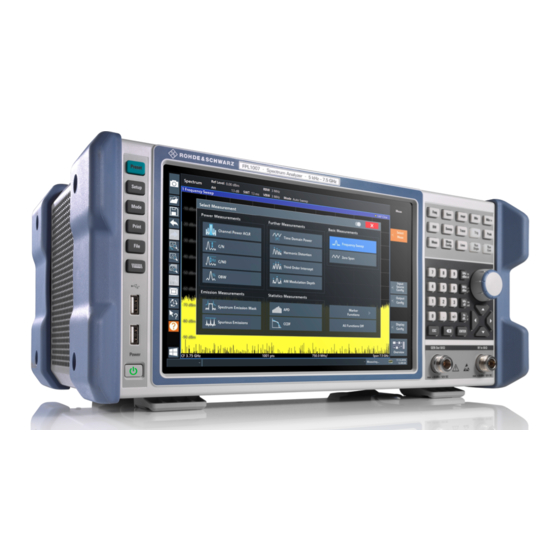
FPL1000
Table of
Contents
Previous
Page
Next
Page
1
2
3
4
5
Advertisement
Table of Contents
Need help?
Do you have a question about the R&S FPL1000 and is the answer not in the manual?
Ask a question
Questions and answers
Related Manuals for Rohde & Schwarz R&S FPL1000
Measuring Instruments Rohde & Schwarz FPL1000 User Manual
Spectrum analyzer (899 pages)
Measuring Instruments Rohde & Schwarz FPL1003-P4 Getting Started
Spectrum analyzer (98 pages)
Measuring Instruments Rohde & Schwarz FPL1000 Series Getting Started
Spectrum analyzer (96 pages)
Measuring Instruments Rohde & Schwarz R&S FPS Getting Started
Signal and spectrum analyzer (148 pages)
Measuring Instruments Rohde & Schwarz R&S FPC User Manual
Spectrum analyzer (20 pages)
Measuring Instruments Rohde & Schwarz R&S FSVA Quick Start Manual
Signal and spectrum analyzer (210 pages)
Measuring Instruments Rohde & Schwarz R&S FSP Series Operating Manual
Spectrum analyzer (796 pages)
Measuring Instruments Rohde & Schwarz R&S FSP30 Operating Manual
Spectrum analyzer (796 pages)
Measuring Instruments Rohde & Schwarz R&S FSP40 Operating Manual
Spectrum analyzer (796 pages)
Measuring Instruments Rohde & Schwarz R&S FSH Series Operating Manual
Handheld spectrum analyzer (245 pages)
Measuring Instruments Rohde & Schwarz R&S FSH Service Manual
Handheld spectrum analyzer (79 pages)
Measuring Instruments Rohde & Schwarz R&S FSH-Z1 Quick Start Manual
Handheld spectrum analyzer (61 pages)
Measuring Instruments Rohde & Schwarz R&S FSH-Z2 Quick Start Manual
Handheld spectrum analyzer (61 pages)
Measuring Instruments Rohde & Schwarz R&S FSH18 Quick Start Manual
Handheld spectrum analyzer (61 pages)
Measuring Instruments Rohde & Schwarz R&S FSH13 Quick Start Manual
Handheld spectrum analyzer (61 pages)
Measuring Instruments Rohde & Schwarz R&S FS315 Operating Manual
Spectrum analyzer includes a tracking generator (279 pages)
This manual is also suitable for:
R&s fpl1003
R&s fpl1007
R&s fpl1014
R&s fpl1026
R&s fpl1007-p6
R&s fpl1003-p6
...
Show all
R&s fpl1003-p4
1304.0004k03
1304.0004k07
1304.0004k14
1304.0004k26
1304.0027p06
1304.0010p06
1304.0010p04
Fpl1000
Fpl1003
Fpl1007
Fpl1014
Fpl1026
Fpl1007-p6
Table of Contents
Print
Rename the bookmark
Delete bookmark?
Delete from my manuals?
Login
Sign In
OR
Sign in with Facebook
Sign in with Google
Upload manual
Upload from disk
Upload from URL


Need help?
Do you have a question about the R&S FPL1000 and is the answer not in the manual?
Questions and answers