Table of Contents
Advertisement
INSTALLATION & USER INSTRUCTIONS
Focal Point Fires plc.
Christchurch, Dorset BH23 2BT
Tel: 01202 499330
Fax: 01202 499326
www.focalpointfires.co.uk
e : sales@focalpointfires.co.uk
This product is only suitable for well insulated spaces or occasional use.
Please note : Except where otherwise stated, all
rights, including copyright in the text, images
and layout of this booklet is owned by Focal
Point Fires plc. You are not permitted to copy
or adapt any of the content without the prior
written permission of Focal Point Fires plc.
LED ELECTRIC FIRE
MODELS COVERED BY THESE INSTRUCTIONS
EF655SLB-E
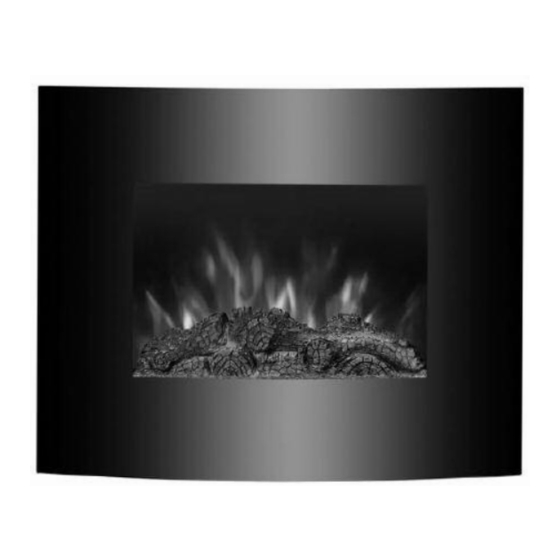
LEXINGTON LED ELECTRIC FIRE
MODEL SHOWN: LEXINGTON LED ELECTRIC FIRE
1
All instructions must be handed to the user
for safekeeping.
Revision C - 06/19
GB IE
Advertisement
Table of Contents

Related Manuals for FocalPoint LEXINGTON EF655SLB-E


Summary of Contents for FocalPoint LEXINGTON EF655SLB-E
- Page 1 INSTALLATION & USER INSTRUCTIONS LED ELECTRIC FIRE MODELS COVERED BY THESE INSTRUCTIONS GB IE EF655SLB-E LEXINGTON LED ELECTRIC FIRE Focal Point Fires plc. Christchurch, Dorset BH23 2BT Tel: 01202 499330 Fax: 01202 499326 www.focalpointfires.co.uk e : sales@focalpointfires.co.uk MODEL SHOWN: LEXINGTON LED ELECTRIC FIRE This product is only suitable for well insulated spaces or occasional use.
-
Page 2: Preliminary Notes
I N S TA L L AT I O N & U S E R I N S T R U C T I O N S GB IE Section Contents Page No. Section Contents Page No. Preliminary Notes Installing the Appliance Installation Requirements Operating the Appliance Appliance Data... -
Page 3: Installation Requirements
1.0 PRELIMINARY NOTES - CONTINUED GB IE timer, or connected to a circuit that is regularly switched on and off by the utility. • Keep furniture, curtains and other fabric material away from the appliance. • DO NOT leave the appliance unattended during use. •... -
Page 4: Unpacking The Appliance
3.0 APPLIANCE DATA - CONTINUED GB IE With mechanical thermostat room temperature control With electronic room temperature control Electronic room temperature con- trol plus day timer Electronic room temperature con- trol plus week timer Other control options Room temperature control with presence detection Room temperature control with open window detection... -
Page 5: Clearances To Combustible Materials
6.0 SITE REQUIREMENTS - CONTINUED GB IE DO NOT • mount on a ceiling or floor • recess any part of the appliance into the wall • run the supply cable under carpets • site any electrical equipment e.g. plasma screen TV sets etc, on the wall below the appliance •... -
Page 6: Operating The Appliance
8.0 INSTALLING THE APPLIANCE - CONTINUED GB IE For optimum viewing install the fire out of direct sunlight. Ensure that the bracket is level by using a spirit level whilst marking out the hole positions. Fix the wall bracket using the plugs and screws provided. Carefully lift the heater up ensuring that the top rear ledge of heater engages with the wall bracket and is sitting cen- trally.This process should be carried out by two people to avoid injury or damage to property or the appliance (figure 3). - Page 7 9.0 OPERATING THE APPLIANCE - CONTINUED GB IE Remote Operation NOTE:The heater should be powered on using the ON/OFF switch before it can be operated using remote control. Switch the appliance ON Go up in the menu Set to standby mode (change day) Set timer key Set day/time...
-
Page 8: Safety Cut -Out System
9.0 OPERATING THE APPLIANCE - CONTINUED GB IE Setting temperature NOTE:This setting is only applicable for the temperature in standard heating mode, not for the temperature in the timer mode.The default set temperature is 25°C. NOTE:The heater only starts working when the set temperature is higher than the room temperature. Press the + or –... -
Page 9: Cleaning And Maintenance
11.0 CLEANING AND MAINTENANCE GB IE ALWAYS DISCONNECT THE APPLIANCE AT THE SUPPLY OUTLET SOCKET BEFORE UNDERTAKING ANY CLEANING. Except for periodic cleaning of dust, there are no specific requirements for care, other than regular cleaning of the general appliance. A wipe with a dry cloth is normally sufficient. -
Page 10: Guarantee - Terms And Conditions
13.0 GUARANTEE - TERMS AND CONDITIONS GB IE Registration is not required. The 3 year guarantee only covers products purchased on or after 1st February 2009.The 3 year guarantee commences from the date of purchase, provided that the following 3 terms and conditions are adhered to: 1.
Need help?
Do you have a question about the LEXINGTON EF655SLB-E and is the answer not in the manual?
Questions and answers
LED light not working, how do I replace the LED. model EF655SLB-E
To replace the LED light in the FocalPoint LEXINGTON EF655SLB-E model, follow these steps:
1. Purchase a replacement LED light strip designed for the model (available from Focal Point Fires).
2. The replacement light strip will come with fitting instructions.
3. Follow the supplied instructions to install the new light strip.
Note: The LED light strip is designed to last 20,000 hours, so replacement is only needed if a problem occurs.
This answer is automatically generated