Table of Contents
Advertisement
Quick Links
To setup Tango M2 with the FX-8400, simply follow the directions below.
1. Verify Correct RS-232 and ECG Trigger Cables
l
RS-232 Cable – used to communicate with the FX-8400. This cable enables the FX-8400 to prompt
Tango M2 when it needs a BP measurement, and allows the Tango M2 BP reading to be transferred
to the FX-8400 display and reports.
o SunTech Part Number = 91-0010-01 or (FUKUDA DENSHI Part Number CJS-03DA5)
o Connection Ends:
l
ECG Trigger Cable – provides the ECG signal from the FX-8400 to the Tango M2.
o SunTech Part Number = 91-0018-02 or (FUKUDA DENSHI Part Number CJS-02JB5)
o Connection Ends:
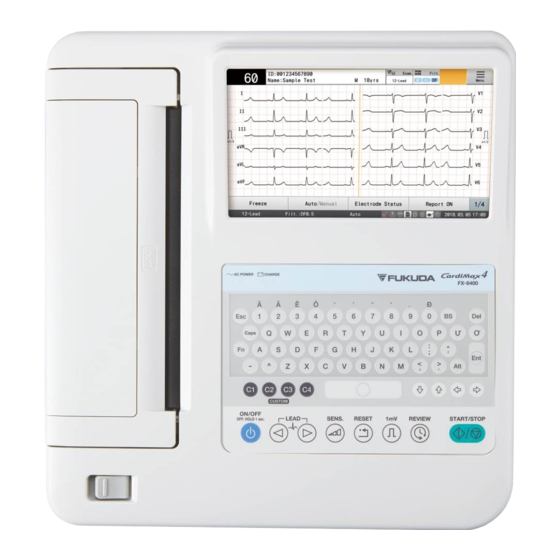
FUKUDA DENSHI FX-8400
Tango M2 Interface Notes
FX-8400 Connection
Mini DIN 8pin male
FX-8400 Connection
1/8" phono plug
Tango M2 Connection
D-sub 9 pin female
Tango M2 Connection
BNC male
Advertisement
Table of Contents

Subscribe to Our Youtube Channel
Related Manuals for Fukuda Denshi FX-8400


Summary of Contents for Fukuda Denshi FX-8400
- Page 1 1. Verify Correct RS-232 and ECG Trigger Cables RS-232 Cable – used to communicate with the FX-8400. This cable enables the FX-8400 to prompt Tango M2 when it needs a BP measurement, and allows the Tango M2 BP reading to be transferred to the FX-8400 display and reports.
- Page 2 3. Connect the ECG Trigger Cable From: the BNC External ECG connection on the rear panel of the Tango M2. the 1/8th phono plug connection on the side of the FX-8400 RS-232C Connection Part SunTech PN: 91-0010-01 Or FUKUDA DENSHI PN:...
- Page 3 ECG Triger Connection PN: 91-0018-02 FUKUDA DENSHI PN: CJS-02JB5...
- Page 4 Using the UP or DOWN arrows, highlight DIGITAL FALLING and press the SELECT button. Using the UP or DOWN arrows, select EXIT twice to return to the operating screen. 5. FX-8400 System Setup From the main screen, select MENU button.
- Page 5 Library Tutorials. b . Look in the Tango M2 User Manual under the Using Tango M2 during a Stress Test section for details on each type of cuff; the Orbit-K and the Single Patient Use (SPU) kit. c . Follow the instructions in the Cuff Tutorial (located on the SunTech Medical website under Support Customer Technical Support Video Tutorials) for...
- Page 6 1. Use a medical grade mild disinfectant wipe on the cuff or spray a cleaning solution onto a cloth and wipe the cuff. Afterwards, lay flat or line dry. 2. Remove the bladder and microphone from the outer shell of the Orbit-K cuff. Machine wash the shell in warm water with a mild detergent (50-140°F or 10- 60°C).
- Page 7 For customers in Europe, the Middle East, Africa, Asia, and the Pacific SunTech Medical, Ltd. Oakfield Industrial Estate Eynsham, Oxfordshire OX29 4TS UK England Phone: +44 (0) 1865.884.234 Fax: +44 (0) 1865.884.235 Email: CustomerSupport@SunTechMed.com...
Need help?
Do you have a question about the FX-8400 and is the answer not in the manual?
Questions and answers