Advertisement
Quick Links
CARE INSTRUCTIONS:
WIPE CLEAN WITH A DRY CLOTH.
AND SOLVENTS. KEEP AWAY FROM WATER AND DIRECT SUNLIGHT. DO NOT PLACE HOT ITEMS SUCH
AS COFFEE CUPS DIRECTLY ON THE SURFACE. STORE IN A DRY PLACE. FOR INDOOR AND DOMESTIC
USE ONLY.
WARNING:
DO NOT STAND OR SIT ON THIS ITEM. DO NOT USE UNTIL ALL SCREWS ARE FIRMLY SECURED. USE
ONLY ON A FLAT SURFACE. ADULT ASS EMBLY REQUIRED. FAILURE TO FOLLOW THESE WARNINGS
COULD
IN SERIOUS INJURY. MAXIMUM SAFE LOAD: 20KGS FOR TOP PANEL,10KGS FOR SHELF.
DO NOT USE ABRASIVE MATERIALS
Advertisement

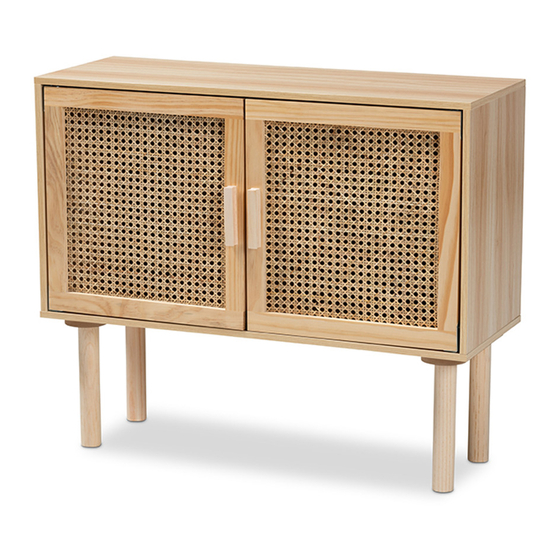
Related Manuals for Baxton Studio LYA20-103


Summary of Contents for Baxton Studio LYA20-103
- Page 1 CARE INSTRUCTIONS: WIPE CLEAN WITH A DRY CLOTH. DO NOT USE ABRASIVE MATERIALS AND SOLVENTS. KEEP AWAY FROM WATER AND DIRECT SUNLIGHT. DO NOT PLACE HOT ITEMS SUCH AS COFFEE CUPS DIRECTLY ON THE SURFACE. STORE IN A DRY PLACE. FOR INDOOR AND DOMESTIC USE ONLY.
- Page 2 Begin assembly by attaching Part (3) & (4) to Part (2) by inserting wooden dowel (A) and securing with camlock (B) & (C)
- Page 3 Insert Part (8) to Part (2) &(3)&(4). Attach Part (1) to Part (3)&(4)&(8) by inserting wooden dowel (A)and male camlock (B) .
- Page 4 Attach (K)to Part (5) & (6) by securing with screw (H). Attach (F) to Part (5)&(6) by aligning holes and securing with screw E. Insert Part (5)(6) to Part (1)(2) by aligning holes . Attach Part (1) to Part (3)(4) by securing with female camlock (C).
- Page 5 Attach Part(7) to Part (1) by securing with screw (L). Rotate leg (9) to the bottom one by one by aligning hole. Tighten each leg before turning assembled product upside down .
- Page 6 Attach(G) to each corner by securing with screw (D).Fix wall strap (I) to the product by securing with screw (D) and washer (J). Drill hole on the wall. Hammer (M) into the hole on the wall.Fix wall strap (I) to (M) by securing with screw (L) and washer (J)
Need help?
Do you have a question about the LYA20-103 and is the answer not in the manual?
Questions and answers