
Related Manuals for Dahua IPC-HF81230E


Summary of Contents for Dahua IPC-HF81230E
- Page 1 Dahua HD Box Network Camera Quick Start Guide Version 1.0.0 Zhejiang Dahua Vision Technology Co., LTD...
- Page 2 Welcome Thank you for purchasing our Network camera! This user’s manual is designed to be a reference tool for your system. Please read the following safeguard and warnings carefully before you use this series product! Please keep this user’s manual well for future reference! Important Safeguards and Warnings 1.Electrical safety ...
- Page 3 3. Operation and Daily Maintenance Please do not touch the heat dissipation component of the device directly in order to avoid scald. Please do not dismantle the device; there is no component which can be fixed by users themselves in the machine.
- Page 4 Please contact the supplier or customer service if there is any problem occurred when using the device. Please contact the customer service for the latest procedure and supplementary documentation. There may be deviation between the actual value of some data and the value provided in the manual due to the reasons such as the real environment is not stable and so on.
-
Page 5: Table Of Contents
Table of Contents Device Structure ......................1 Rear Panel ......................1 Dimension ......................3 Bidirectional talk ....................3 Alarm Setup ...................... 4 1.4.1 Alarm Input and Output Connection ............5 1.4.2 IR Light Connection ..................5 Device Installation ......................7 Lens Installation .................... -
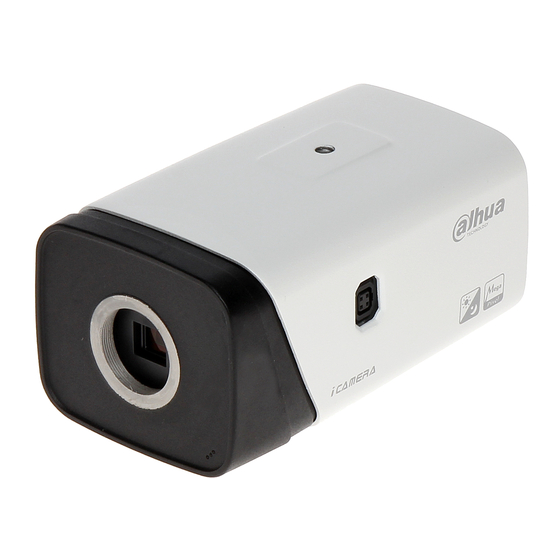
Page 6: Device Structure
1 Device Structure 1.1 Rear Panel Note: The figures are for reference only, which are used to know the functions of the rear panel. Different devices may have different structures of rear panel, please refer to the actual product for more details. See Figure 1-1 and Figure 1-2. Figure 1-1 Figure 1-2 Please refer to the following sheet for detail information. - Page 7 Indicator Light Red light System boots up-red light is normally on System upgrades-red light flashes System resets-green light is off, red light is normally on. Green light Normal working status-green light is normally Display record status: recording-green light flashes.
-
Page 8: Dimension
AUDIO IN Audio input port 3.5mm JACK, input audio signal from devices such as pick-up. /OPT Network port /MB LAN: Connect to standard Ethernet cable and optical fiber port provide PoE power supply function. OPT: Transmit MB Ethernet data. SD card port Connect it to SD card. -
Page 9: Alarm Setup
It is not allowed to use on-site listening when the device is applying bidirectional talk. Step 1 Connect the speaker or the MIC to the audio input port of the device and PC; connect the earphone to the audio output port of the device and PC respectively. Step 2 Log in the device WEB interface, click “Talk”... -
Page 10: Alarm Input And Output Connection
Set the WEB alarm output. The alarm output 01 is the alarm output port of the device rear panel I/O port (as the NO port). 1.4.1 Alarm Input and Output Connection Please refer to the following figure for alarm input information. See Figure 1-6. Alarm input: When the input signal is idle or grounded, the device can collect the different statuses of the alarm input port. - Page 11 Figure 1-8...
-
Page 12: Device Installation
2 Device Installation 2.1 Lens Installation Figure 2-1 2.1.1 Auto Iris Lens Installation Step 1 Remove the CCD protection cover on the device, aim the lens at the lens installation position, and turn the lens clockwise until it is installed firmly. Step 2 Insert the lens cable plug into the connector of auto iris lens on the camera side panel. -
Page 13: Sd Card Installation
2.2 SD Card Installation Figure 2-2 Step 1 Take down the SD card protection cover from the device. Step 2 Install the SD card into the device according to the installation direction shown in Figure 2-2. Step 3 Cover the SD card protection cover. Step 4 Fix the SD card protection cover on the device. -
Page 14: Network Configuration
3 Network Configuration The IP address of all the cameras is the same when leaving factory (default IP192.168.1.108), in order to make the camera get access to the network smoothly, please plan the useable IP segment reasonably according to the actual network environment. 3.1 Modify IP Address IP address can be acquired and modified through quick configuration tool for the cameras which are accessed via wired network, it needs to connect wired network to configure wireless... -
Page 15: Login Web Interface
Step 3 Modify the camera IP address on the “Net” interface, click “Save” to finish modification. See Figure 3-2 for more details. Figure 3-2 3.2 Login WEB Interface Note: Different devices may have different WEB interfaces, the figures below are just for reference, please refer to the document <<WEB Operation Manual>>... - Page 16 Figure 3-3 Step 3 Install controls according to the system prompt; see Figure 3-4 for the WEB main interface. Please modify the administrator password as soon as possible after you successfully logged in. Figure 3-4...
- Page 17 If there is any uncertainty or controversy, please refer to the final explanation of us. Please visit our website or contact your local service engineer for more information. Zhejiang Dahua Vision Technology Co., Ltd Address:No.1199 Bin’an Road, Binjiang District, Hangzhou, PRC. Postcode: 310053...
Need help?
Do you have a question about the IPC-HF81230E and is the answer not in the manual?
Questions and answers