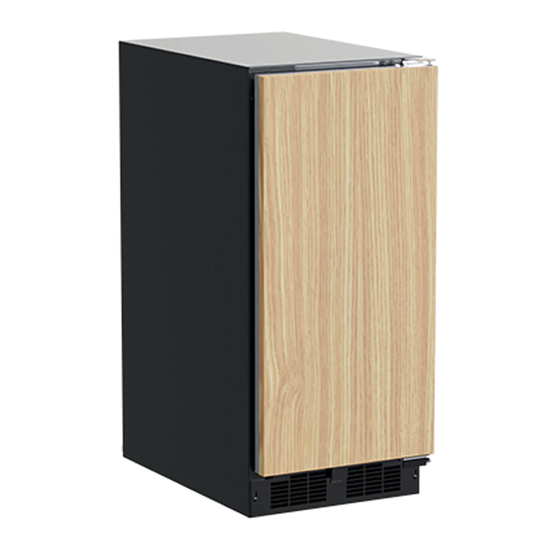
Marvel MLCR215 Owner's Manual
Hide thumbs
Also See for MLCR215:
- Owner's manual (20 pages) ,
- Owner's manual (18 pages) ,
- Owner's manual (33 pages)
Advertisement
Quick Links
OW NER'S G U IDE
O W N E R S G U I D E
M A R V E L U N D E R C O U N T E R R E F R I G E R AT I O N
M A R V E L U N D E R C O U N T E R R E F R I G E R A T I O N
F O R M O D E L # M L R E 2 2 4
F O R M O D E L # M LC R 2 1 5
T H E O R I G I N A L R E F R I G E R A T I O N E X P E R T S S I N C E 1 8 9 2
T H E O R I G I N A L R E F R I G E R A T I O N E X P E R T S S I N C E 1 8 9 2
Advertisement

Summary of Contents for Marvel MLCR215
- Page 1 OW NER’S G U IDE O W N E R S G U I D E M A R V E L U N D E R C O U N T E R R E F R I G E R AT I O N M A R V E L U N D E R C O U N T E R R E F R I G E R A T I O N F O R M O D E L # M L R E 2 2 4 F O R M O D E L # M LC R 2 1 5...
-
Page 2: Warranty Registration
We would love to see how your Marvel product looks in its new home. Send us photos at marketing@marvelre- frigeration.com, and we might feature your Marvel home... - Page 3 TABLE OF CONTENTS Tip: Click on any section below to jump directly there Installation Integrated Panel Dimensions Integrated Panel Installation...
-
Page 4: Integrated Panel Dimensions
INTEGRATED PANEL DIMENSIONS Integrated Panel Dimensions BACK SURFACE MUST HAVE AMPLE FLAT SURFACE NOTE TO MOUNT OVERLAY PANEL FLAT AND WITHOUT 3/4" INTERFERENCE (20 mm) 14-3/4" (375 mm) 30-1/4" (768 mm) Integrated Panel Preparation Integrated Panel... -
Page 5: Integrated Panel Installation
A robust tape may also be used. 4. Upon removal, lay gasket down on a Marvel recommends the use of bar clamps to secure the panel to Door/Drawer 5. Partially loosen the 3 screws, securing the top hinge to the door. - Page 6 INTEGRATED PANEL INSTALLATION 11. Locate 6 of the #6x 1-1/4" screws provided with your unit. 12. Using a Phillips screwdriver, place one screw into each of the 6 pilot holes and screw down. Do not overtighten screws. 13. Be sure the screws force their way past the opening of the channel.


Need help?
Do you have a question about the MLCR215 and is the answer not in the manual?
Questions and answers