Table of Contents
Advertisement
Quick Links
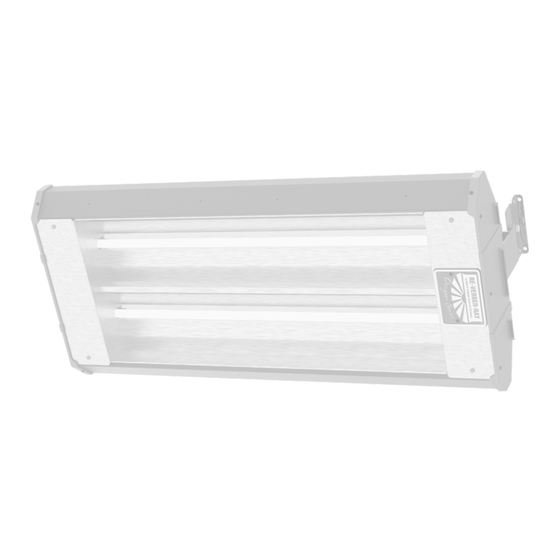
RH Series
Installation Manual
Overhead Short Wave Electric Infrared Heater
1, 2, and 3 Lamp Units
All persons involved with the installation, operation, and maintenance of the heater
system must read and understand all the information in this manual.
Improper installation, adjustment, alteration, service, or maintenance can cause
property damage, injury, or death. Read and understand the installation, operating,
and maintenance instructions thoroughly before installing or servicing this
equipment.
INSTALLER: Present this manual to the end user.
Keep these instructions in a clean and dry place for future reference.
Model#: ______________________ Serial #: _____________________________
!
WARNING
!
(located on rating label)
LIOSW2-Rev. 24418
Print: XM-06/19 (XXX)
Advertisement
Table of Contents

Related Manuals for KING RH Series


Summary of Contents for KING RH Series
- Page 1 RH Series Installation Manual Overhead Short Wave Electric Infrared Heater 1, 2, and 3 Lamp Units WARNING All persons involved with the installation, operation, and maintenance of the heater system must read and understand all the information in this manual.
-
Page 2: Table Of Contents
Series Contents 1.0 Safety .............. -
Page 3: Safety
Safety • Safety Symbols • Applications Series Safety WARNING Improper installation, adjustment, alteration, service, or maintenance can cause property damage, serious injury, or death. Read and understand the installation, operating, and maintenance instructions thoroughly before installing or servicing this equipment. Only trained, qualified personnel with proper electrical experience may install or service this equipment. -
Page 4: Model Number Designation Chart
Safety • Model Number Designation Chart • Available Models Series Chart 1.1 • Model Number Designation Chart Material Lamp Voltage Lamp Wattage Lamp Type Series Type Qty. Code Code (Color) A = 120 VAC 16 = 1,600 B = 208 VAC B = Black Powder Coat 25 = 2,500 R= Ruby Lamp RH-24 C = 240 VAC 32 = 3,200 RH-33 D = 277 VAC S = Stainless Steel 36 = 3,650... -
Page 5: Clearances To Combustibles
Safety • Clearances to Combustibles Series Clearances to Combustibles WARNING Placement of explosive objects, flammable objects, liquids, and vapors close to the heater may result in explosion, fire, property damage, serious injury, or death. Do not store or use explosive objects, liquids, or vapors in the vicinity of the heater. Failure to comply with the published clearances to combustibles could result in personal injury, death, and/or property damage. - Page 6 Safety • Clearances to Combustibles Series Chart 1.3 • Clearances to Combustibles in Inches (Millimeters) - see Figure 1.1 Side Mounting Length Angle Front Behind Below Single Element 24’’ 0° 16 (407) 16 (407) 12 (305) 6 (153) 56 (1423) 33’’...
-
Page 7: Safety Labels And Their Locations
Safety • Safety Labels and Their Locations Series Safety Labels and Their Locations It is important to provide warnings to alert individuals to potential hazards and safety actions. Signs should state the hazards for the particular application and be legible to the building occupants. Consult the factory or a factory representative for additional information on signage compliance. -
Page 8: Standards, And Government Regulations
, local ordinances, and any special diagrams from the manufacturer. Canada: Refer to Canadian Electrical Code CSA C22.1 Part 1 (latest edition). King Products units comply with or are certified by one or more of the following organizations or standards: • CSA 22.2 #46 - M1988... -
Page 9: Installation
Installation • Design Series Installation WARNING Read and understand the installation, operating, and maintenance instructions thoroughly before installing or servicing this equipment. Design To ensure a safe, properly designed heating system, a layout should be developed for the correct placement of the infrared heater(s). Aside from safety factors such as clearances to combustibles (see Chart 1.3 on page 6), consideration should also be given to factors such as the environment (e.g., cold/drafty, average, protected), heat coverage (sq. - Page 10 Installation • Design Series Chart 2.1 • SW2 Series Basic Heating Application Chart Recommended Recommended Approximate Approximate Lamp Mounting Height (Ft.)* Distance Between Square Foot Watts per Series Qty. [Dim. A] Heaters (Ft.) [Dim. B] Coverage Square Foot 10 to 12 5 to 10 10 to 12 6 to 12...
-
Page 11: Heater Mounting
Installation • Heater Mounting Series Heater Mounting WARNING Improper suspension of the infrared heater may result in collapse and being crushed. Always suspend from a permanent part of the building structure that can support the total force and weight of the heater. Failure to maintain minimum clearance to combustibles may result in fire and/or explosion, property damage, serious injury, or death. - Page 12 Installation • Top Channel Assembly Series Top Channel Assembly Attach the mounting brackets to the top wire raceway. On each end, place (1) 1/4” x 1/2” bolt through the bottom hole of the mounting bracket and through the bottom hole of the top wire raceway.
-
Page 13: Lamp Installation
“U” Slots Element NOTE: RH series heaters are designed for use with quartz lamp infrared heating elements only. They are NOT intended to be used with straight metal rod heating elements. Replace lamps with parts from Detroit Radiant Products Company only! -
Page 14: Outdoor Application
Installation • Totally Exposed Outdoor Applications • Electrical Series Totally Exposed Outdoor Applications CAUTION For totally exposed outdoor applications (not ceiling protected) ensure connections are made as illustrated in Figure 2.6. Figure 2.6 • Exposed Outdoor Application 6” Minimum NOTE: All conduit, conduit fittings, and junction boxes are field supplied. Must be NEMA Type 4X or equivalent. - Page 15 Installation • Wiring Diagrams Series Wiring Diagrams Figure 2.7 • Wiring Diagram for Units with 1 Lamp LAMP NO. 1 Figure 2.8 • Wiring Diagram for Units with 2 Lamps LAMP NO. 1 LAMP NO. 2 Figure 2.9 • Wiring Diagram for Units with 3 Lamps LAMP NO.
-
Page 16: Maintenance
Maintenance • Maintenance Log Series Maintenance It is recommended that the following become a standard yearly procedure to obtain maximum operating efficiency and trouble free operation. During long periods of non-usage, remove or cover heater with a polyethylene bag and disconnect from power supply. If further service to the heater is desired, contact your representative or the factory. Clean reflector surface with a damp cloth. -
Page 17: Troubleshooting Guide
Maintenance • Troubleshooting Guide Series Troubleshooting Guide Process Start Corrective Question Question Action Turn Heater on from power source. Does the heating Are the heating lamps Replace heating lamp(s). physically damaged? lamps turn on? Are the heating lamps Rewire lamps as indicated wired as indicated in in this manual. -
Page 18: Heater Assembly Components
Maintenance • Heater Assembly Components Series Heater Assembly Components Figure 3.1 • Components 1057 1058 1059 1037 1160 1037 1260 1152, 1153, 1154 1161 1360 1252, 1253, 1254 1261 1352, 1353, 1354 1361 1052 070A-092A 1106, 1107, 1108 1206, 1207, 1208 1306, 1307, 1308 1002 1003... -
Page 19: Parts List
-SS for stainless steel Ex: EL-016 for black mounting brackets and EL-016-SS for stainless steel mounting brackets. Visit our online parts reference library at www.reverberray.com/shop for further technical data related to parts. King Electrical Manufacturing Company 9131 10th Avenue South Seattle, WA 98108...
Need help?
Do you have a question about the RH Series and is the answer not in the manual?
Questions and answers