Table of Contents
Advertisement
Quick Links
OPERATOR'S MANUAL
A Division of Snow Joe
, LLC
®
THANKS
OF A REMANUFACTURED PRODUCT.
To make sure you get the most out of
your product, be sure to register online at
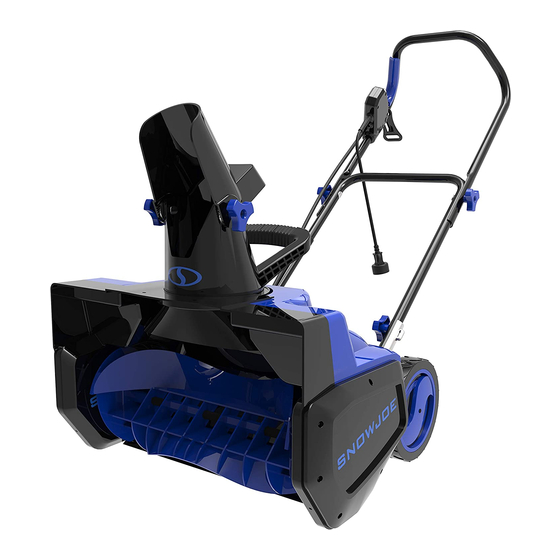
ELECTRIC SNOW THROWER
R
21-INCH | 14-AMP
Model SJ624E-ES-RM
FOR
snowjoe.com
to enjoy full product support.
YOUR
PASTE UPC LABEL HERE
Form No. SJ-SJ624E-ES-RM-880E-V1
PURCHASE
Advertisement
Table of Contents

Related Manuals for SNOWJOE SJ624E-ES-RM


Summary of Contents for SNOWJOE SJ624E-ES-RM
- Page 1 21-INCH | 14-AMP OPERATOR’S MANUAL Model SJ624E-ES-RM A Division of Snow Joe , LLC ® Form No. SJ-SJ624E-ES-RM-880E-V1 THANKS YOUR PURCHASE OF A REMANUFACTURED PRODUCT. To make sure you get the most out of your product, be sure to register online at snowjoe.com...
-
Page 2: General Safety Warnings
OPERATOR’S MANUAL Model SJ624E-ES-RM A Division of Snow Joe , LLC ® Form No. SJ-SJ624E-ES-RM-880E-V1 IMPORTANT! 6. Do not abuse the cord. Keep the cord away from heat, oil, sharp edges or moving parts. Never carry the snow Safety Instructions thrower by its cord or yank the cord to disconnect it from the electrical outlet. -
Page 3: Electrical Safety
Electrical Safety Table 1. Method of Securing Extension Cord 1. Ground fault circuit interrupter (GFCI) protection should be provided on the circuit(s) or outlet(s) to be used for Cord set Appliance the snow thrower. Receptacles are available having cord built-in GFCI protection and may be used for this measure of safety. - Page 4 7. If the snow thrower strikes any object, immediately • Abnormal operation – If you notice the snow thrower stop the snow thrower, then inspect for damage – running in an unstable state or hear abnormal sounds from Repair any damage before restarting and operating the the engine, immediately stop the machine, disconnect the snow thrower.
-
Page 5: Safety Symbols
Safety Symbols The following table describes safety symbols that may appear on this product. Read, understand and follow all instructions on the machine before attempting to assemble and operate. Descriptions Symbols Symbols Descriptions READ THE OPERATOR'S MANUAL(S) – Read, understand SAFETY ALERT –... -
Page 6: Technical Data
Know Your Electric Snow Thrower Read the owner’s manual and safety rules carefully before operating your electric snow thrower. Compare the illustration below to the actual unit in order to familiarize yourself with the location of the various controls and adjustments. Save this manual for future reference. -
Page 7: Carton Contents
If any damage is seen or suspected, do not assemble. frame Instead, contact the Snow Joe + Sun Joe customer ® ® service center at 1-866-SNOWJOE (1-866-766-9563) for assistance. Handle with care during assembly so that electrical Align the holes wiring does not become damaged. Lower handle frame... -
Page 8: Discharge Chute Assembly
4. Secure the upper handle frame to the lower handle frame Fig. 6 with 2 sets of knob and carriage bolt like shown (Fig. 4). Make sure the knobs are tightened. NOTE: There are two holes on the upper handle frame that are used for adjusting the pole length. -
Page 9: Securing The Extension Cord
Extension Snow Joe + Sun Joe customer service center at ® ® cord restraint 1-866-SNOWJOE (1-866-766-9563). hook Extension cord Powering On and Off WARNING! 3. Insert the female end of the extension cord into the The auger starts rotating immediately appliance's polarized male plug (Fig. 9). - Page 10 Moving the Machine and Plowing by pushing down on the handle to raise the scraper bar at the base of the unit above the pebbles or gravel. the Snow 11. For larger areas, a definite pattern of operation is required to thoroughly clean an area of snow.
-
Page 11: General Maintenance Tips
1. The discharge chute can be adjusted 180 degrees. Simply grab the auxiliary handle and turn the discharge chute WARNING towards the desired direction (Fig. 13). Make sure that the chute deflector snaps and locks Fig. 13 completely onto the discharge chute. An opening between the discharge chute and the chute deflector may allow foreign objects to be picked up by the snow thrower and thrown in the direction of the Auxiliary handle operator causing serious bodily injury. - Page 12 6. To protect the snow thrower from corrosion when storing 3. Remove the screws and the nuts from the pulley (Fig. 18). for long periods, lightly oil the metal parts. 7. Store the appliance in a dry and high or locked area out of Fig.
-
Page 13: Replacing The Belt
Replacing the Scraper Bar 1. Open the left side plate by removing the seven screws (Fig. 23). 1. The scraper bar is located at the base of the snow thrower beneath the rotor housing (Fig. 21). Fig. 23 Fig. 21 Scraper Remove the 7 screws... -
Page 14: Replacing The Pulley
Service and Support If your Snow Joe SJ624E-ES-RM electric snow thrower ® requires service or maintenance, please call 1-866-SNOWJOE (1-866-766-9563) for assistance. Model and Serial Numbers When contacting the company, reordering parts or arranging service from an authorized dealer, you will need to provide the model and serial numbers, which can be found on the decal 5. -
Page 15: Optional Accessories
Optional Accessories WARNING! ALWAYS use only authorized Snow Joe + Sun Joe replacement parts and accessories. NEVER use ® ® replacement parts or accessories that are not intended for use with this electric snow thrower. Contact Snow Joe + Sun Joe ®... - Page 16 NOTES...
- Page 17 NOTES...
- Page 18 NOTES...
- Page 19 To obtain a replacement part or product, please visit warranty. Some states do not allow exclusions of incidental or snowjoe.com/help or email us at help@snowjoe.com for consequential damages so the above exclusions may not apply instructions. Please be sure to register your unit beforehand to in all states.
- Page 20 snowjoe.com...
Need help?
Do you have a question about the SJ624E-ES-RM and is the answer not in the manual?
Questions and answers