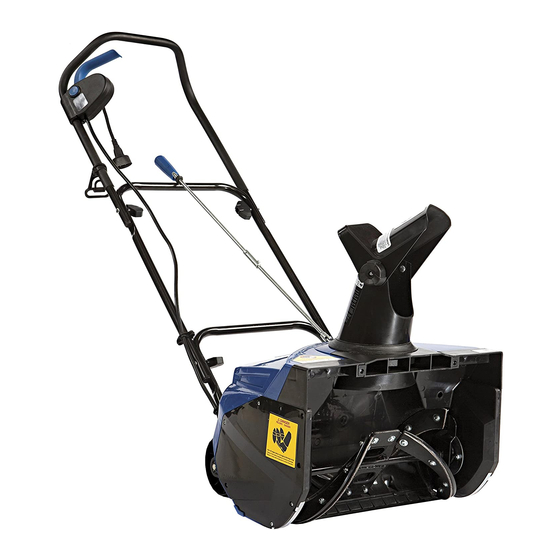
SNOWJOE SJ620 Operator's Manual
Snow joe sj620/621 snow thrower operator's manual
Hide thumbs
Also See for SJ620:
- Operator's manual (17 pages) ,
- Operator's manual (14 pages) ,
- Operator's manual (14 pages)
Advertisement
Table of Contents
A Division of Snow Joe, LLC
IMPORTANT!
Safety Instructions
All Operators Must Read These
Instructions Before Use
Any electrical appliance can be dangerous if used incorrectly. Some
of the safety precautions given in this manual apply generally to
many appliances. Other warnings are specific to the use of this snow
thrower. Keep this manual for future reference.
General Safety WARNINGS!
You and any other operator of this snow thrower must read,
understand and follow these instructions in their entirety, and
should reread them at the start of each snow season. Failure to
follow these instructions may result in ELECTRIC SHOCK, FIRE
and/or serious PERSONAL INJURY.
Notice the personal safety alert symbol
manual to draw your attention to a WARNING given
along with the particular operating instruction. This
means that the operation requires special ATTENTION,
CAUTION, and AWARENESS.
1. Work Area
a. Keep work area clean and well lit. Cluttered, dark
areas invite accidents.
b. Do not operate snow thrower in an explosive
atmosphere, such as in the presence of flammable liquids,
gases, or dust. Electrical appliances create sparks that
may ignite the dust or fumes.
c. Keep children, pets, bystanders and visitors away
from work area. Be aware that the normal noise of the
machine when turned on may make it difficult for you to
hear approaching people. Visitors should wear safety
glasses and be kept a safe distance from work area. Do
not let visitors contact snow thrower or extension cord.
2. Electrical Safety
a. Electrical plugs must match the outlet. Never modify the
plug in any way. Do not use any adapter plugs with
grounded appliances. Unmodified plugs and matching
outlets will reduce risk of electric shock.
b. Avoid body contact with earthed or grounded surfaces
such as upper and lower water pipes, radiators, ranges,
refrigerators, microwave oven, and outer frame of heating
equipment, or in a place that is locked. Be cautious to
avoid electric shock. There is an increased risk of electric
shock if your body is earthed or grounded.
c. Do not abuse the cord. Keep cord away from heat, oil,
sharp edges or moving parts. Never carry the snow thrower
by its cord or yank the cord to disconnect it from the
© 2010 by Snow Joe, LLC
All rights reserved. Original instructions.
Snow Thrower
Snowthrower
Snow Thrower
Snowthrower
Model No. 622
Model No. SJ620/621
used in this
electrical outlet. Damaged or entangled cords increase the
risk of electric shock. If cord is damaged in any manner
while plugged in, pull plug from wall receptacle.
d. Replace or properly repair damaged cords. If cord is
damaged in any manner while plugged in, pull the extension
cord plug from the wall receptacle.
e. Contact with water while operating the snow thrower
can result in electric shock and serious bodily injury.
Do not use the snow thrower in damp or wet locations or
expose to rain. Do not handle the plug or the appliance
with wet hands or while standing in water.
f. Extension Cord – WARNING – Only use a UL rated
extension cord for OUTDOOR, all-weather use (usually
orange color). To prevent the extension cord from
disconnecting during operation, See page 6 Figure 12.
g. Turn off the power switch and disconnect the power
cable before making any adjustments, inspecting,
servicing, changing accessories, or cleaning the
snow thrower as well as any other conditions in which
dangerous factors exist. Any such operation should be
performed after revolving parts inside the snow thrower stop
completely. Such preventive safety measures reduce the
risk of starting the power tool accidentally.
h If you find the main power cable or the extension
cable damaged, please pull out the plug from the
socket and disconnect the power immediately. Repair
the cable or replace it if necessary.
i. When replacing any parts, you must strictly observe
the instructions and procedures described in this
User Manual. Special care should be paid to any rubber
parts, since these parts may increase the engine load and
decrease its mechanical power if damaged.
j
Do not move or transport the snow thrower when the
plug is connected to the power socket and the
switch is turned on.
k. When using the snow thrower, if you notice it is
running in an unstable state or hear abnormal sounds
from the engine, please stop the machine and
disconnect the power immediately and contact your
service center.
3. Personal Safety
a. Stay alert – Watch what you are doing and use common
sense when operating the snow thrower. Do not use the
machine when tired, ill, or under the influence of drugs,
alcohol, or medication. A moment of inattention may result
in serious personal injury.
b. Wear proper clothing – Wearing rubber boots offers
additional protection from electric shock. Do not wear loose
clothing or jewelry that may become caught in the machine.
Wear protective headgear to keep hair away from revolving
parts of the machine. Safety glasses offer better protection
than everyday eyeglasses.
SAVE THESE INSTRUCTIONS
1
Form No. 7322-880
Form No. 7620-1-880E
OPERATOR'S MANUAL
Advertisement
Table of Contents


Need help?
Do you have a question about the SJ620 and is the answer not in the manual?
Questions and answers