
Related Manuals for Geemarc CC10


Summary of Contents for Geemarc CC10
-
Page 1: User Guide
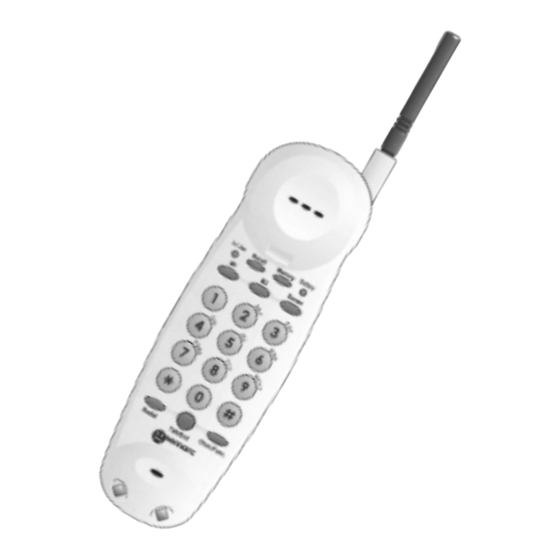
User Guide CC10 This equipment is not designed for making Compact Cordless Telephone emergency telephone calls when the power fails. Alternative arrangements should be made for access to emergency services. - Page 2 OGM1 On/Off Switch Recall In Use Light Direct Memory Locations Redial Talk/End Microphone CC1 0 CC 1 0 CC1 0 C C1 0 CC 1 0 Adaptor Socket Memory Battery Low Light Chan/Func Charging Contacts Power Light Charge Light In Use Light Page Button...
-
Page 3: Table Of Contents
General & safety information General & safety information General & safety information General & safety information General & safety information Setting up Setting up Setting up Setting up Setting up Separate handset battery charger Making and answering calls Memory - Storing numbers Dialling from memory Buttons Charging the handset... -
Page 4: General & Safety Information 1
Congratulations on choosing a Clearsound CC10 cordless telephone. As an option, you may add up to two extra handsets to your CC10 so calls can be taken by any handset and transferred between handsets (although it is not possible to speak between handsets). - Page 5 Each item is marked (usually on the base) with a REN number. For example, your CC10 is REN 1 and most BT phones are REN 1. The REN numbers of all your equipment, added up, must not exceed 4.
-
Page 6: Setting Up
Connect to the mains Connect to the mains Plug the adaptor lead into the adaptor socket at the back of the telephone base unit. Then plug the adaptor into the mains and switch on. Don’t plug into the telephone socket yet. The Power light will come on. Keep the telephone base unit plugged in - the telephone won't work without power. -
Page 7: Use
BT or your telephone network provider. 2. Extend the base aerial vertically. Your CC10 is now ready for use. Separate handset battery charger A separate handset battery charger may be supplied with your telephone, or alternatively, is available as an option. This lets you keep the handset charged away from the base unit. -
Page 8: Memory - Storing Numbers
For some PABXs or network, press Redial where you need to store a pause in the memory. Recall, , # These are for special telephone services. For details, call your telephone company. Chan/Func If you get interference, press Chan/Func twice. -
Page 9: Charging The Handset
The base unit lights : what they mean when they’re on Power: it’s switched on. Charge: the handset’s (charged or) charging. In Use: the telephone’s in use. Page: flashes when you press Page or receive a call. Paging the handset Paging the handset... -
Page 10: Interference
¨ Fully extend the handset and base aerials. ¨ Do not install the base close to other electrical equipment or fluorescent lights. ¨ Try moving the main base unit to another room (if you have a telephone socket). During a call (you may hear beeps) ¨... -
Page 11: Troubleshooting
Is the base unit plugged into the telephone socket? ¨ Is the handset charged? See pages 3 and 7. ¨ Have you got too much telephone equipment in your home? See page 2. Having checked these points, move to check 2. For help call... -
Page 12: Guarantee
¨ ¨ ¨ ¨ ¨ you have not damaged, misused or neglected it; ¨ It has not been tampered with or taken apart unless by a Geemarc representative; and ¨ you send it to us with your receipt and pay the postage. -
Page 13: Approval
¨ ¨ ¨ ¨ ¨ Use as a cordless telephone. ¨ ¨ ¨ ¨ ¨ Simple telephone operation with ability to make calls to the 999 and 112 emergency services (except where mains power has failed). ¨ ¨ ¨ ¨ ¨... -
Page 14: Accessory Order Form
HANDSET BATTERIES HANDSET & POD COMBINATION FOR WHICH COLOUR? WHITE FOR WHICH MODEL? CC10 PRICES CORRECT AT TIME OF PUBLICATION. GEEMARC RESERVE THE RIGHT TO INCREASE PRICES WITHOUT NOTIFICATION. NAME ADDESS POSTCODE TEL NO CHEQUE OR POSTAL ORDER AMOUNT £... -
Page 15: Wall Mounting
The POD charger unit (if supplied) may be mounted vertically on a wall or other suitable surface. A template is included to enable the securing screws to be accurately located. Check that base unit when wall mounted has sufficient space for handset to fit. When you wall-mount: ¨... - Page 16 TEL: 01707 384438 FAX: 01707 372529...
Need help?
Do you have a question about the CC10 and is the answer not in the manual?
Questions and answers